Strawberry ice cream

Summer’s quickly coming and that can only mean on thing : ice cream! Ice cream is the only thing that really makes summer tolerable for me; can’t stand the heat and the humidity. I normally start summer by making my ice cream parlor tour around town, coming back to old favorites and discovering new ones, but with the current confinement measures, I’ll have to resort to making more of my own ice cream!

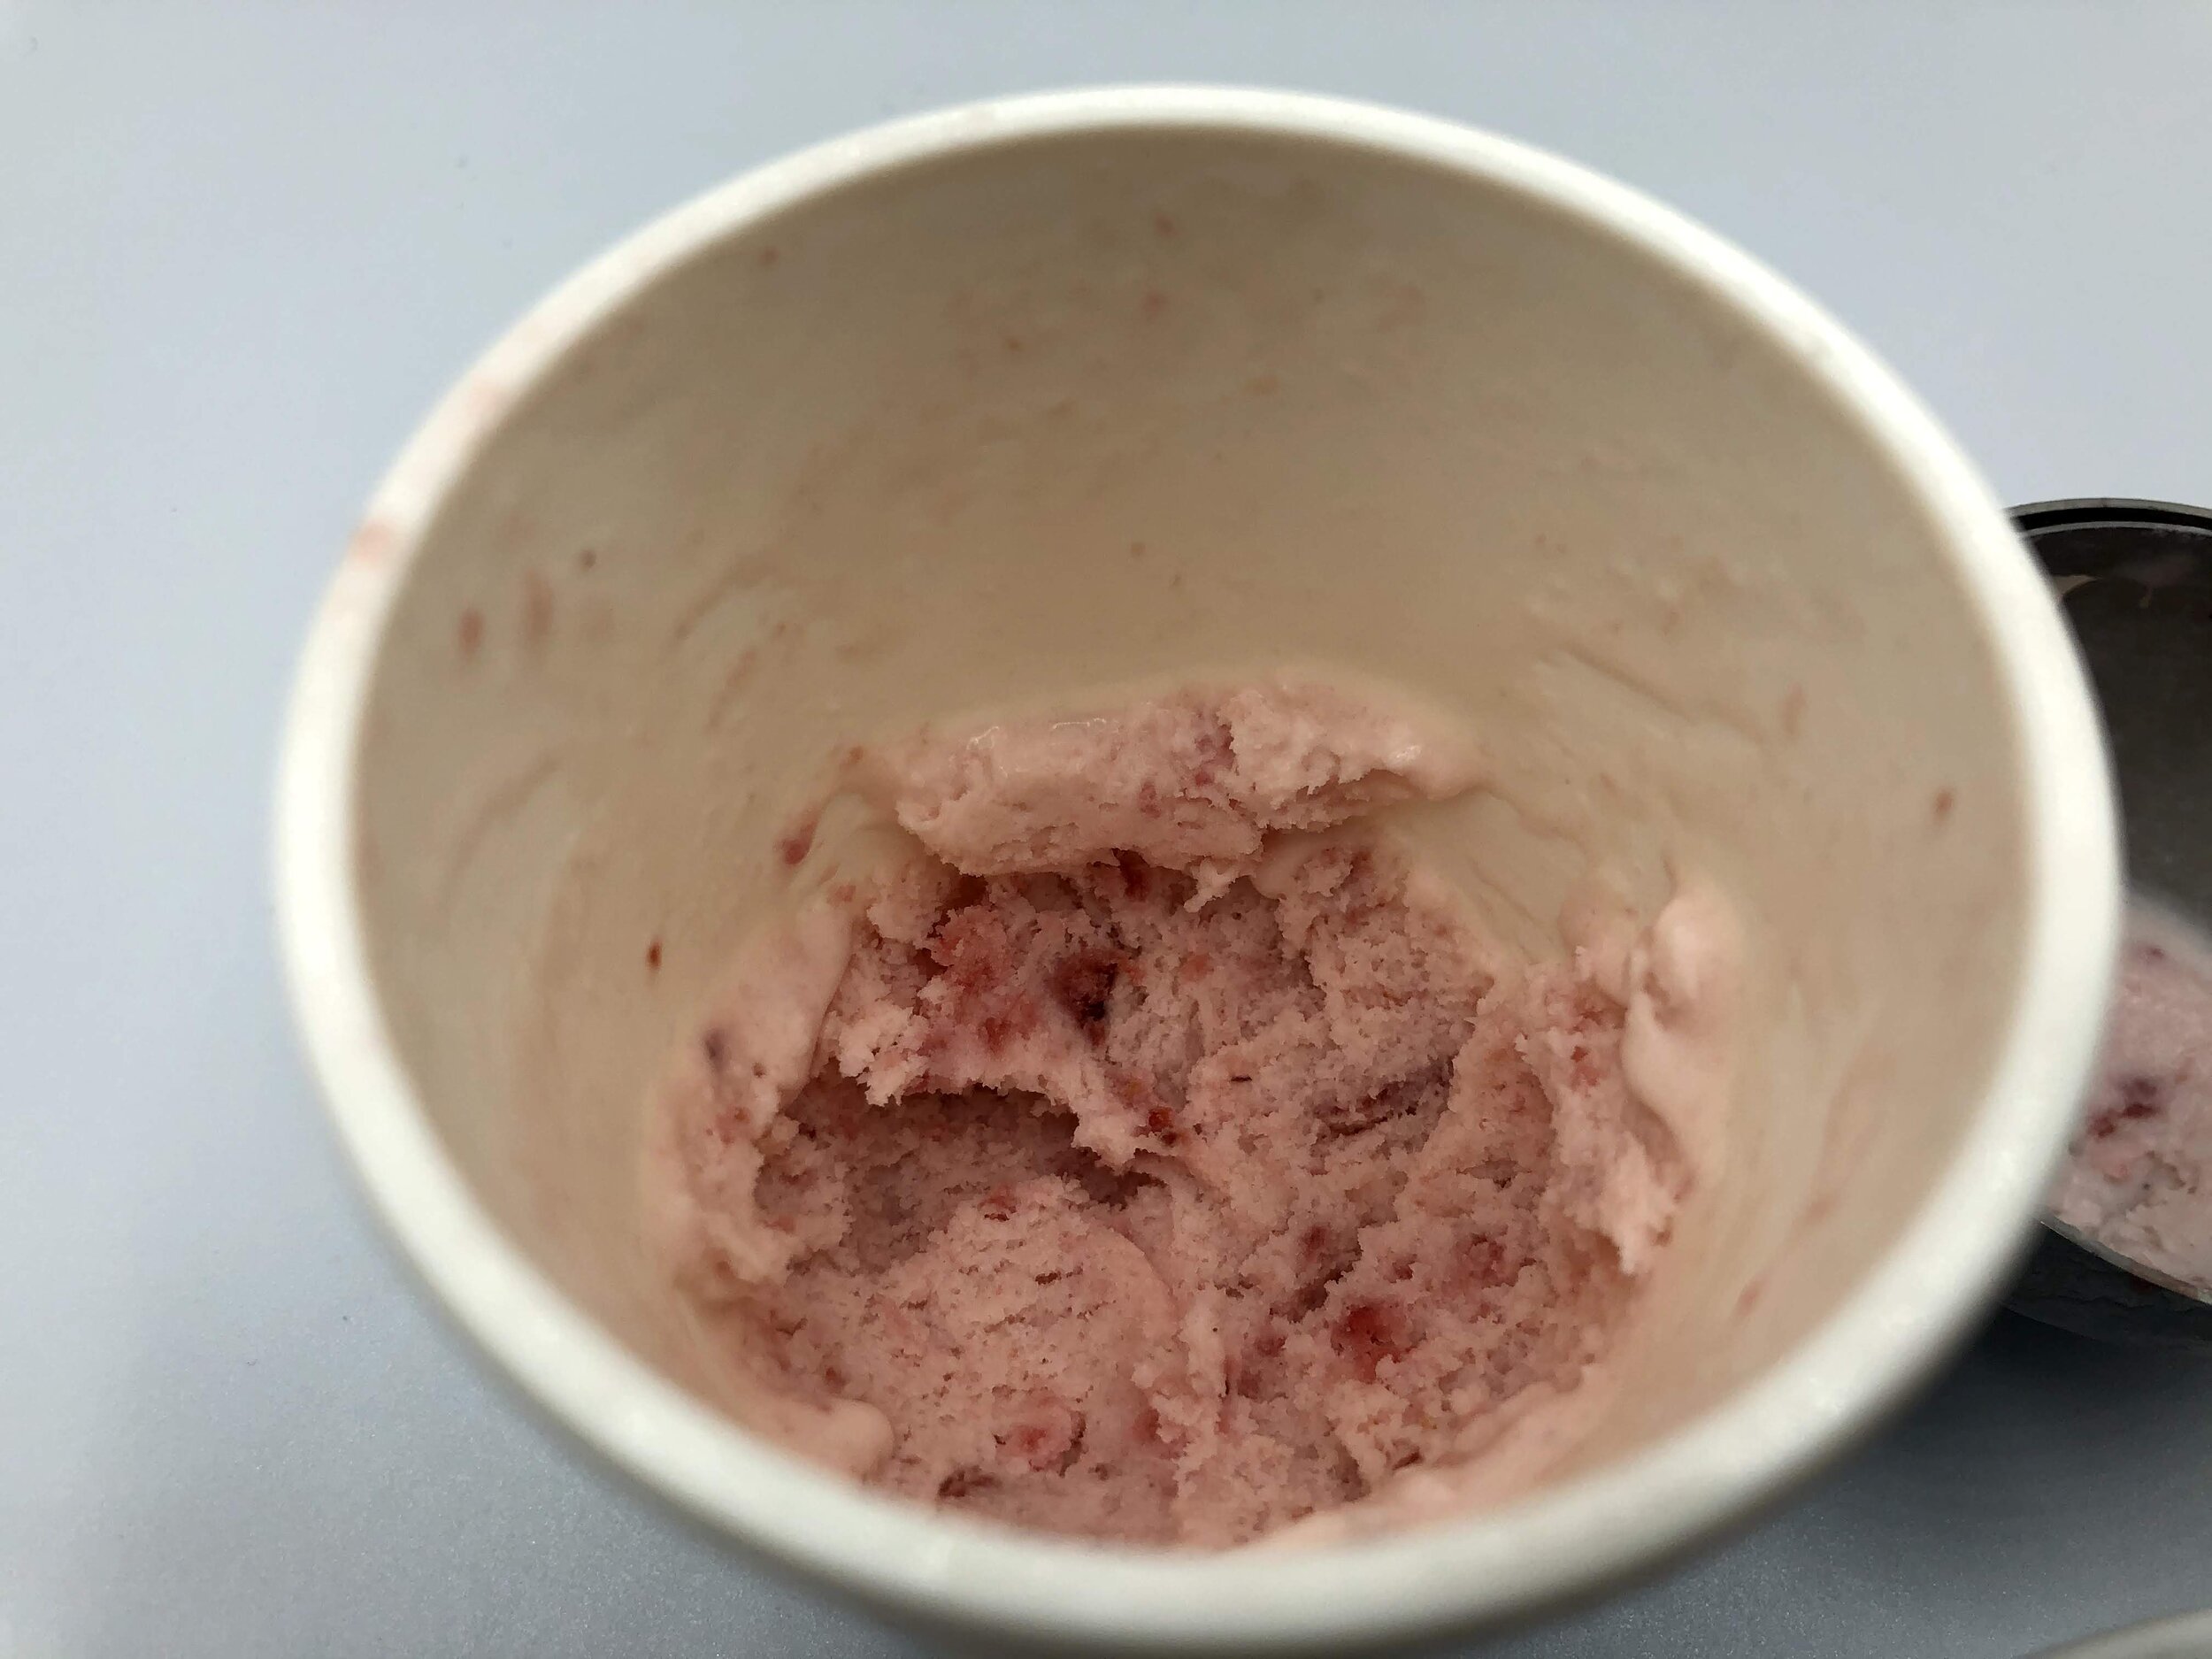
Strawberry has never been my favorite flavor but I made a batch recently upon request and I must admit that it was pretty tasty! I’m writing down this recipe to share it to who ever is interested in making it at home but also so I don’t forget it, because I’ll most definitely whip up another batch soon!

Ideally, make this recipe with fresh strawberries but since they are not accessible for the moment, I used frozen ones and it worked perfectly fine.

IMG_0085.jpg

ingredients

  • 3 cups strawberries (fresh or frozen, thawed)

  • 4 tbsp lemon juice

  • 1 1/2 cups sugar

  • 1 1/4 cups whole milk

  • 2 3/4 cups heavy cream

  • 1 1/2 tsp vanilla extract

  • 3 tbsp vodka (optional)


directions

  1. Chop the strawberries into chunks.

  2. In a bowl, combine the strawberries, lemon juice and 1/2 cup of sugar. Stir gently to mix everything. Cover the bowl and put it in the refrigerator for at least 2 hours.

  3. Strain the strawberries and reserve the juice.

  4. Separate the strawberries into 2 bowls. Take one bowl and slightly mash the berries. Put the other bowl aside.

  5. In the bowl of an electric mixer fitted with the whisk attachment., add the milk and the remaining cup of sugar. Whisk at low speed until the sugar has dissolved.

  6. Add heavy cream and continue mixing, at low speed.

  7. Add the reserved juice, mashed strawberries and vanilla extract.

  8. Add the vodka (optional). * see note below.

  9. While the mixture is still mixing at low speed, prepare your ice cream machine.

  10. Pour the mixture in the ice cream machine and freeze according to the manufacturer’s instructions.

  11. Transfer the ice cream to a freezer-safe container and add the remaining strawberries. Mix delicately with a spoon. The ice cream’s texture should be soft and creamy.

  12. Cover and freeze until firm.


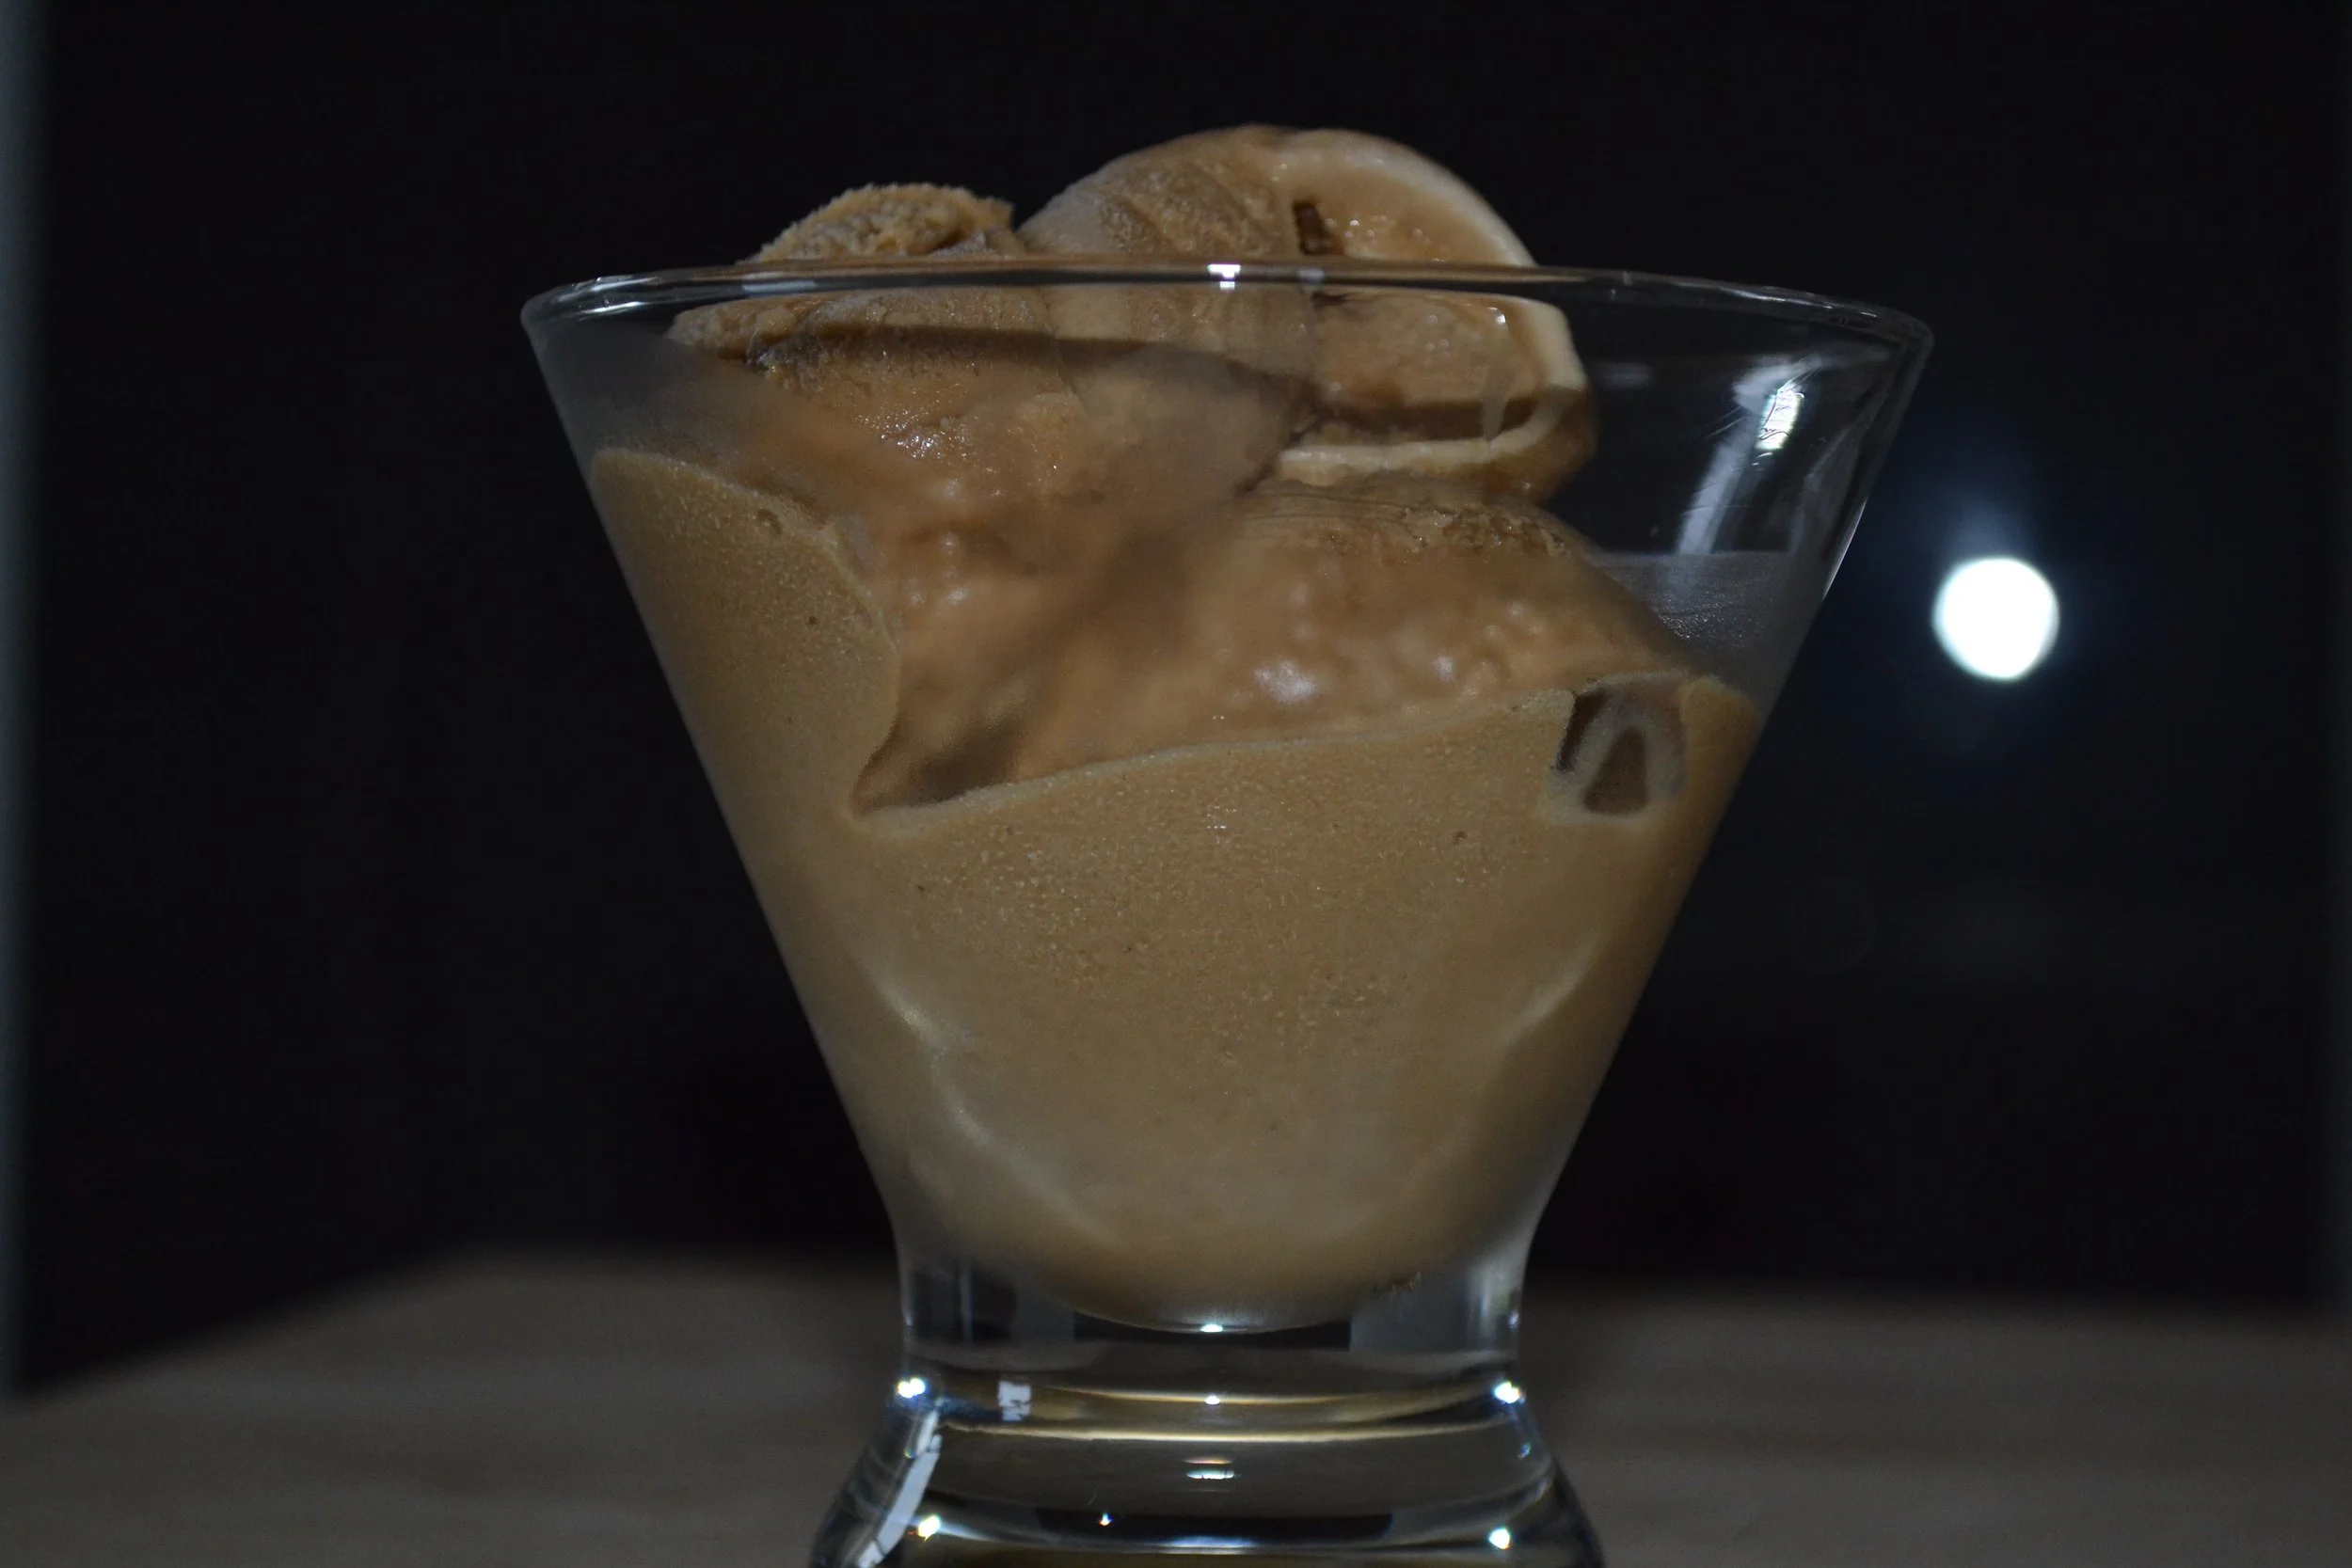
* The vodka’s purpose is to prevent the ice cream from becoming too firm in the freezer. Since alcohol doesn’t freeze, it allows your ice cream to retain some of its creamy texture. I like to use vodka because it’s flavorless and will not affect the overall taste of the final product, but every now and then, I play around, mixing different ice cream flavor with different alcohol. My favorite combo by far is vanilla ice cream with rum or Grand Marnier. They’re also great with chocolate.

If alcohol is not your thing, then another trick is to add more sugar. Sugar is also a great stabilizer, so don’t skimp on it. Granulated sugar or corn syrup will do the trick. I read that you can also use gelatin but I will not dwell on it because I’ve never tested it.

I personally like to add alcohol. I’ve found that they work best at stabilizing my home made ice creams and they don’t make them too sweet, which is a big turn off. They can be flavorless (like vodka) or add more depth (rum, Grand Marnier, Amaretto, etc).

Enjoy!


Black sesame seed ice cream

This dreadful and seemingly endless winter we’ve had this year is over and ice cream season has finally come! Ice cream is undoubtedly my favorite dessert because it’s got everything to make life better: it’s sweet, cold, refreshing and comes in so many different flavors and textures that we can never get bored!

That being said, we often times have to search for special flavors. Stores always sell the same old traditional flavors while parlors that actually make original flavors are rare and usually not that accessible. That’s why, a few summers ago, I decided to invest in my very own ice cream machine. I can now make any ice cream I want, whenever I want! Truth be told, making a proper good ice cream is not that easy and requires some patience, which I do not have when in the midst of a serious craving. But I still consider a 45 minute commute and waiting in line behind a bunch of undecided people who cannot make up their mind already, the worst of all possible options.

Anyways, after having made regular ice creams like vanilla or pistachio, I decided to tackle something different: black sesame seeds. I love sesame seeds. They add so much flavor, depth and texture to meals, it’s incredible. Though black sesame seeds pretty much taste the same as the white ones, their color is the reason why I chose them over white sesame. I wanted something different, something that would stand out.

Not only is the result eye catching, but it’s also delicious! The taste is incredible, the ice cream is unctuous and the little sprinkle of toasted black sesame seeds on top adds a very welcome crunch. Amazing!

IMG_8913.jpg

ingredients

Black sesame paste

  • 1/2 cup black sesame seeds

  • 1 tbsp honey

Ice cream

  • Black sesame paste

  • 1.5 cup milk

  • 3/4 cup sugar

  • 1/4 tsp salt

  • 4 egg yolks

  • 1.5 cup cold heavy cream

  • 1 tsp vanilla extract

Topping (optional)

  • 2 tbsp black sesame seeds

  • 1/8 tsp salt

directions

  1. Roast the black sesame seeds in a pan over medium heat. Set aside fora few minutes to cool.

  2. Grind the sesame seeds in a food processor. When a paste starts to form, add the honey. Continue grinding to mix the ingredients together and until the mixture attains a paste-like consistency. The whole mixture must be able to hold together.

  3. In a bowl, vigorously whisk egg yolks. Set aside.

  4. In a pot over medium heat, mix together milk, sugar, sesame paste and salt, stirring regularly until the sugar dissolves.

  5. With a ladle, add the warm milk mixture to the egg yolks, one spoonful at a time, whisking constantly so the eggs don’t curdle. Mix until incorporated.

  6. Return the mixture to the pan and heat over medium heat. Stir constantly until the mixture thickens and coats the back of a spoon. If you can draw a line on the back of the spoon, you can stop stirring.

  7. Pour the cold heavy cream in a bowl and pour the milk mixture in it as well. Add vanilla extract and mix until combined.

  8. Cover the surface with a plastic wrap and put the bowl in the fridge for at least 4 hours, but preferably overnight.

  9. Make the ice cream in the ice cream machine, according to the manufacturer’s instructions.

  10. Transfer the ice cream to a freezer-safe container, cover and freeze until firm.

  11. In the meantime, prepare the topping by roasting the remaining sesame seeds with the salt. Transfer into a bowl and set aside to cool.

IMG_8912.jpg

Before scooping, let the ice cream rest a bit at room temperature, as it tends to harden a bit in the freezer. Once scooped, top it with a bit of salty roasted sesame seeds, or with the topping of your choice.

If you’re looking for a different flavor, this one is definitely it. The flavor is rich and dense, but quite indescribable. I must admit that it is not for everyone but it absolutely deserves a try!


Vietnamese coffee ice cream

My childhood memories are mostly food related. Tastes and smells often trigger something deep in my mind, taking me back in time. My fondest memory revolved around my father and his ice coffees. Every day during summertime, he would make himself one and, if I'm good, he'd make one for me too. Didn't matter how young I was, didn't matter that I wasn't even old enough to go to school yet, I was already drinking coffee! These sort of things never bothered my parents, and or that, I'm grateful! 

My father usually made a simple instant coffee with ice cubes. He'd make his black and he would put some sugar in mine. But, when he's in a good mood or when he feels fancier, he'd go to the store and buy a can of condensed milk. I loved these cans! Still do! What is he doing with the condensed milk? Well, Vietnamese ice coffee, of course! Also known as cà phê đá (cà phê = coffee and đá = ice), Vietnamese ice coffee, along with staples such as the Banh mi (Vietnamese sandwich) are the perfect result of the effect of French colonialism on Vietnamese culture. 

There are different variations but typically, you make a Vietnamese coffee by pouring some condensed milk at the bottom of your glass, then pour freshly brewed coffee on top. Add ice cubes, mix the whole thing together and enjoy! On very hot days, my father would substitute the condensed milk for vanilla ice cream, and I'm in heaven! 

My father would make these coffees out of nostalgia. He was homesick and sipping this refreshing cold drink reminded him of home. The other day I was myself also feeling nostalgic and decided to revisit one of my childhood favorites. Anyone who knows me well would tell you that although I love baking, my absolute all-time dessert of choice is ice cream. I worship ice cream! Can't have enough and I would eat them at any time of the year. Who said they were just for summer? Anyways, it was a hot summer day and I realized that I hadn't had a Vietnamese coffee in decades. Even though I started drinking coffee at a very young age, I did not grow up to be a coffee maniac. One cup a day in the morning is enough for me. Since I just bought myself an ice cream machine, I decided to combine my favorite childhood treat with my favorite dessert, and behold, the Vietnamese coffee ice cream!

DSC_0018.jpg

The result was extremely satisfying! It tasted like my early childhood, it was refreshing and the coffee still had a kick (I was concerned all the ice would have diminished its effect).

So, if you're looking to make something different this summer, why don't you give this one a try? Plus, it's super easy to prepare!

DSC_0017.jpg

Vietnamese coffee ice cream

INGREDIENTS

  • 1 1/2 cup of good freshly brewed coffee
  • 2/3 cup sweetened condensed milk
  • 2/3 cup heavy cream

DIRECTIONS

  1. In a bowl, mix together the coffee, condensed milk, and cream until combined. Cover and chill the mixture overnight.
  2. Pour the mixture into an ice cream maker and freeze according to the manufacturer’s instructions.
  3. Transfer the ice cream to a freezer-safe container, cover and freeze until firm.

That's it! How easy was that? I like to sprinkle some ground coffee in the mixture in step 3 because I enjoy the little crunch. If that's not your cup of tea, leave it like that or add a few dark chocolate chips if you like. Even better, melt the chocolate and pour it in the ice cream machine, when the ice cream is almost ready. If your machine does not allow that, pour it in the mixture in step 3 and delicately mix a little bit. The melted chocolate will freeze into fine and delicate strands. The end result would be more refined than just chocolate chips.

Note: If the coffee is too strong for you, use 1 cup of brewed coffee instead of 1 1/2. 

Enjoy!

DSC_0011.jpg