
I really love kids’crafts. They’re the most enjoyable to make while grownup crafts, I find, always have to be practical or related to some life hack. No. Kids’ stuff are just meant to be fun and that’s what I like.
A few years ago I started organizing kids crafting activities at work and I found out that I really enjoyed it! Since then, I’m constantly looking for and trying out new ideas, mostly for my personal pleasure, and sometimes for work. All my crafts are highly focused on upcycling (you know, to reduce waste but also to limit money spending) and, for parents out there, they really encourage kids to use their imagination to make something out of what seems like nothing, while allowing them to discover the joys of creating something with their own hands. More and more, we buy things that are ready-made and every now and then, it’s nice to develop or reconnect with this increasingly disappearing skill.
In this post, I’m sharing one of my favorite craft: the moving paper snake. I organized this activity for work, two summers ago, and it was by far the kids’ favorite as well! Anything slightly mechanical will make them jump up and down from excitement. This snake is super fun to make and to play with, but the best part is that it is also super easy to build and doesn’t require much.

Material
This is pretty much all you’ll need for this craft!
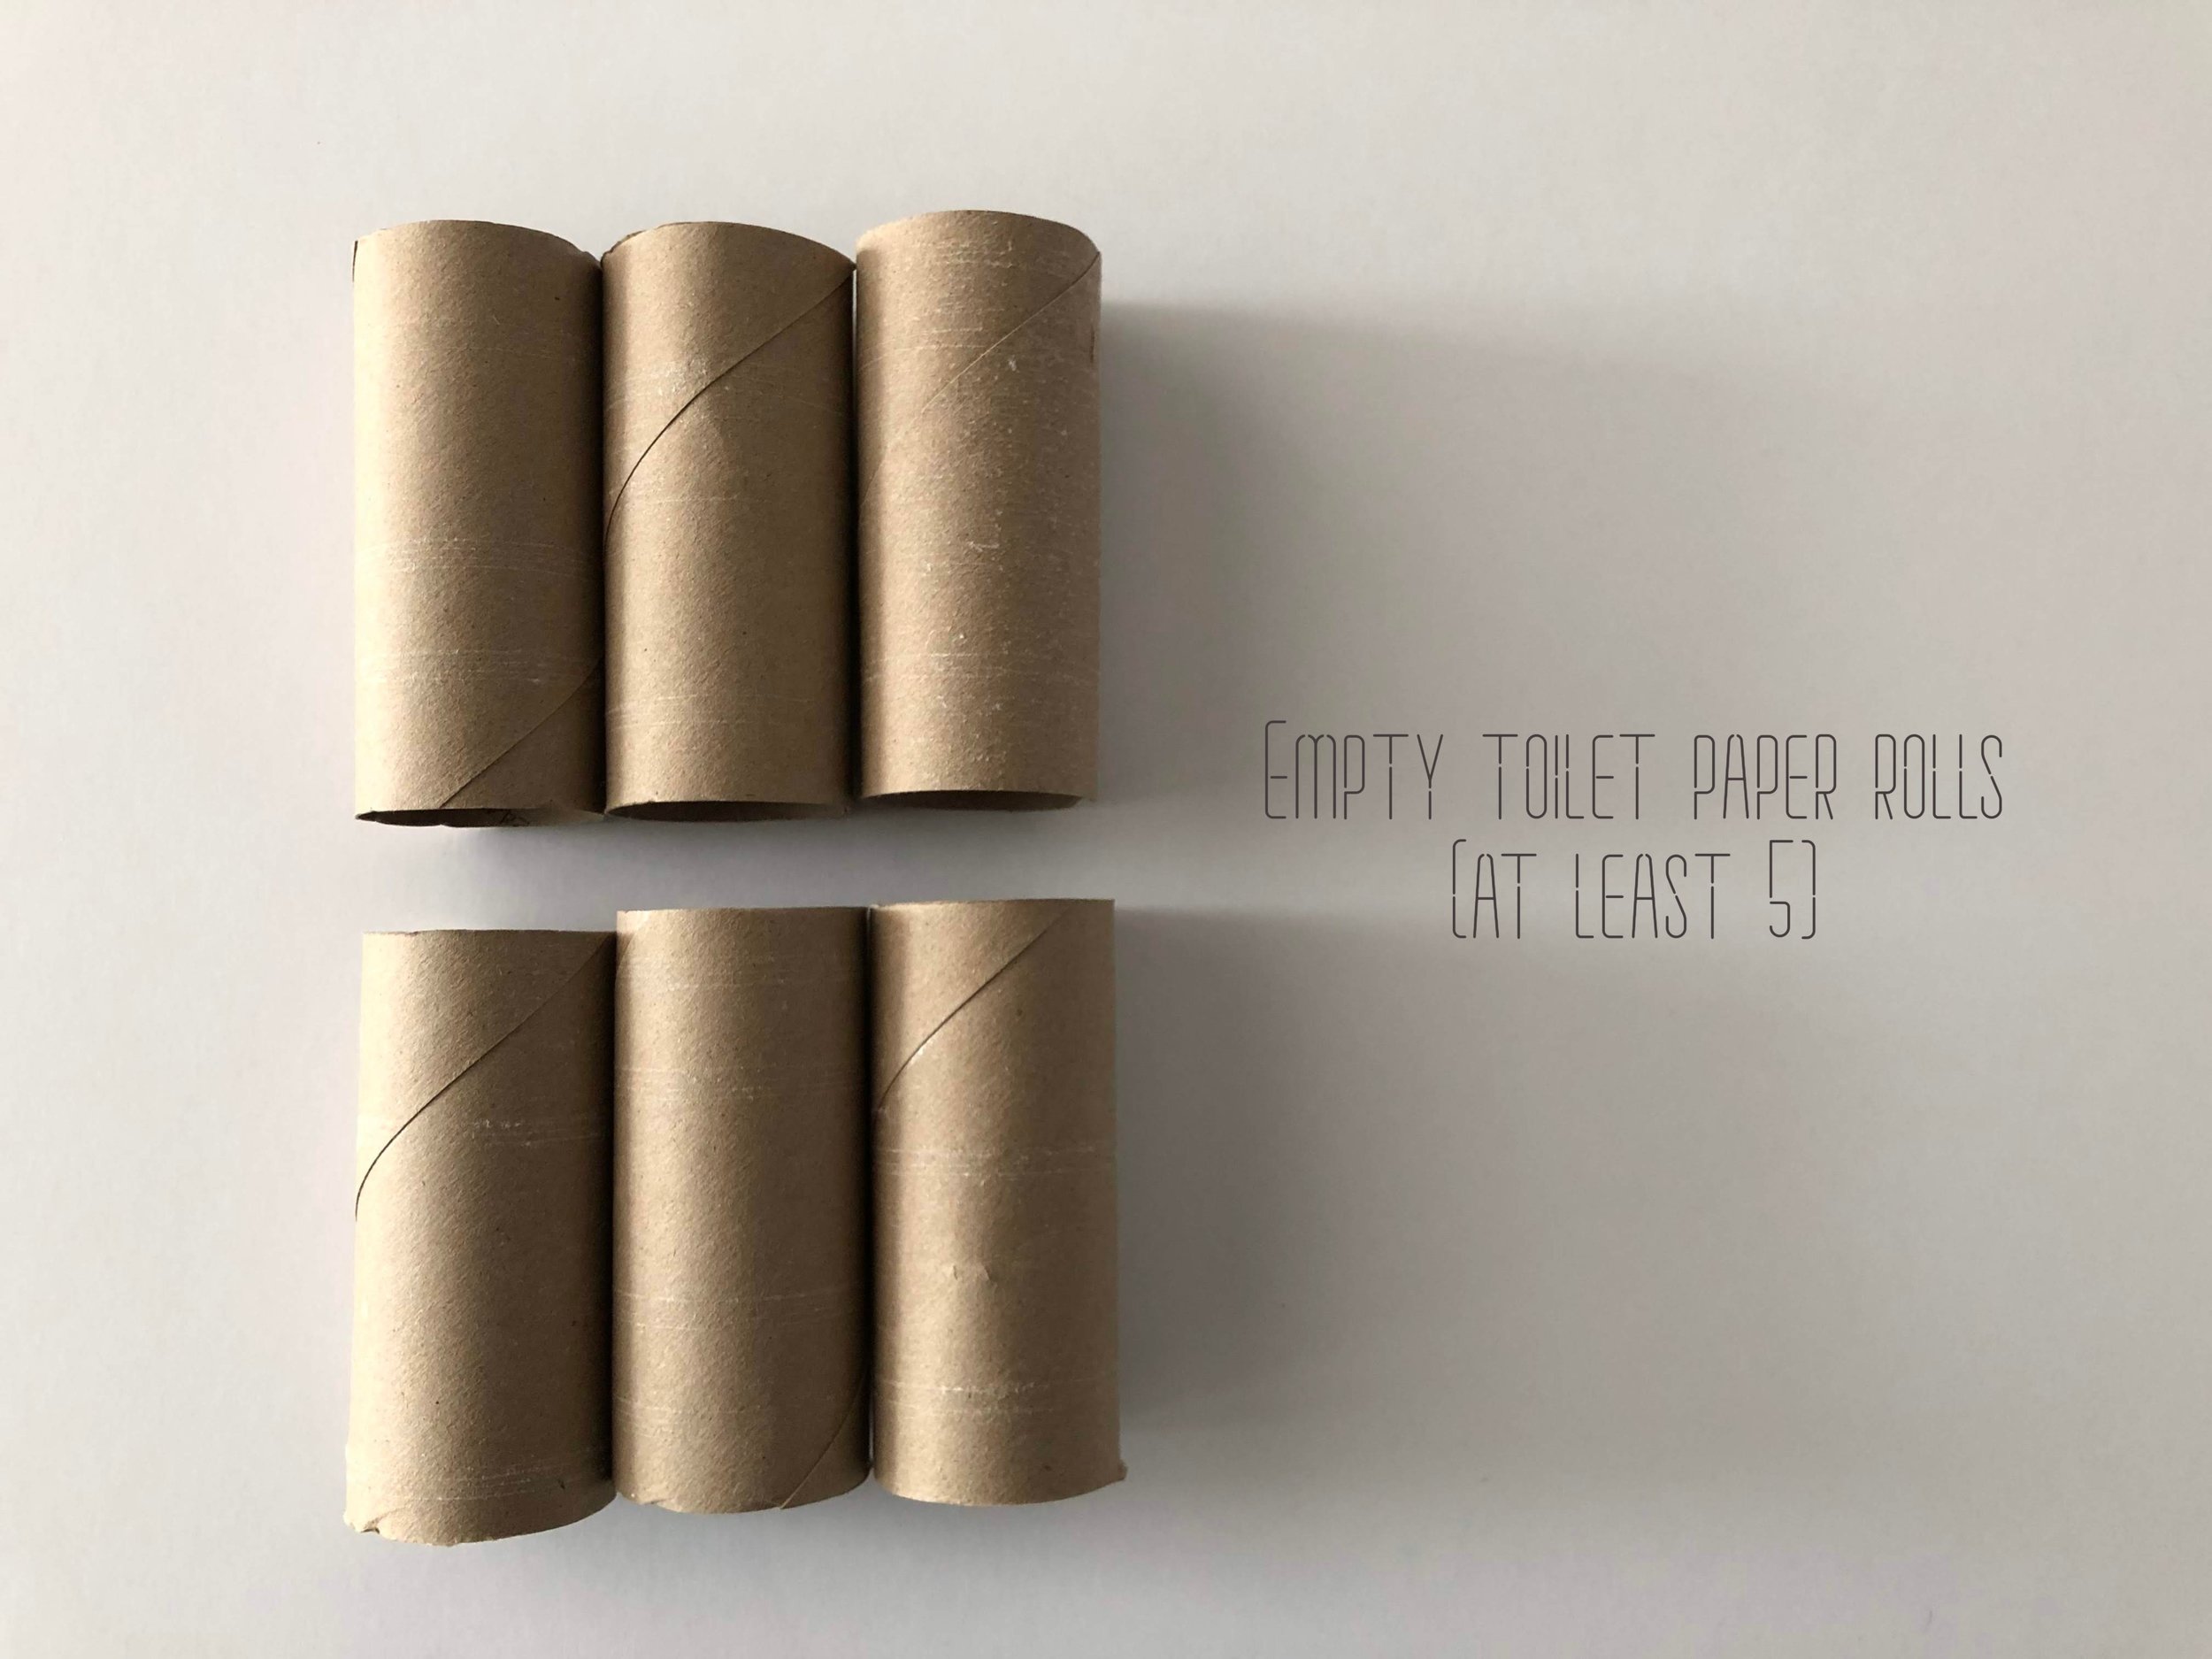
At least 5 empty toilet paper rolls. I used 6 in this case.
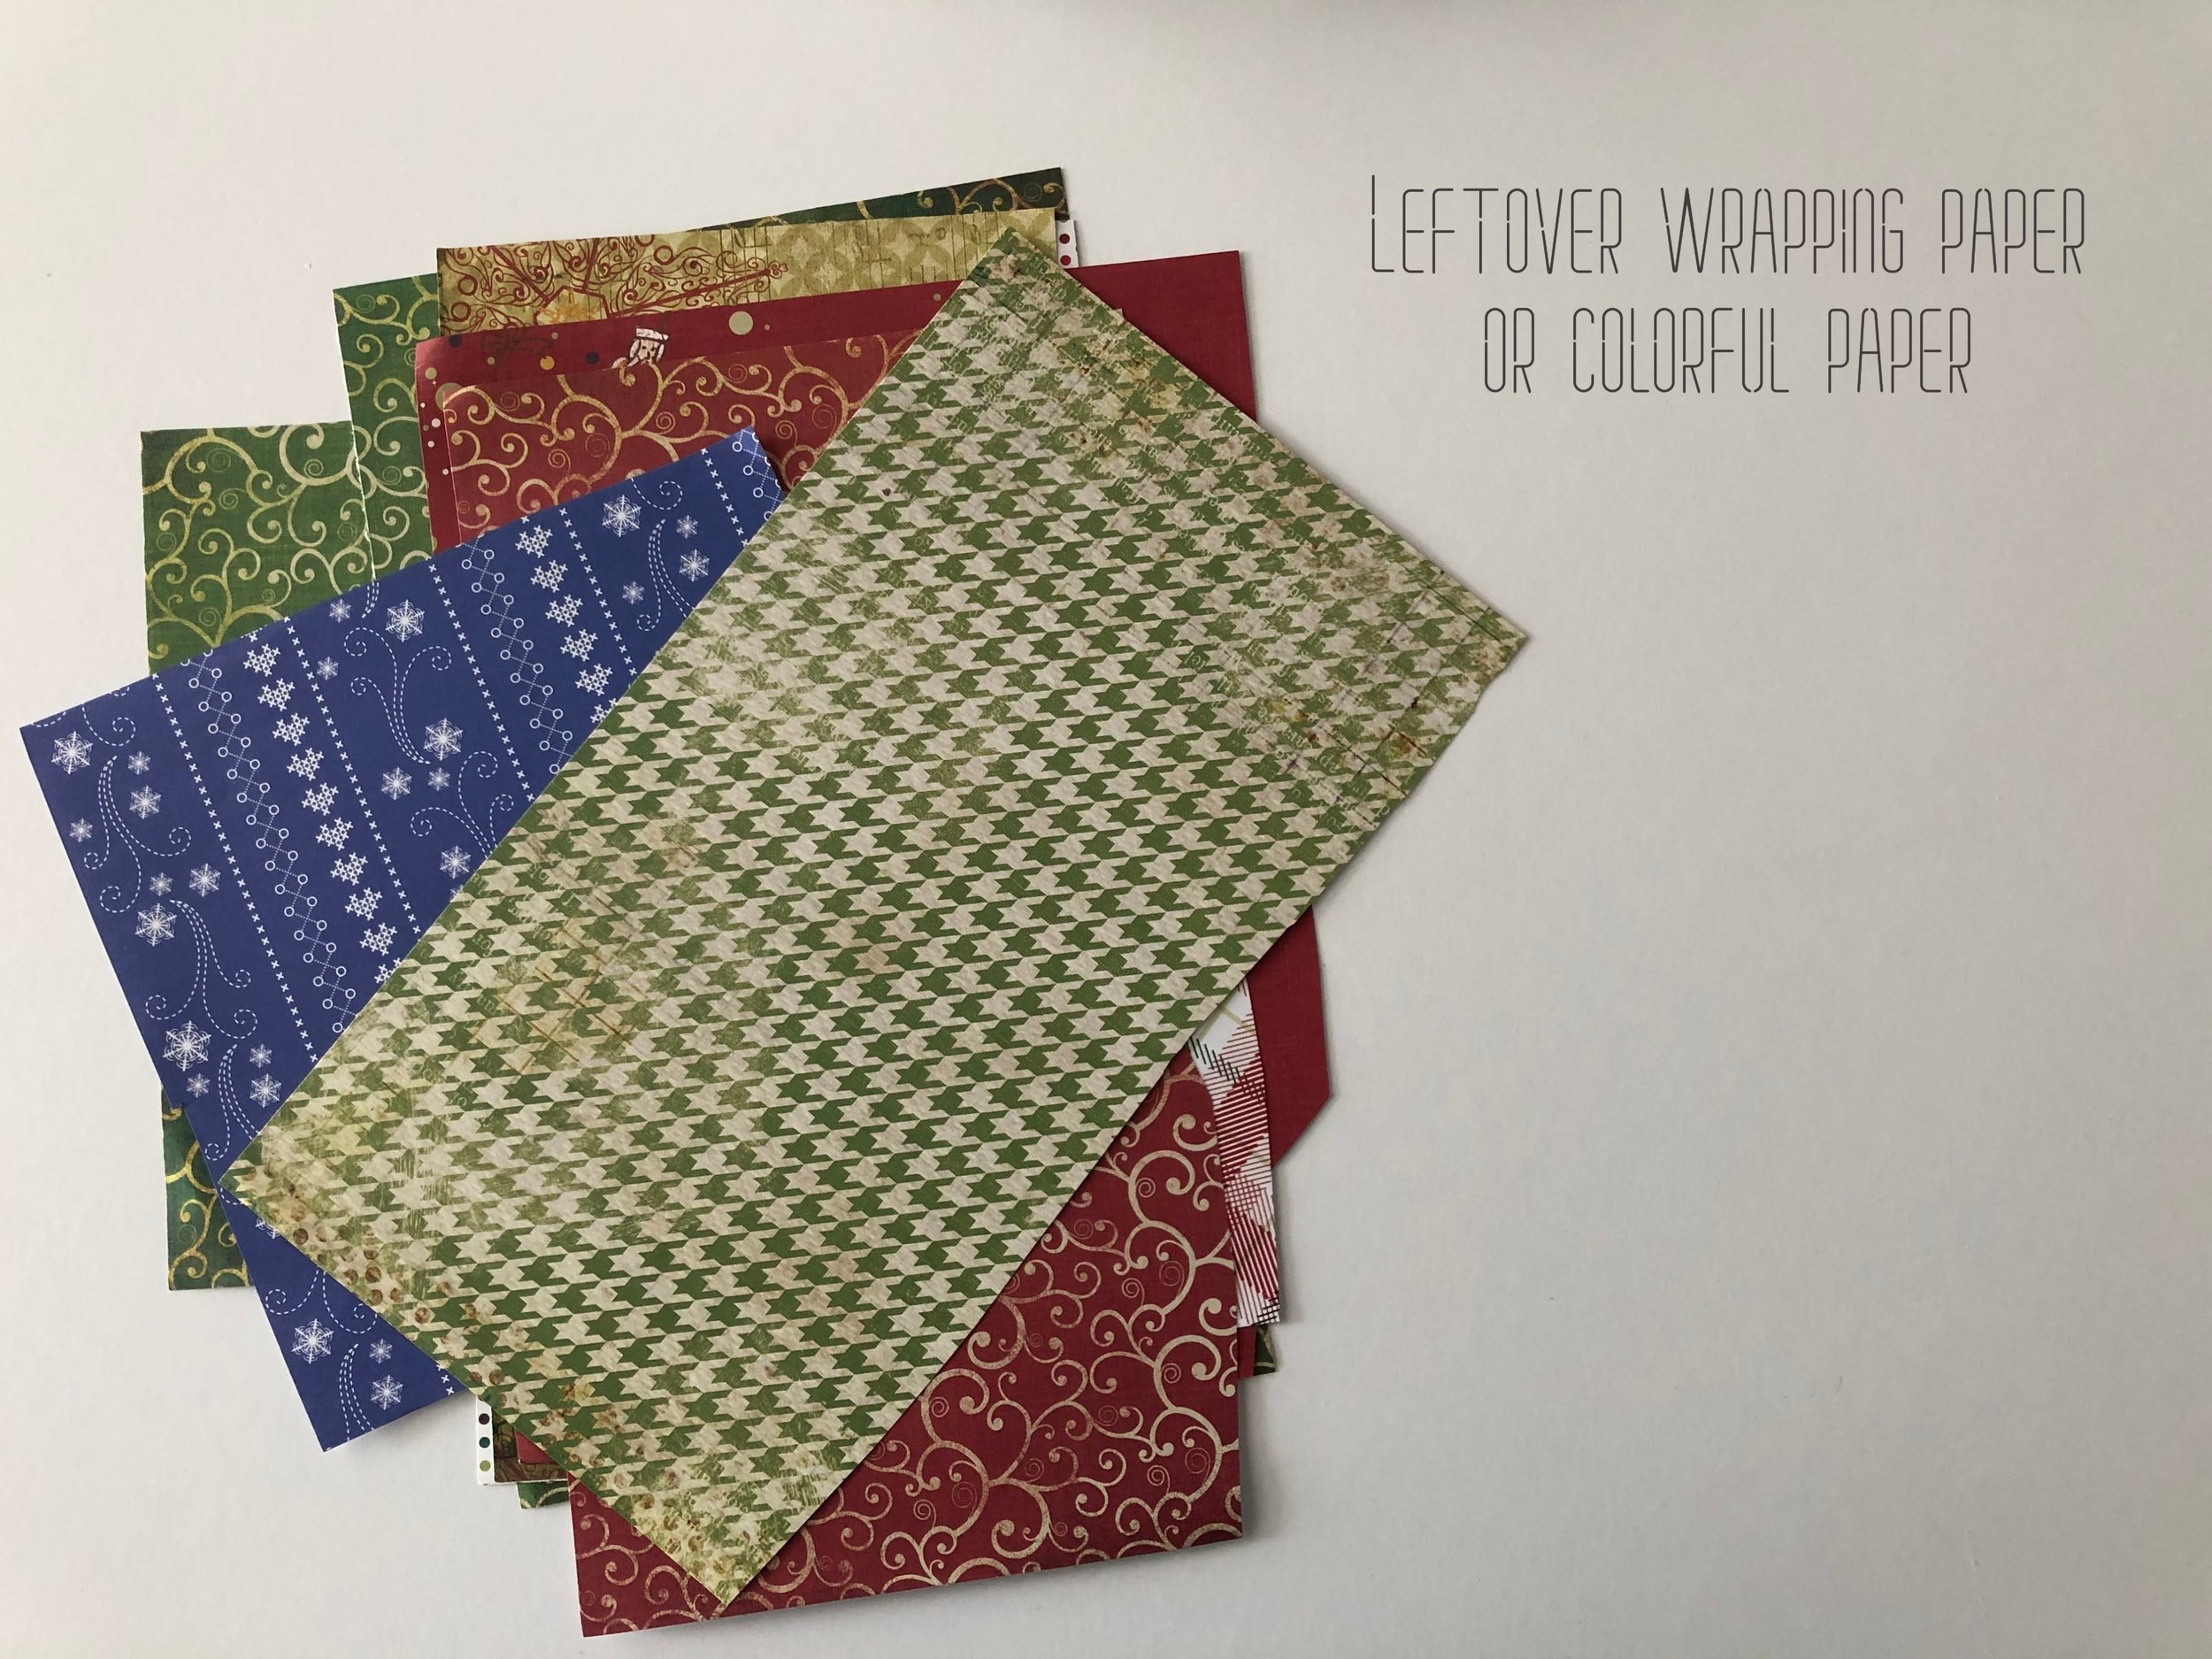
Leftover wrapping paper. Never throw them out, it’ll be a waste! Carefully unwrap the gift and keep the paper neatly in a box!
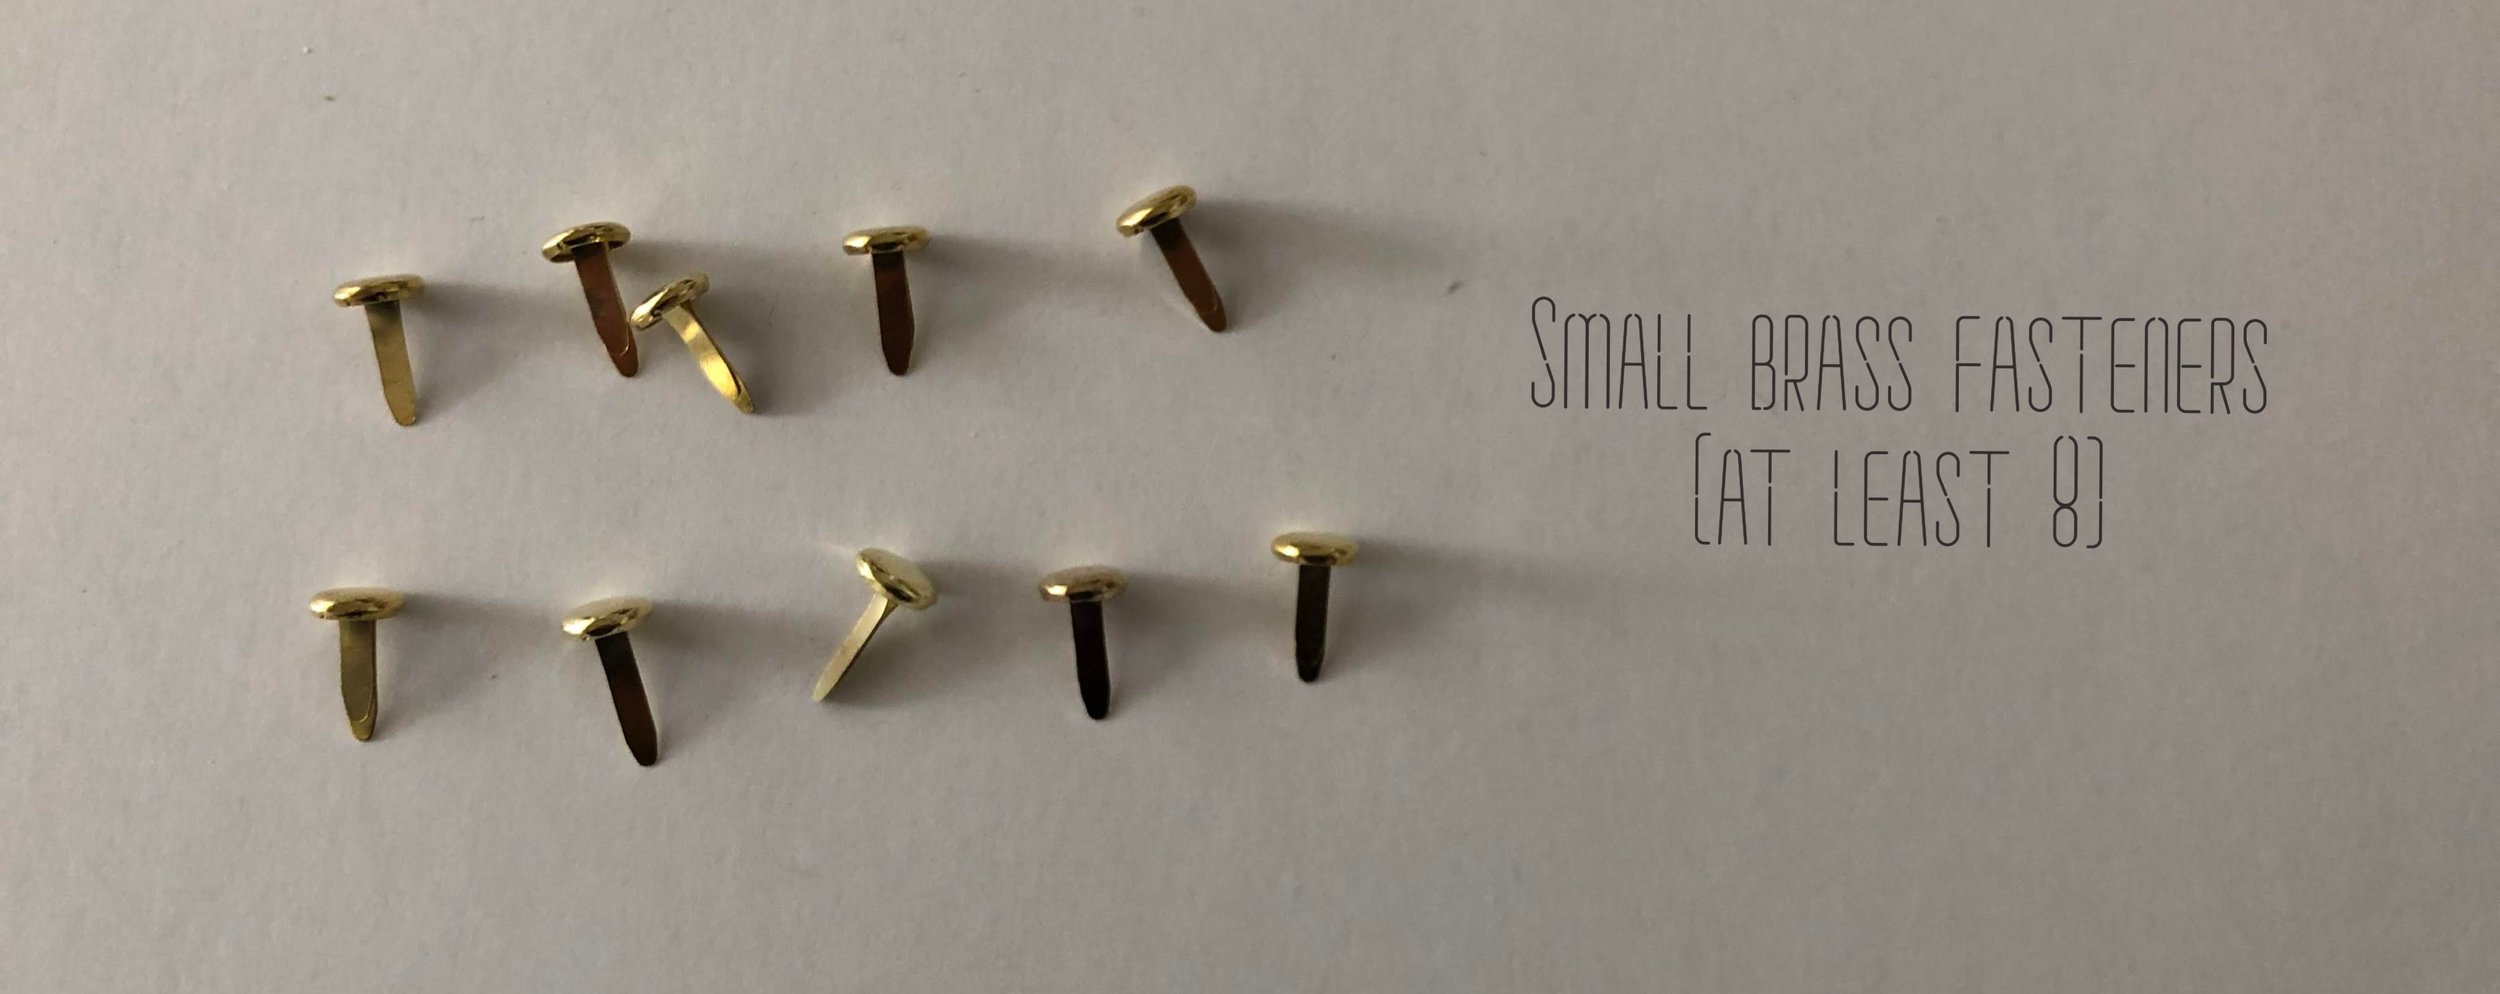
A bunch of brass fasteners. But if you do not have any, that’s ok! You can use refolded paper clips or cut a bunch of pipe cleaners into smaller parts.
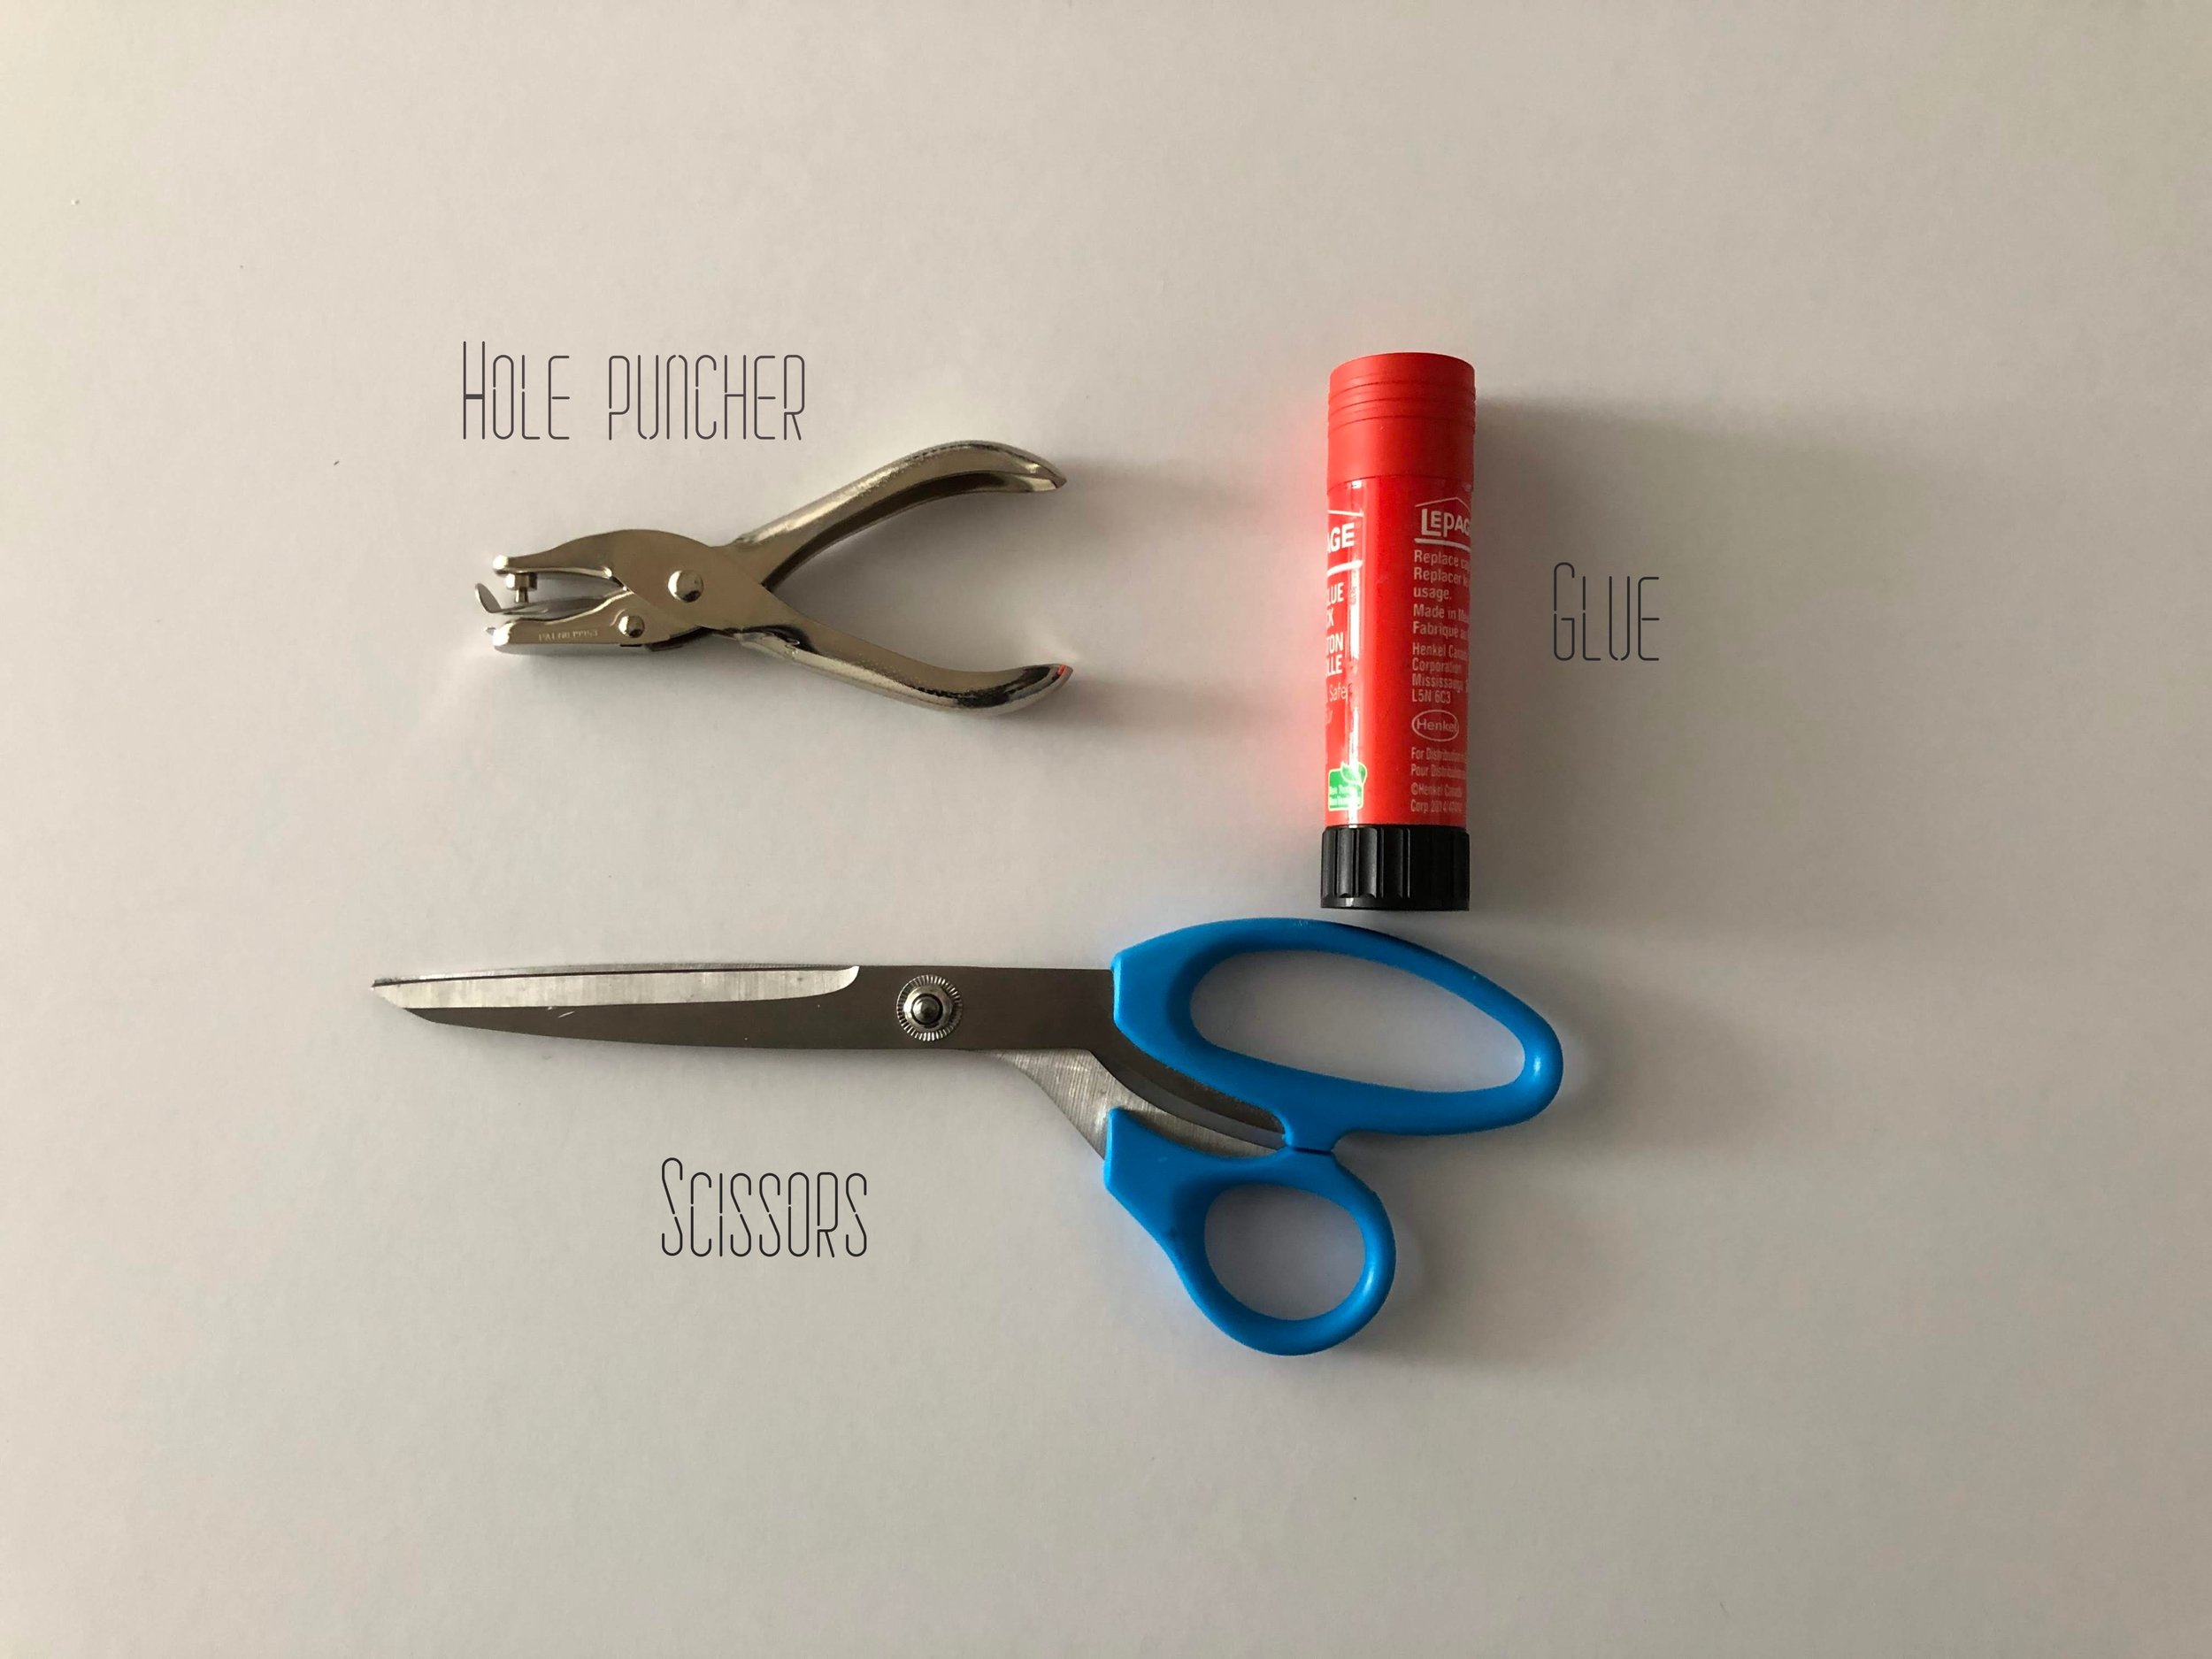
And of course, the basic tools : scissors, glue and a hole puncher. In this case, I used a puncher that makes smaller holes but it’s also ok if you do not have one. The regular puncher will work just fine.
Also not shown above but you can add any accessory you want to decorate the snake to your liking. I just added eyes.
Instructions

1- Cover the toilet paper rolls with wrapping paper.

2- Cut the extremities of each roll so they are pointy.

3 - Punch a hole at each extremity, on the upper point and also on the lower one.
!!! You cannot see it very well on the picture but the first paper roll is the only one that has holes on one end. All the other rolls have holes on each end.

4 - Starting with the first roll (the one that is not punched on both ends), combine 2 rolls together by inserting the brass fasteners into their punched holes. A fastener must be inserted into the upper and the lower holes

5 - Continue to combine all the rolls together, until you don’t have any rolls left.

6 - And that’s pretty much it! There’s your snake! All that is left to do is give it some life and personality!

7 - In this case, I only gave my snake a pair of googly eyes, I cut its tails a bit so that it’s pointier and gave it a tongue.
But, you can do what ever you want at this point! You could cut tiny pieces of paper and put scales on your snake!
The brass attachments allow the different parts of your snake to move independently from each other so you can pretty much spend a great deal of time playing with it, making it move which ever way you like!
Check out my Instagram account for a little stop motion video I made, playing with my paper snake!
Have fun and stay tuned for more upcoming crafting ideas!