Cardboard monster!

I organized this paper craft a few years ago for work and it was a such a huge success with kids that I wanted to revisit it today. Anything they can create that is somewhat mechanical will be wildly popular. And this activity is additionally so simple and easy to make that it’s a win-win for all parties involved. If you are looking for something super fun and effortless to make with easily bored kids, this is the way to go. AND, you can use things that are probably already lying around the house!

IMG_2847.jpg

material

IMG_2729 (1).jpg

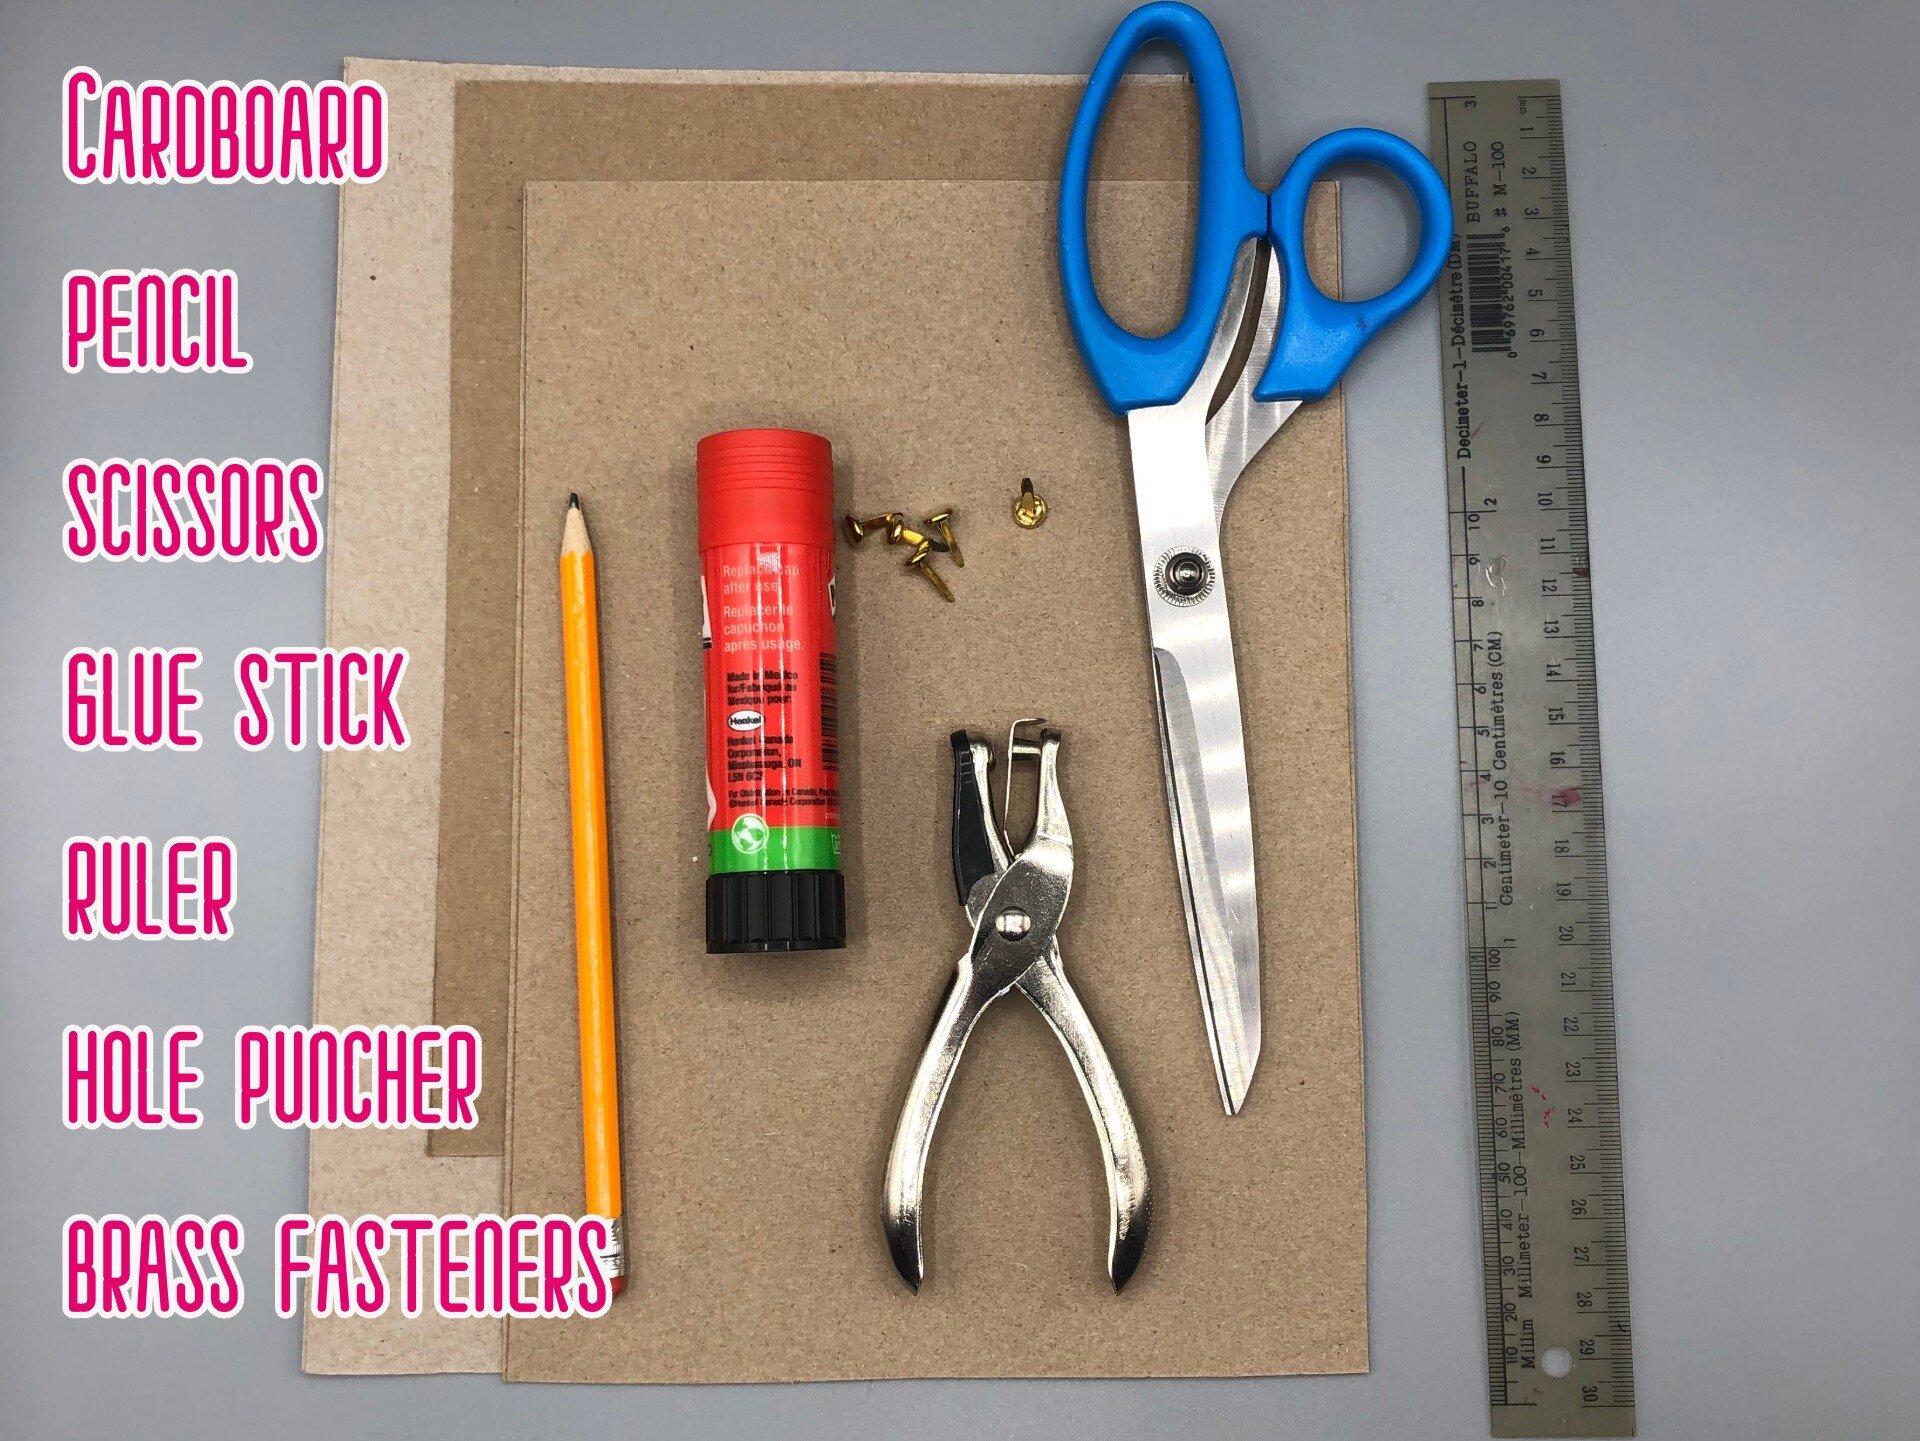
See? How cool is that?! You only need a few things:

  • 2 or 3 cardboard sheets (I used empty cereal boxes)

  • A pencil

  • Scissors

  • A glue stick (you could also use scotch tape)

  • A ruler

  • A hole puncher

  • Brass fasteners (at least 7)

instructions

Take a cardboard sheet and, with the pencil and ruler, draw a series of at least 6 strips, all of the same length and width. Make sure the strips are long enough or else the monster won’t be able to move! Our strips measure 3 cm x 18 cm.

Take a cardboard sheet and, with the pencil and ruler, draw a series of at least 6 strips, all of the same length and width. Make sure the strips are long enough or else the monster won’t be able to move! Our strips measure 3 cm x 18 cm.

Cut along the lines to obtain the desired strips.

Cut along the lines to obtain the desired strips.

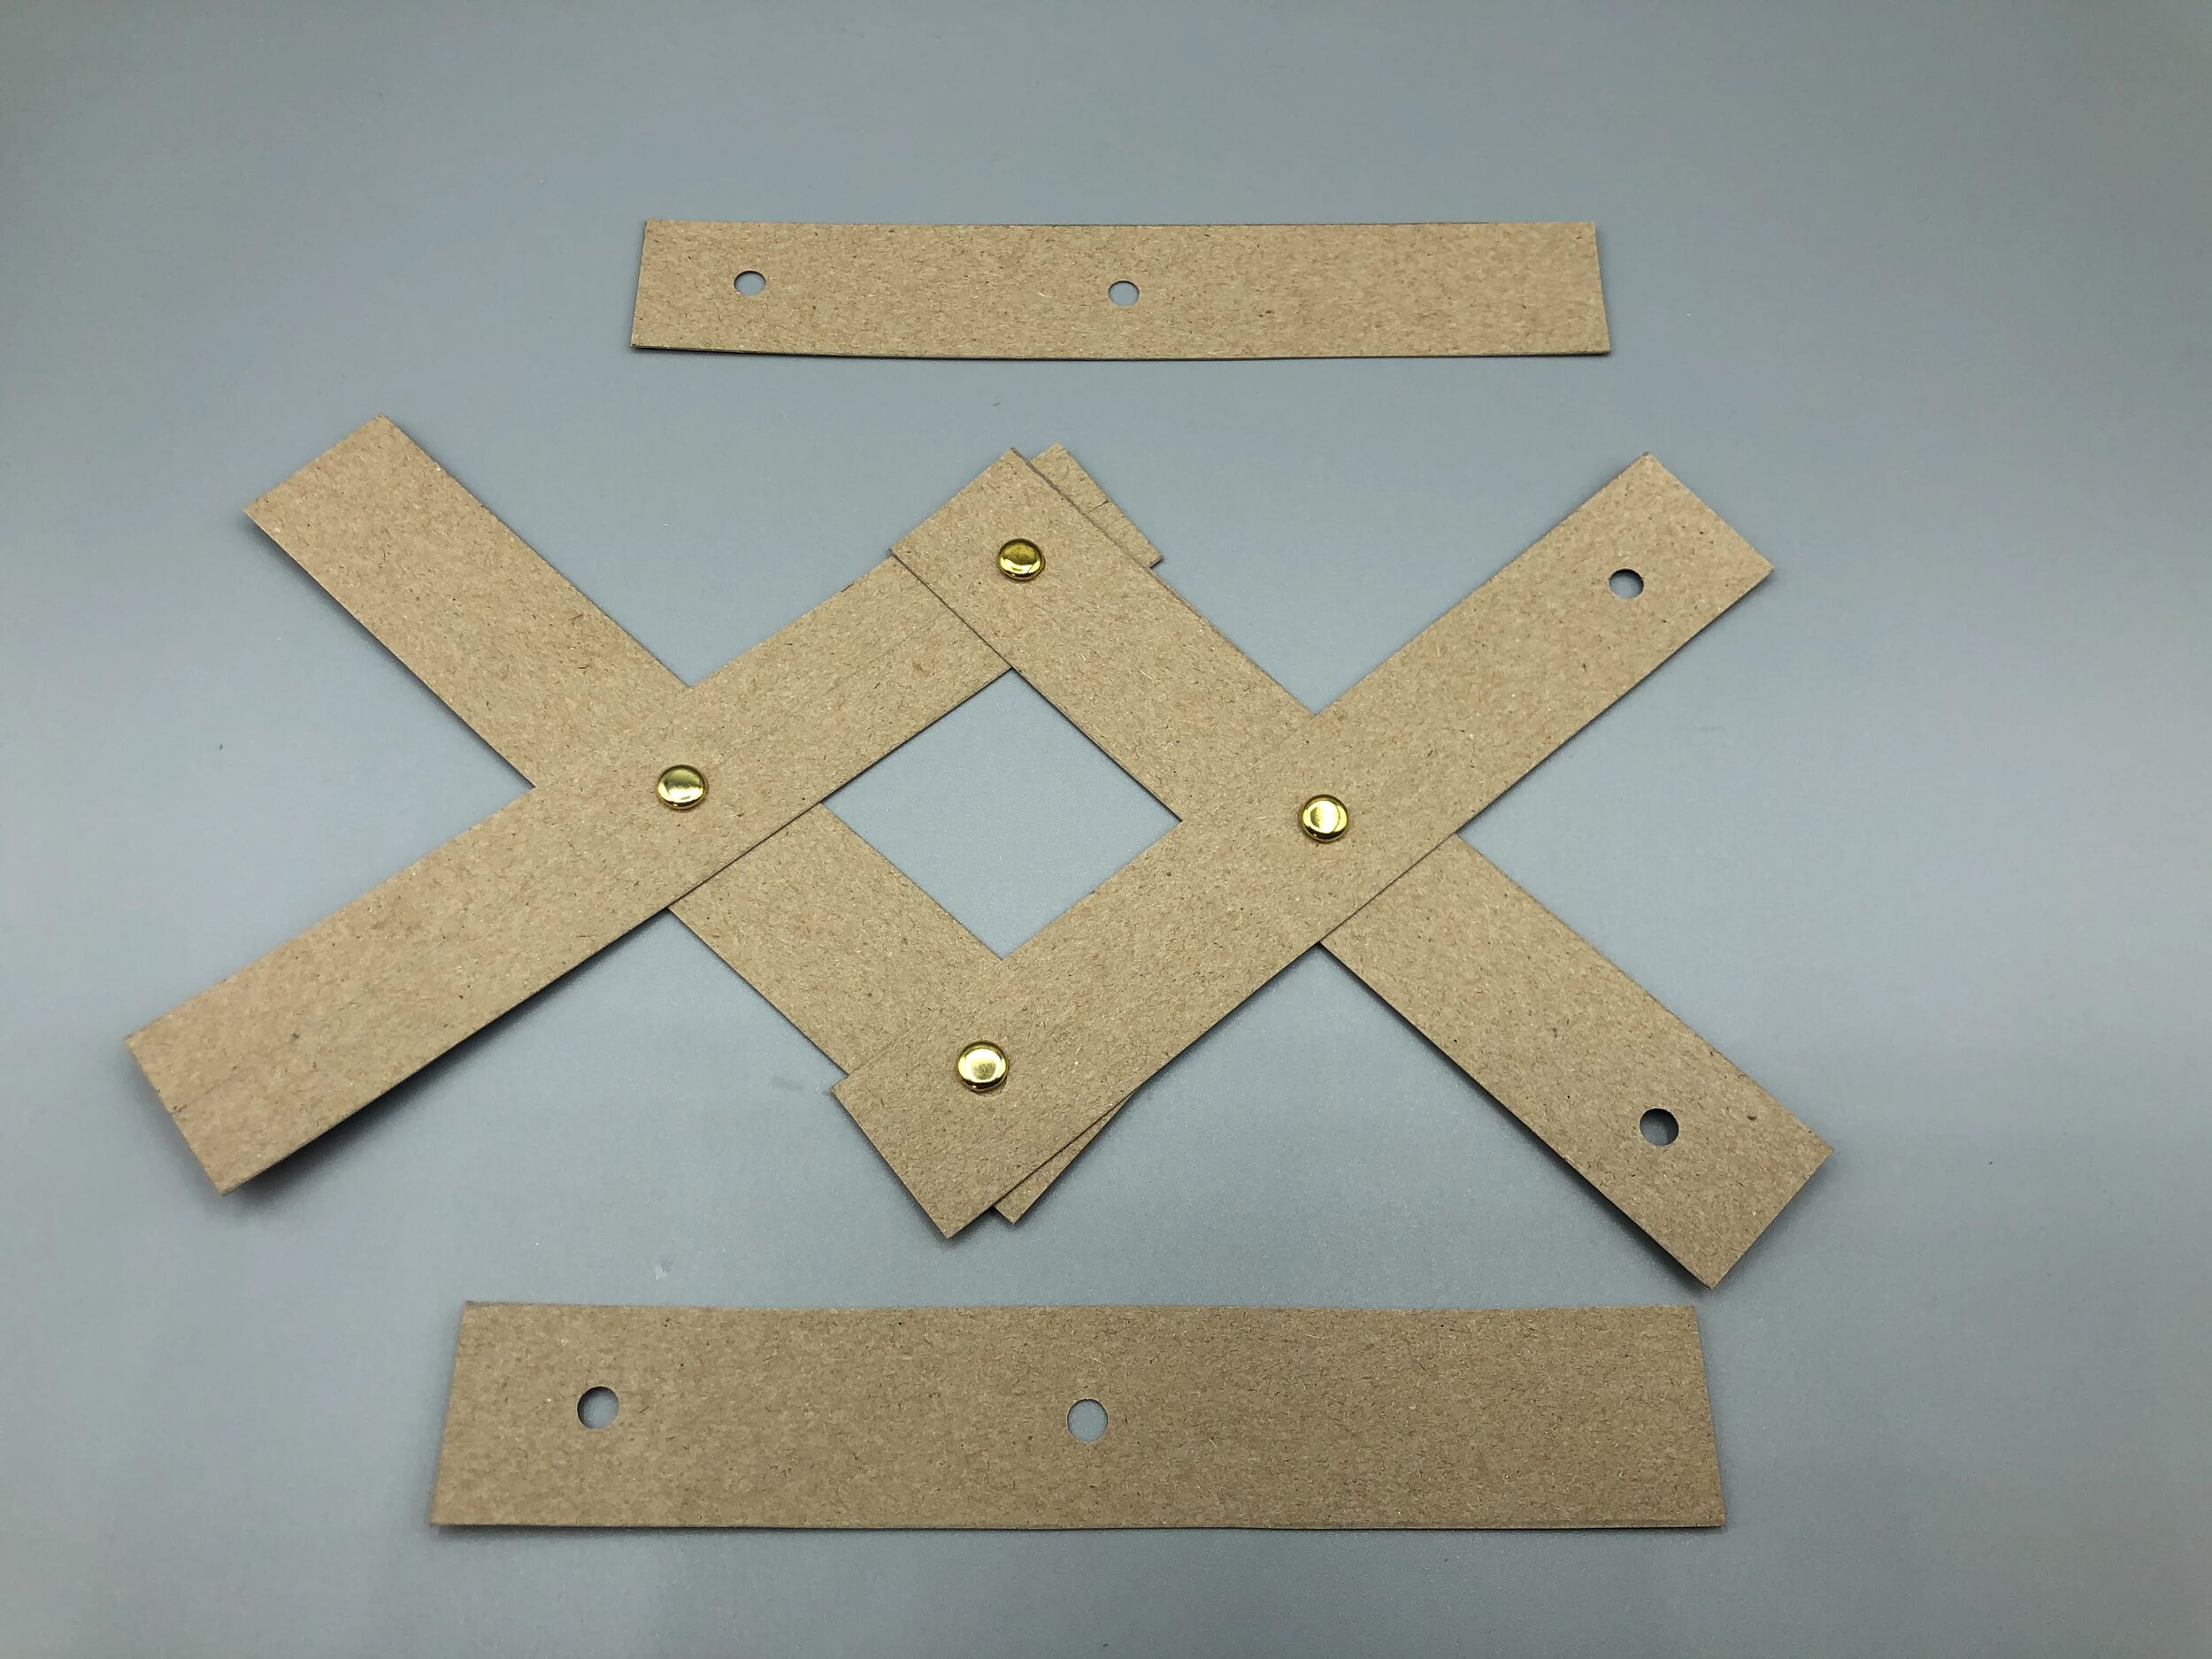
Punch holes in the strips as shown in the photo : the first and last two strips should have a hole in the middle and on one extremity. The middle strips should have a hole in the middle and on both extremities. As much as possible, make sure the hol…

Punch holes in the strips as shown in the photo : the first and last two strips should have a hole in the middle and on one extremity. The middle strips should have a hole in the middle and on both extremities. As much as possible, make sure the holes are all punched at the same place from one strip to another. A trick is to punch hole on one strip and use it as a reference for all others, by placing it on top of the others. That way, you’ll exactly where to punch the holes

Put the strips aside for the moment and take another cardboard sheet as well as a pencil.

Put the strips aside for the moment and take another cardboard sheet as well as a pencil.

Draw a horizontal line along the middle of the sheet, length wise. The ruler is not really needed here.

Draw a horizontal line along the middle of the sheet, length wise. The ruler is not really needed here.

Draw the top half of your monster’s head above the horizontal line. That line represents its jaw line. If it has fangs, draw a zigzag on either side the horizontal line.

Draw the top half of your monster’s head above the horizontal line. That line represents its jaw line. If it has fangs, draw a zigzag on either side the horizontal line.

Cut along the lines you just drew.

Cut along the lines you just drew.

Place your monster’s upper head on a sheet of cardboard to draw its second bottom half. If there’s enough space left on your cardboard, use it, or else take another sheet.

Place your monster’s upper head on a sheet of cardboard to draw its second bottom half. If there’s enough space left on your cardboard, use it, or else take another sheet.

Draw a line along the top side of the monster’s neck.

Draw a line along the top side of the monster’s neck.

Draw a line along the bottom of the monster’s neck. This is because the upper part of the head and the bottom half of the head will share the same neck so both neck should be of the same size.

Draw a line along the bottom of the monster’s neck. This is because the upper part of the head and the bottom half of the head will share the same neck so both neck should be of the same size.

Now draw the bottom half of the monster’s jaw, making sure to draw along the upper half’s teeth.

Now draw the bottom half of the monster’s jaw, making sure to draw along the upper half’s teeth.

You should obtain something like this. Notice the hole on the top middle part of the lower head. All that is left to do is connect the two lines together (the upper part of the neck with the inside of the jaw).

You should obtain something like this. Notice the hole on the top middle part of the lower head. All that is left to do is connect the two lines together (the upper part of the neck with the inside of the jaw).

Cut along the lines to obtain the lower half of the monster’s head.

Cut along the lines to obtain the lower half of the monster’s head.

Now that you have your monster’s full head, you can give it eyes and nostrils if you wish. I didn’t feel the need to do more, so I left it blank.

Now that you have your monster’s full head, you can give it eyes and nostrils if you wish. I didn’t feel the need to do more, so I left it blank.

Superimpose the upper head’s neck with that of the lower head. The teeth should lock perfectly.

Superimpose the upper head’s neck with that of the lower head. The teeth should lock perfectly.

And punch a hole in the middle of the neck. Now you are ready to assemble your monster.

And punch a hole in the middle of the neck. Now you are ready to assemble your monster.

Take the first two strips. They should both have a hole in the middle and one at the right extremity.

Take the first two strips. They should both have a hole in the middle and one at the right extremity.

Form an X with the 2 strips so that one middle hole is on top of the other.

Form an X with the 2 strips so that one middle hole is on top of the other.

Insert a brass fastener in the middle hole and open its arms on either side of the hole.

Insert a brass fastener in the middle hole and open its arms on either side of the hole.

Take 2 middle strips. They should each have 3 holes on them.

Take 2 middle strips. They should each have 3 holes on them.

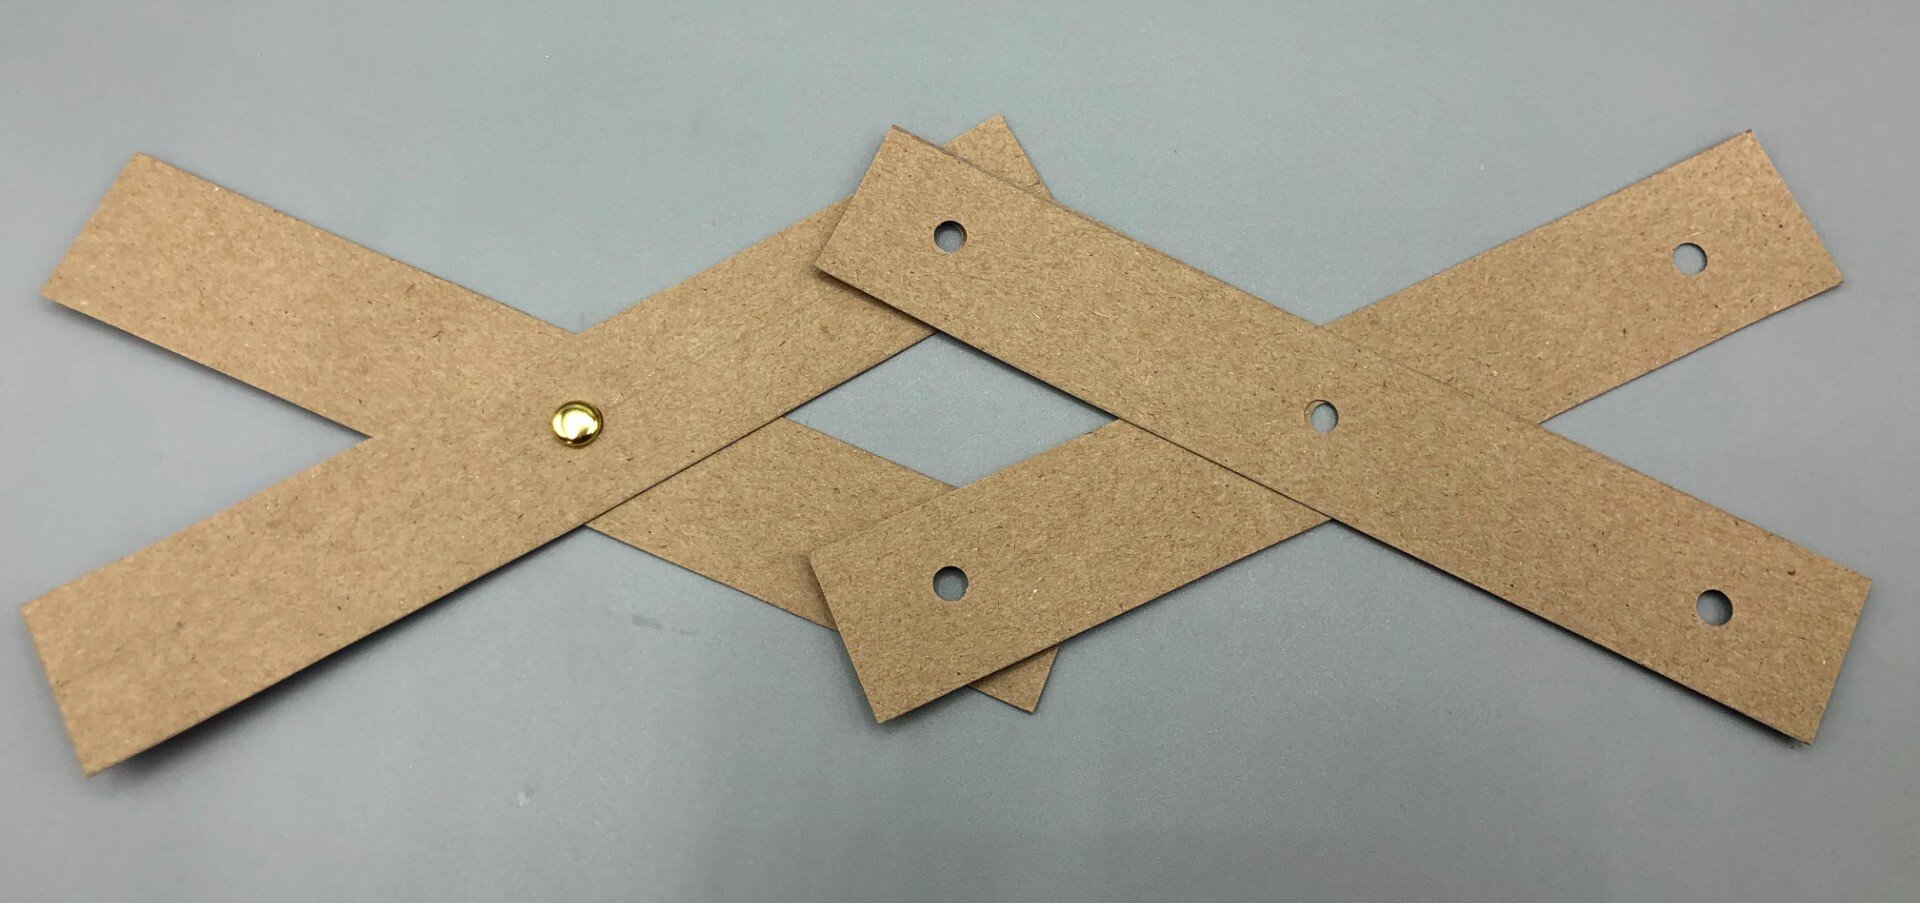
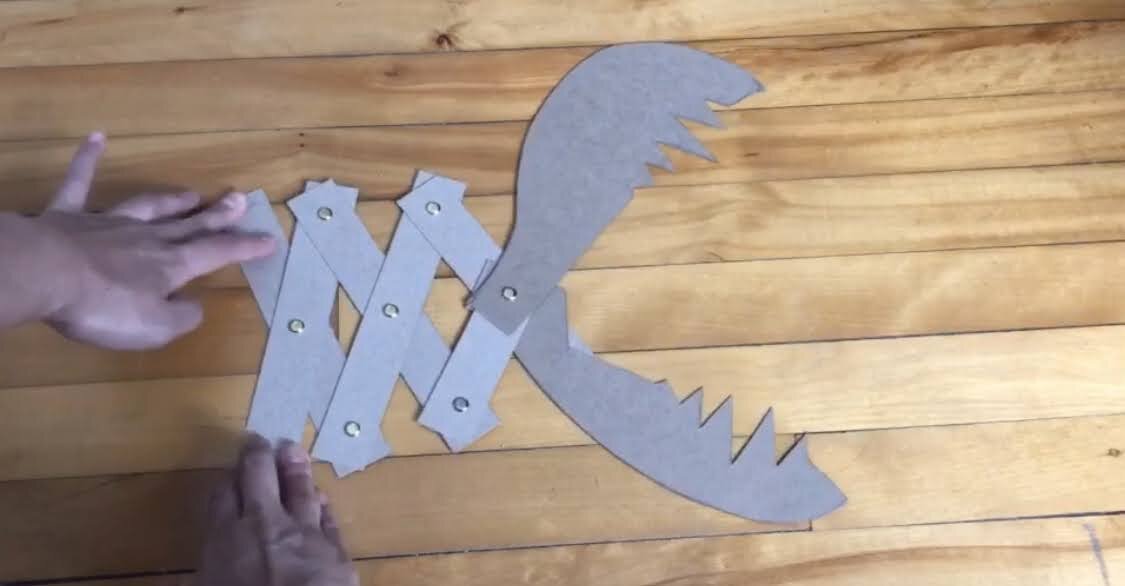
Cross the 2 middle strips so that their middle holes are superimposed. Now superimpose their left holes with those of the first 2 strips, as illustrated in the photo above.

Cross the 2 middle strips so that their middle holes are superimposed. Now superimpose their left holes with those of the first 2 strips, as illustrated in the photo above.

Insert a brass fastener in the holes and open their arms.

Insert a brass fastener in the holes and open their arms.

If you have more than 6 strips, continue as indicated above until you reach the final 2 strips. The final 2 strips should both have a hole in the middle as well as one on the left extremity.

If you have more than 6 strips, continue as indicated above until you reach the final 2 strips. The final 2 strips should both have a hole in the middle as well as one on the left extremity.

Cross the final 2 strips so that their middle holes are one on top of the other, and then superimpose their left holes with those the previous strips.

Cross the final 2 strips so that their middle holes are one on top of the other, and then superimpose their left holes with those the previous strips.

Insert 2 brass fasteners where the final 2 strips meet the rest of the craft. Do not insert one in the middle hole of the final 2 strips just yet.

Insert 2 brass fasteners where the final 2 strips meet the rest of the craft. Do not insert one in the middle hole of the final 2 strips just yet.

Take the upper half of your monster’s head, and superimpose the hole on its neck with the middle hole of the final 2 strips. Align the neck with the strip pointing upwards, and glue the strip to the upper head, as shown in the photo above.

Take the upper half of your monster’s head, and superimpose the hole on its neck with the middle hole of the final 2 strips. Align the neck with the strip pointing upwards, and glue the strip to the upper head, as shown in the photo above.

Now do the same with lower half of the monster’s head, gluing the final strip pointing downwards to it.

Now do the same with lower half of the monster’s head, gluing the final strip pointing downwards to it.

Finally, insert a brass fastener in the remaining hole, and open its arms on either side of it.

Finally, insert a brass fastener in the remaining hole, and open its arms on either side of it.

And that’s it! Now have fun opening and closing your monster’s head!. You need both your hands to do so : each hand holds one strip on the left and see what happens when you pull them apart from or closer to each other!

For even more fun, play around with light and a white wall, creating shadows with your monster!

To see my cardboard monster in action, check out my in Instagram of Facebook account!


In the meantime, have fun!


Homemade bubble solution

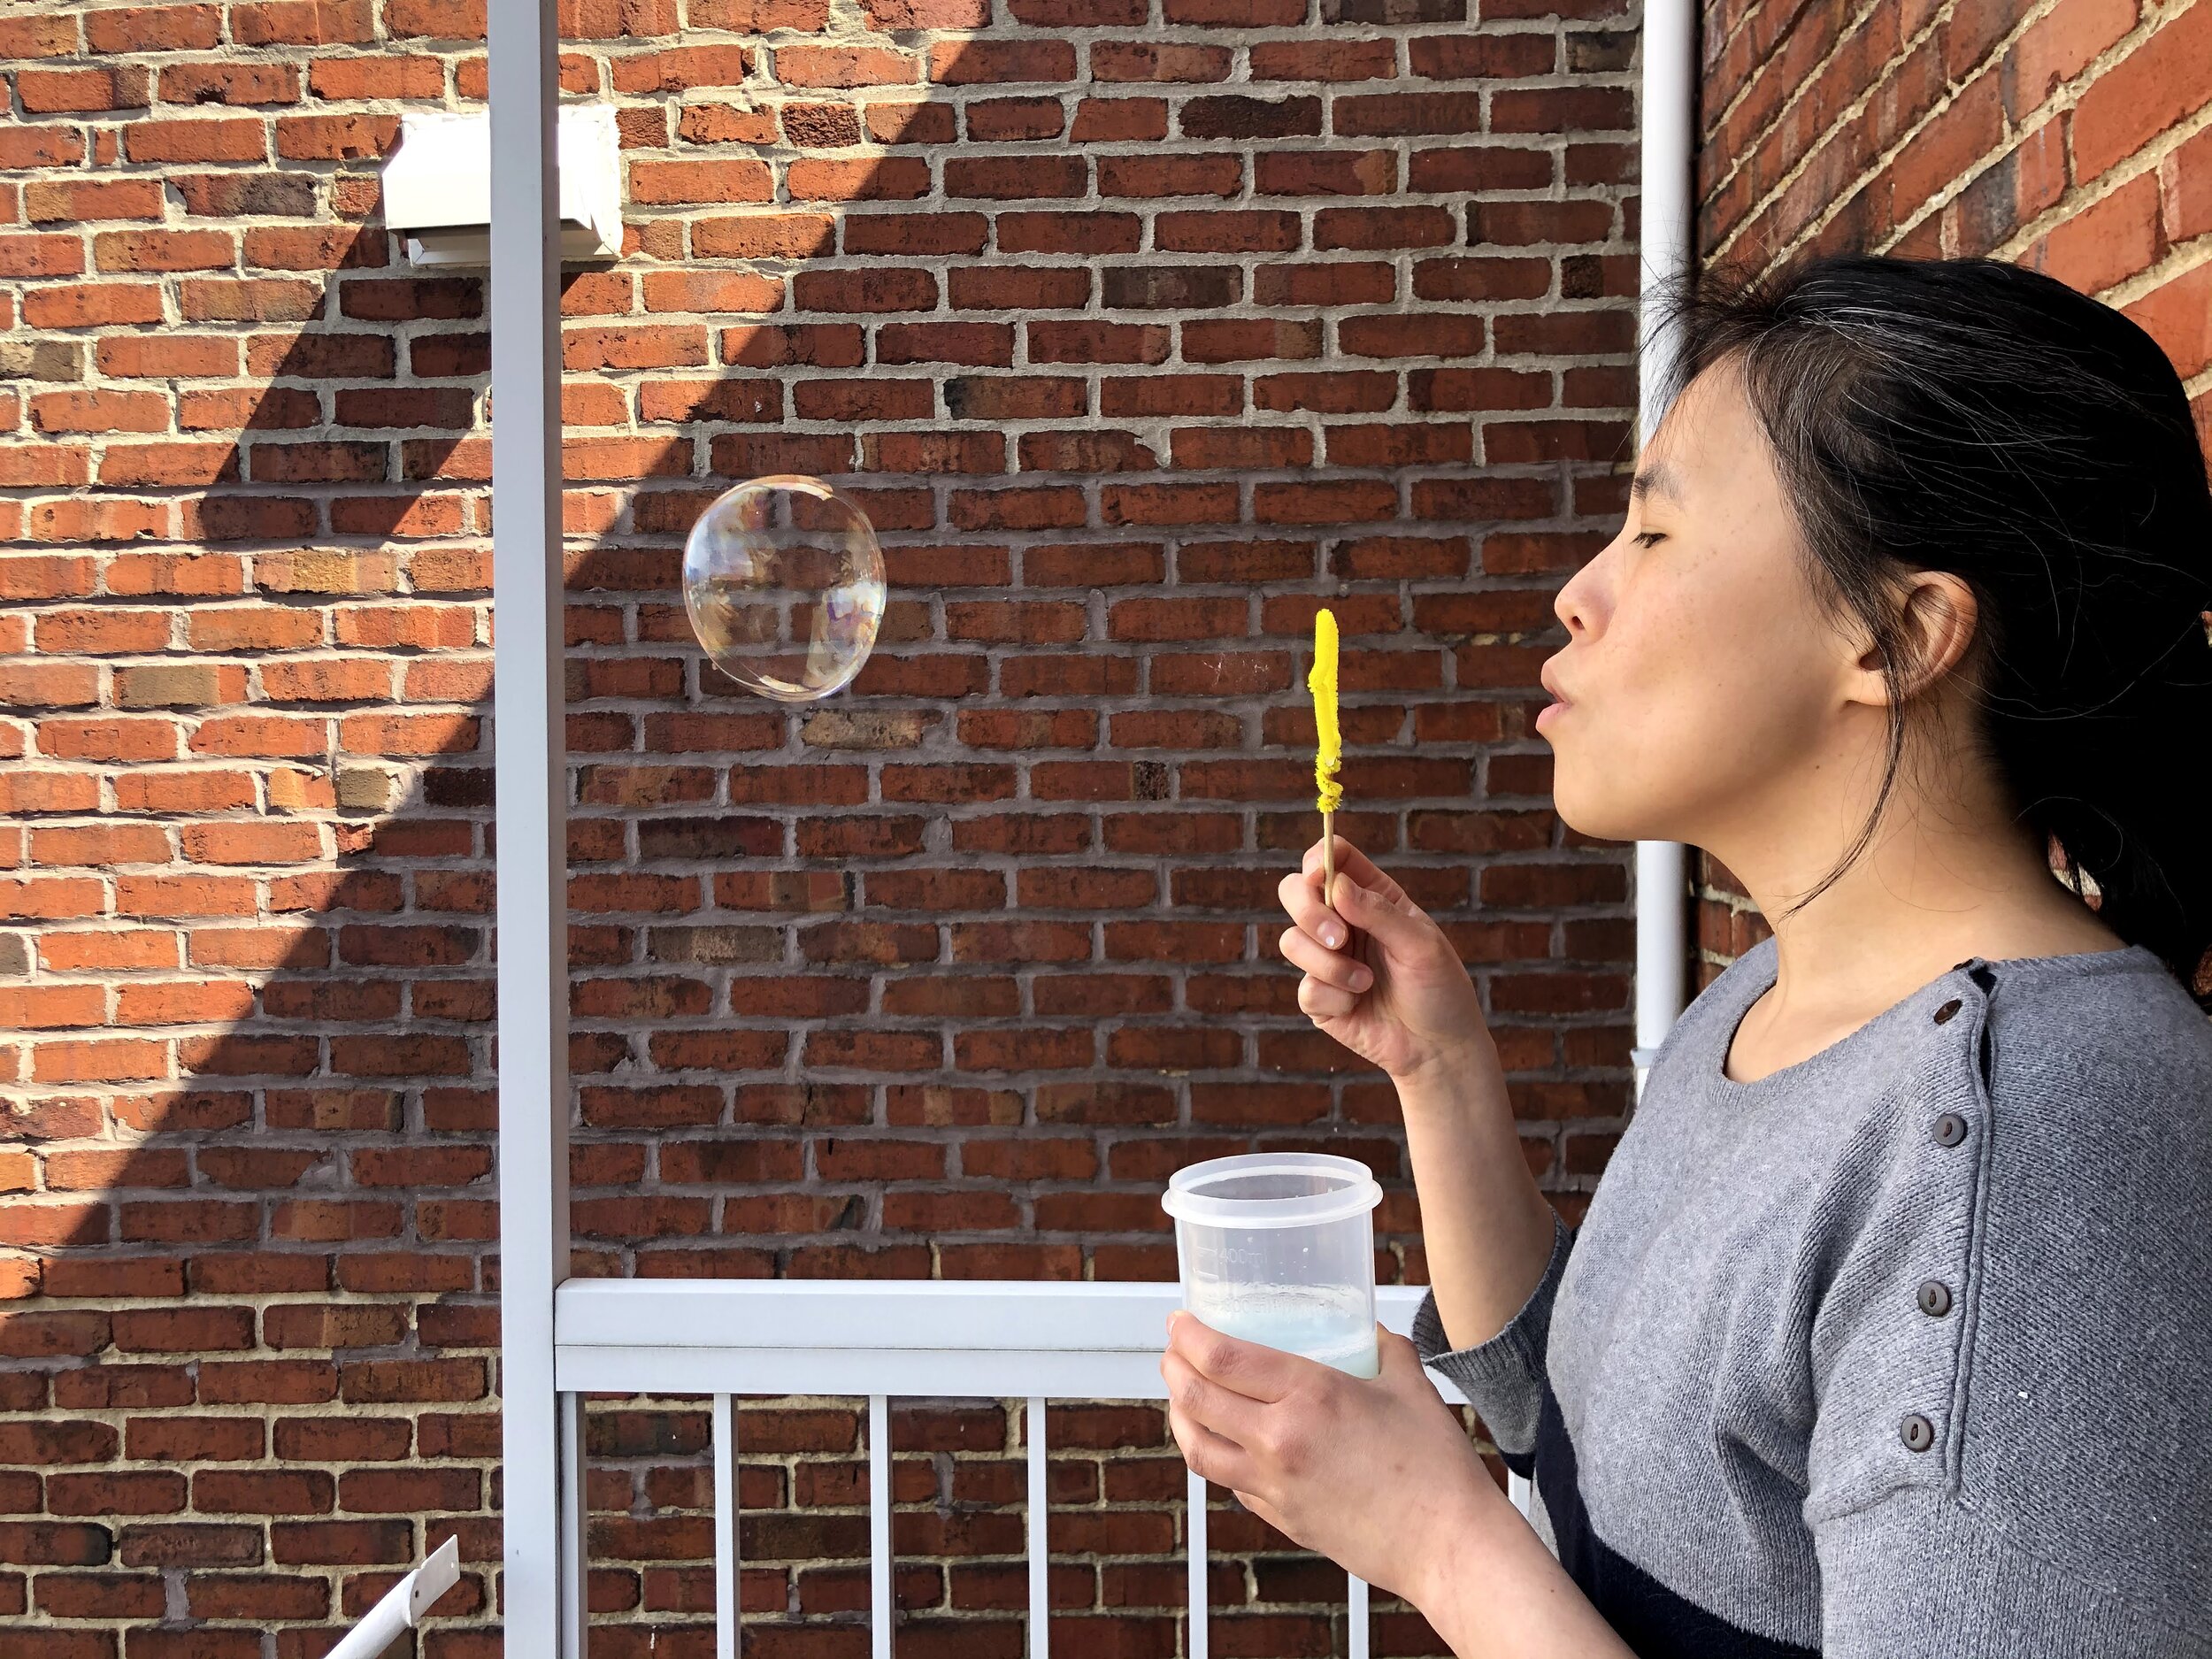
With everything’s that’s been going on, I’ve been trying to keep myself busy at home. It also helps that part of my job is to find and recommend fun at home crafting activities for kids and families. I lately rediscovered a childhood favorite of mine : blowing bubbles! I used to love doing that. They would sell these colorful little bottles that come with a wand inside. I could spend hours just watching the bubbles fly away or pop.

With a little research, I found out that the bubble solution is super easy to make at home. AND, it lasts for a long time as well, which means that you could make a few bottles ahead of time and just whip them out in times of boredom.

I prepared different types of mixtures, tested them out and the next thing I know, I’ve been blowing bubbles for hours! There are a lot of different recipes out there but I found that the simplest one is the one that works best.

IMG_9818.jpg


material

bubbles.jpg

That’s right! You only need 3 basic ingredients!

  • 3/4 cup water

  • 1/4 cup dish soap

  • 1 tbsp sugar

instructions

Well, the instructions are very simple : mix all ingredients in a bottle until everything has dissolved. That’s it!

Why is there sugar in the mixture? The sugar allows the water to thicken a bit, slows down its evaporation, thus allowing the bubbles to last longer!

It’s also better to prepare the solution at least a day in advance. In my excitement, I tried to blow bubbles right away and though I could produce a bubble or two, they usually pop very quickly. Wait a day and you get fully formed bubbles that float in the air.

IMG_9909.jpg

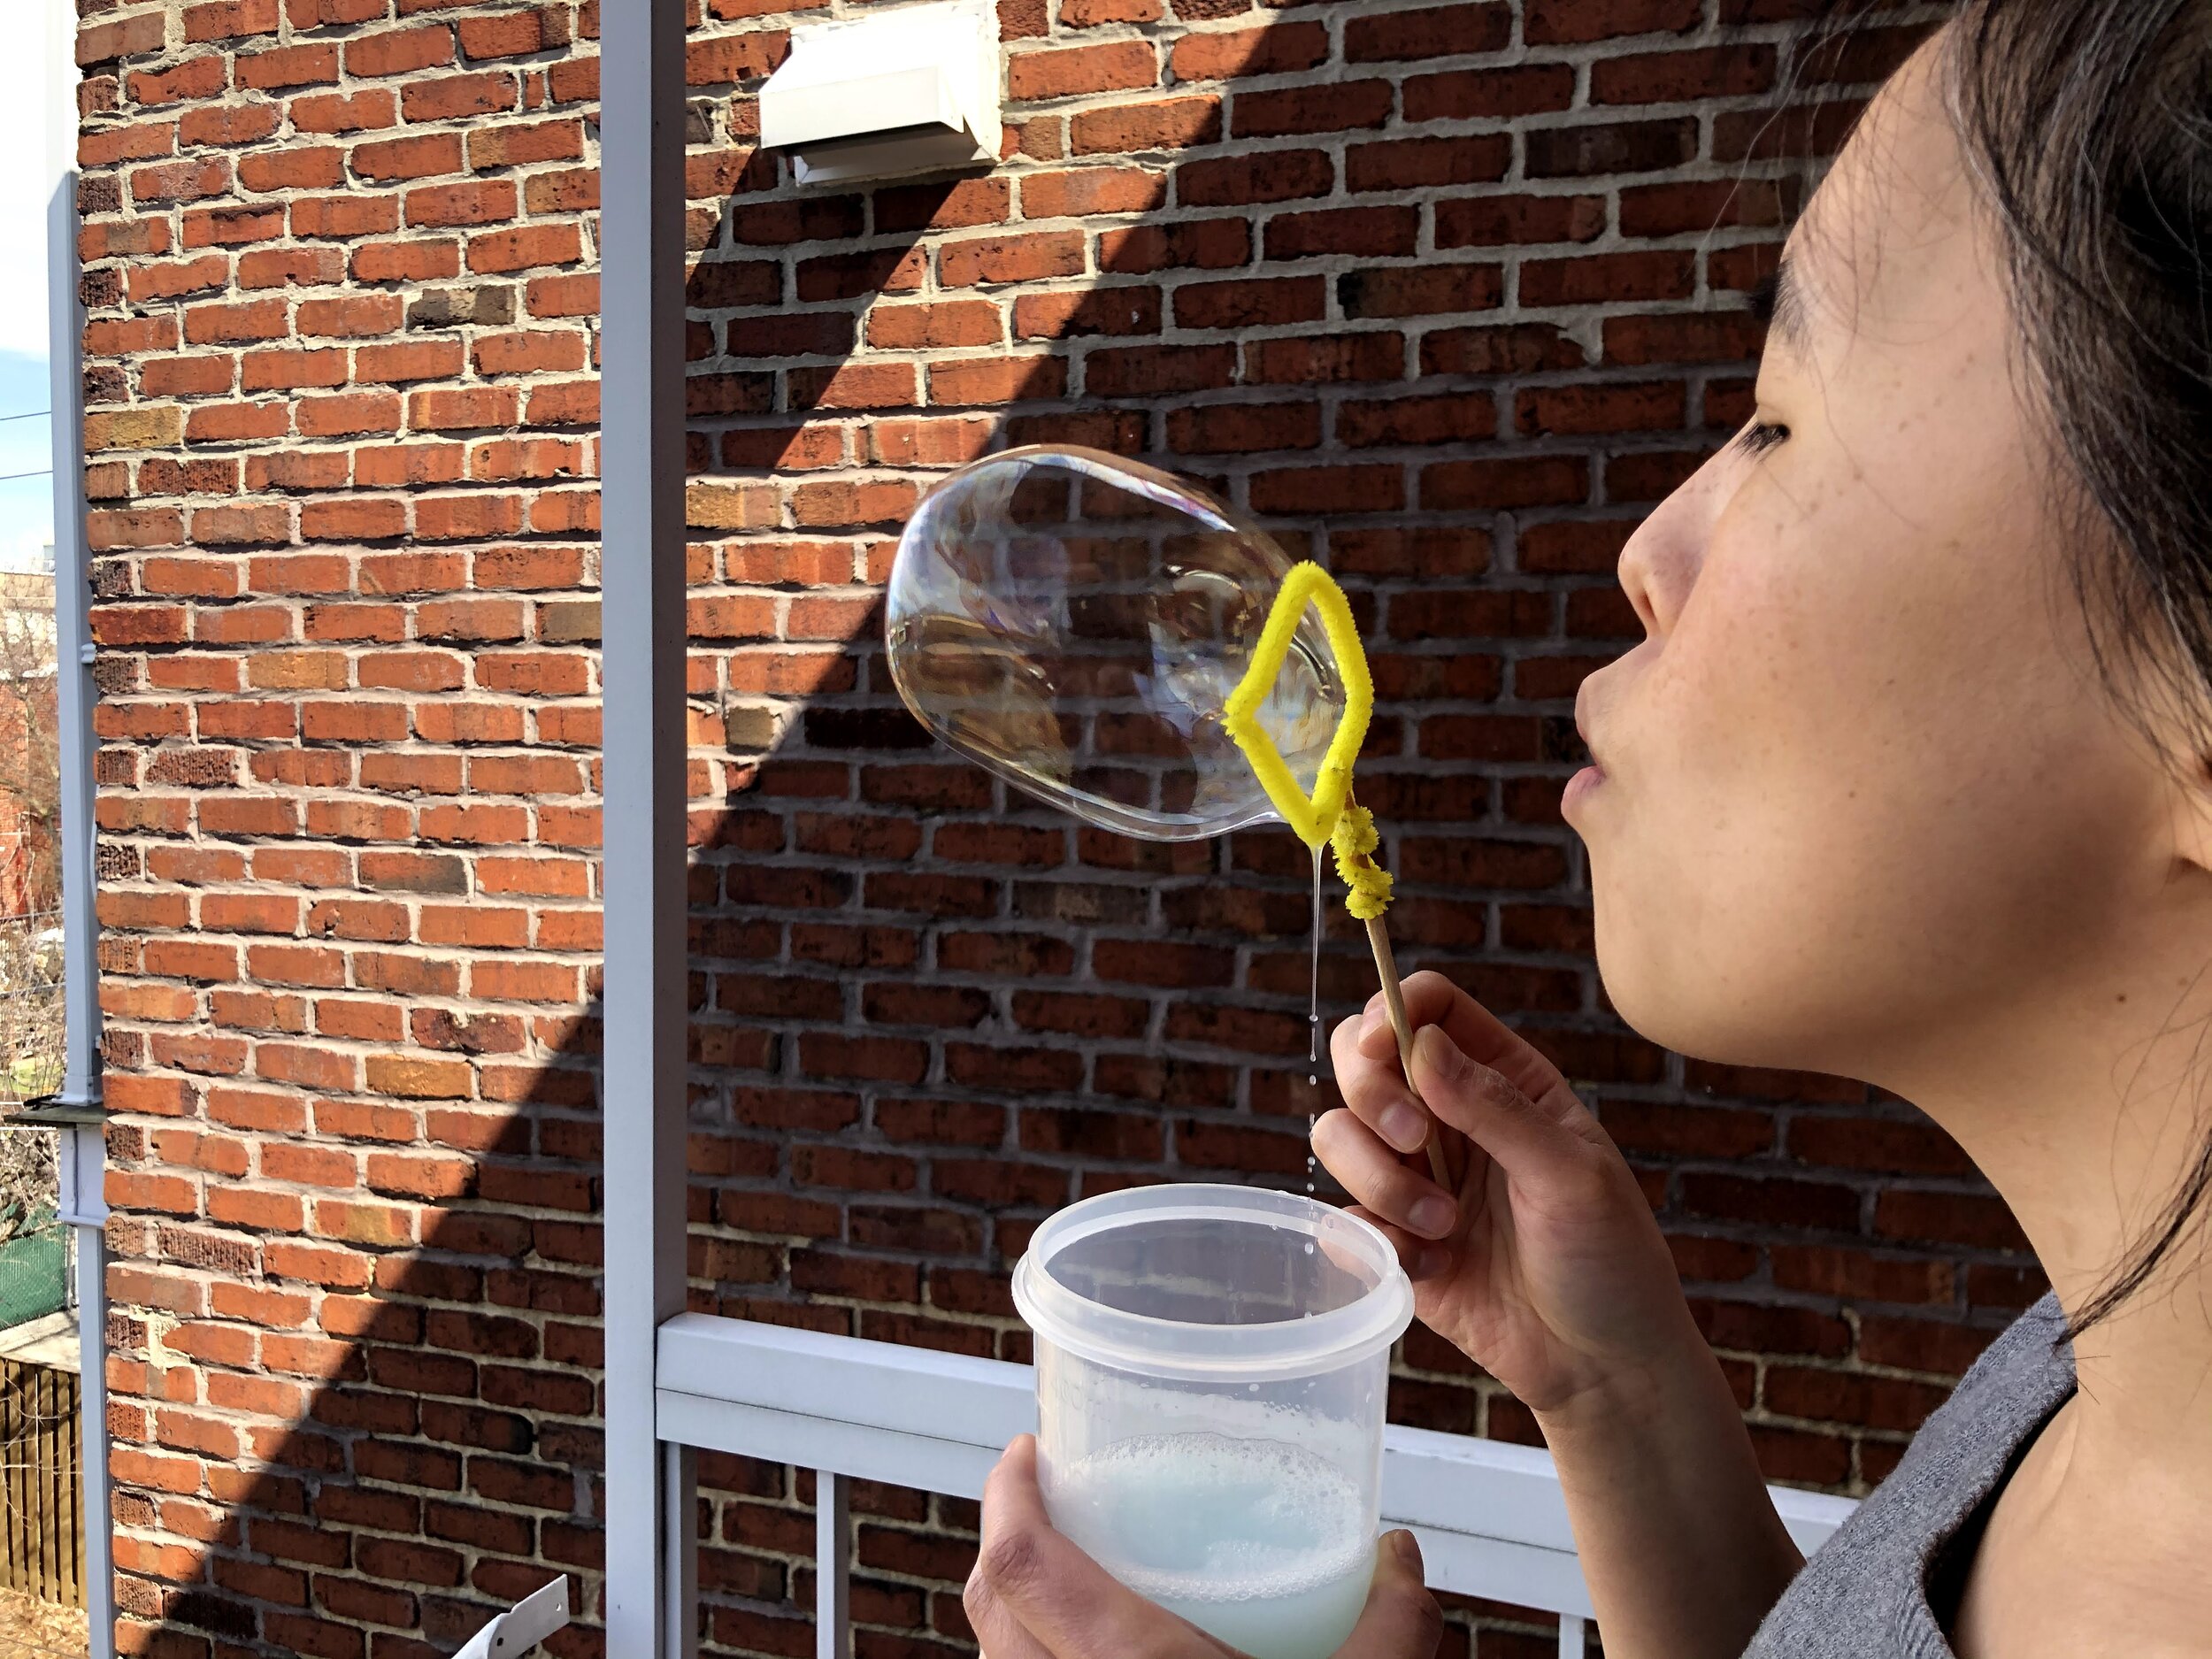
For the wand, that’s another fun part of the activity. You can use whatever you have at your disposal : a stick (BBQ skewer, chopsticks, pencil, …) and attach it to any shapes you have (pipe cleaners, cookie cutters, elastic bands, …).

I used one of those wood crafting sticks, shaped a pipe cleaner into a square or a circle, and attached the pipe cleaner to the stick. Worked like a charm!

IMG_9908.jpg

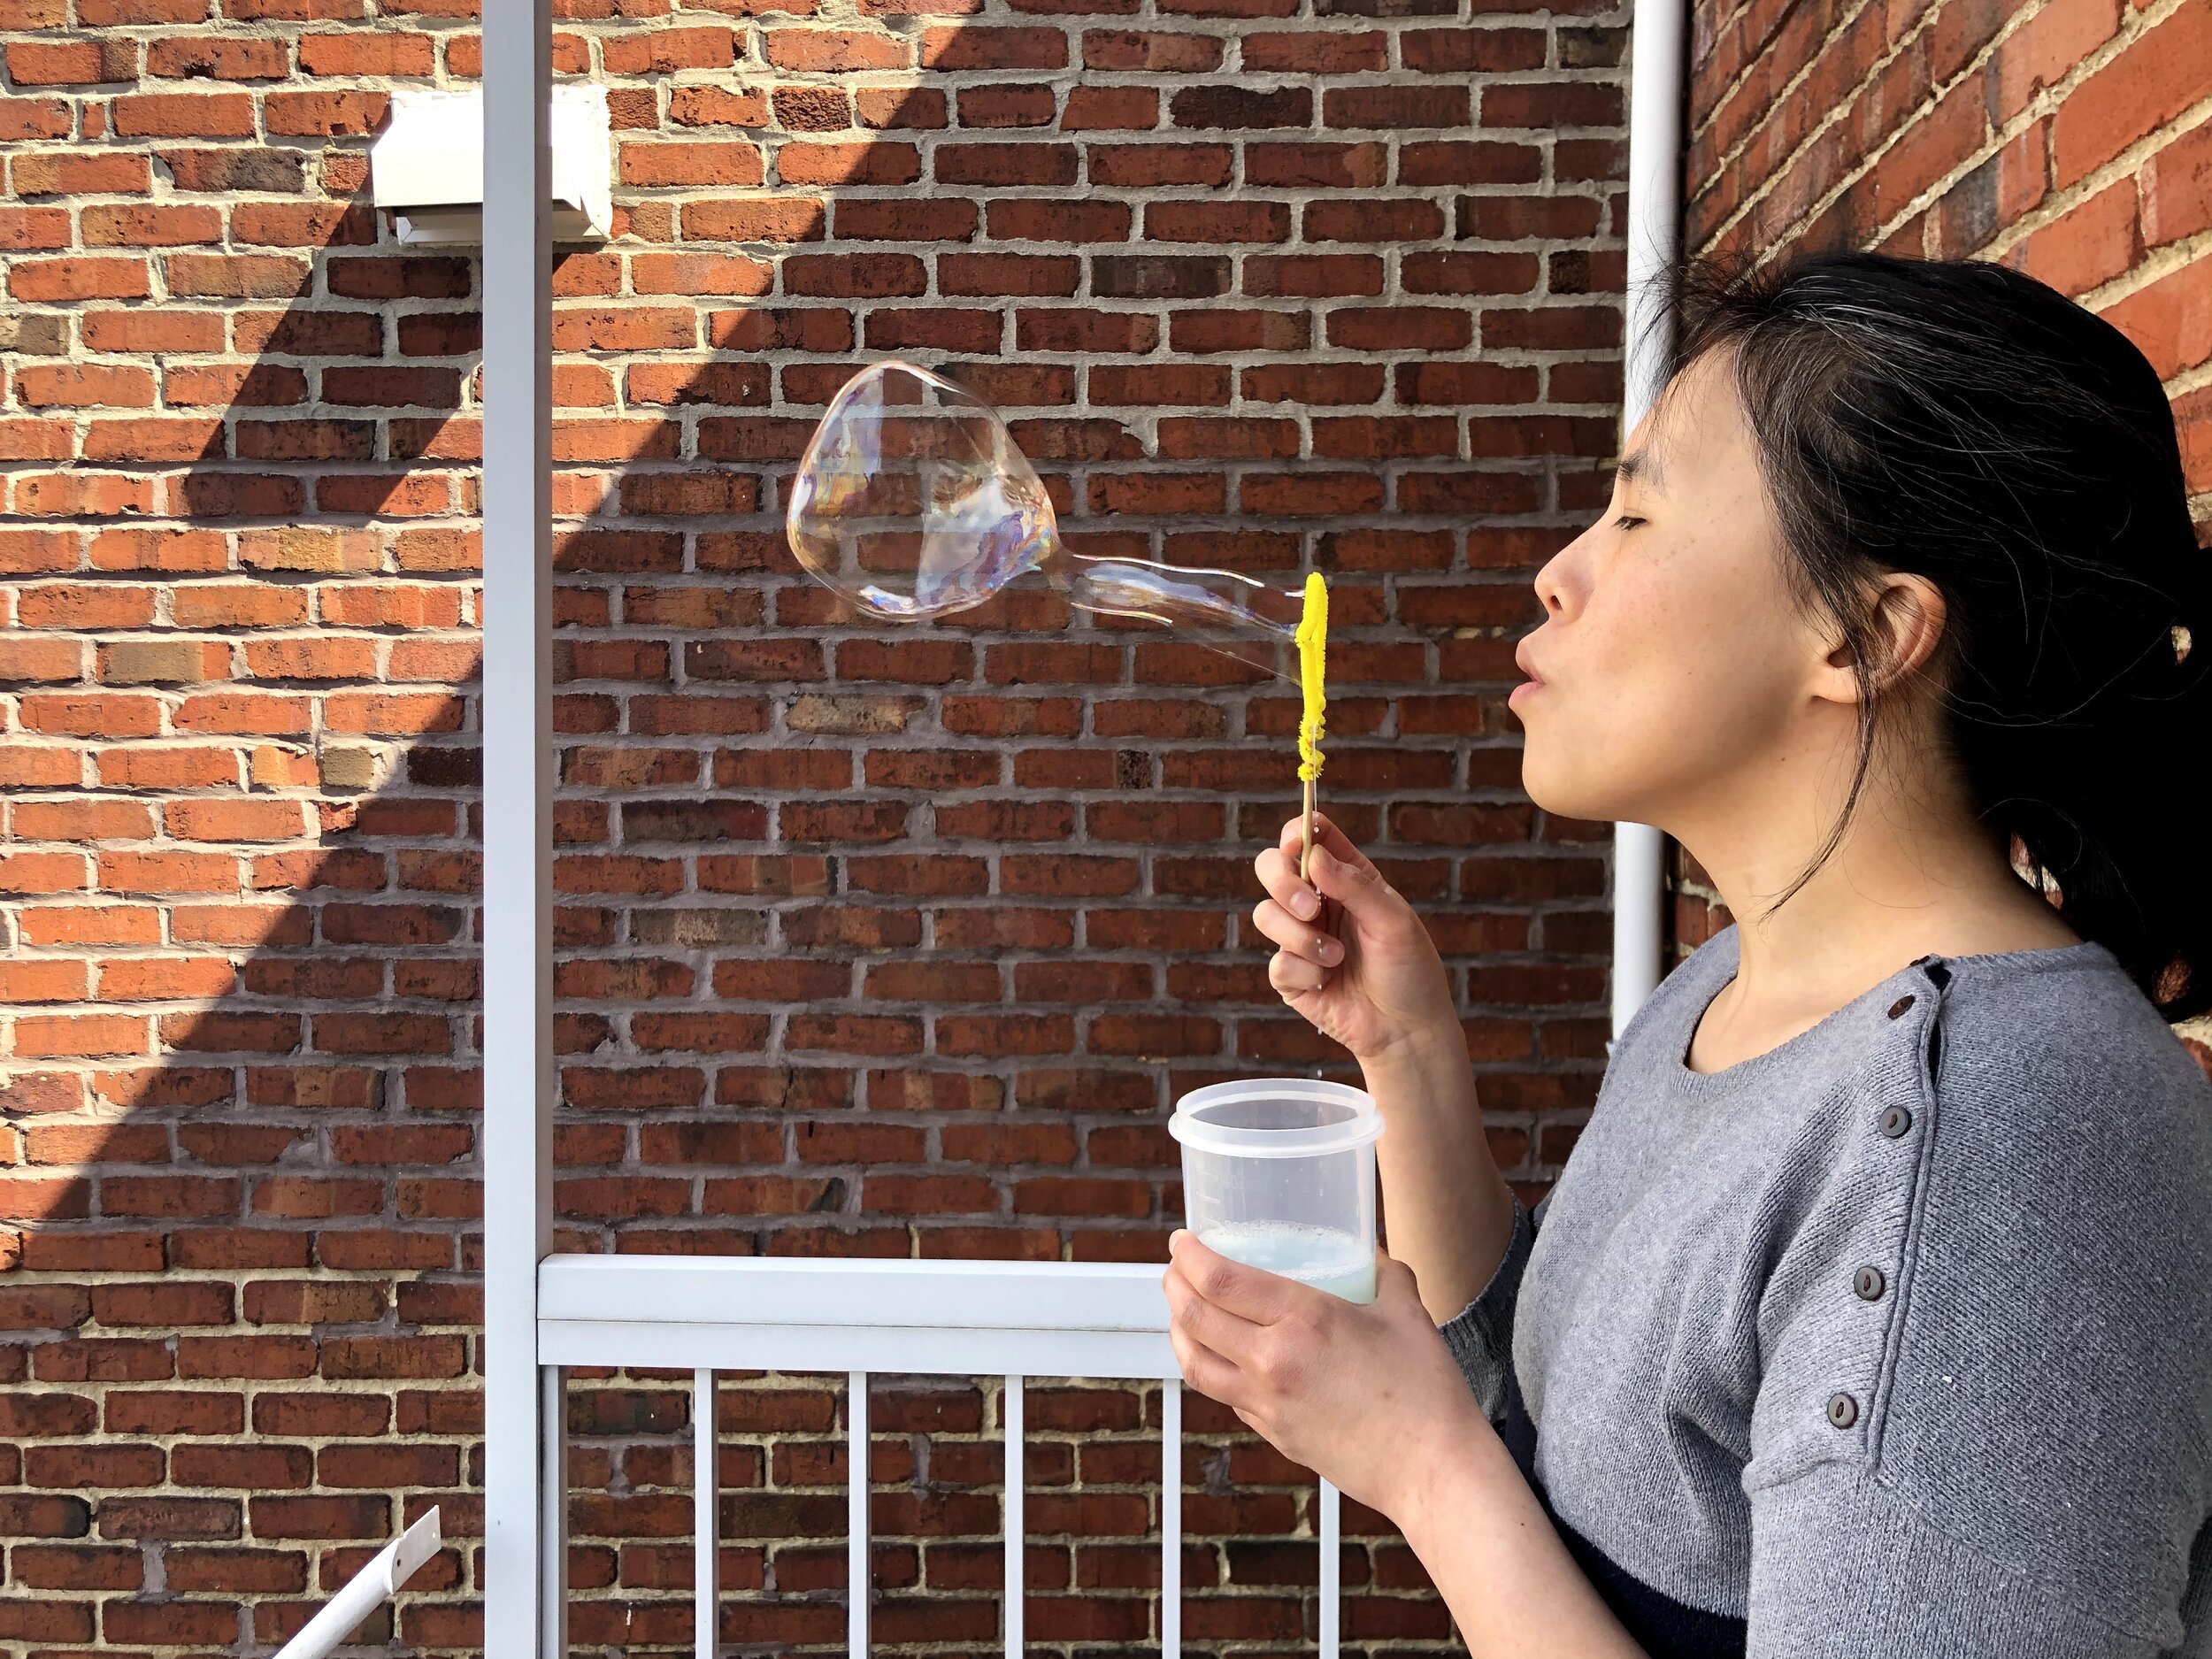
All that’s left to do is go outside, in your yard, on your balcony, or just open the window, and start having fun!


DIY cup and ball game

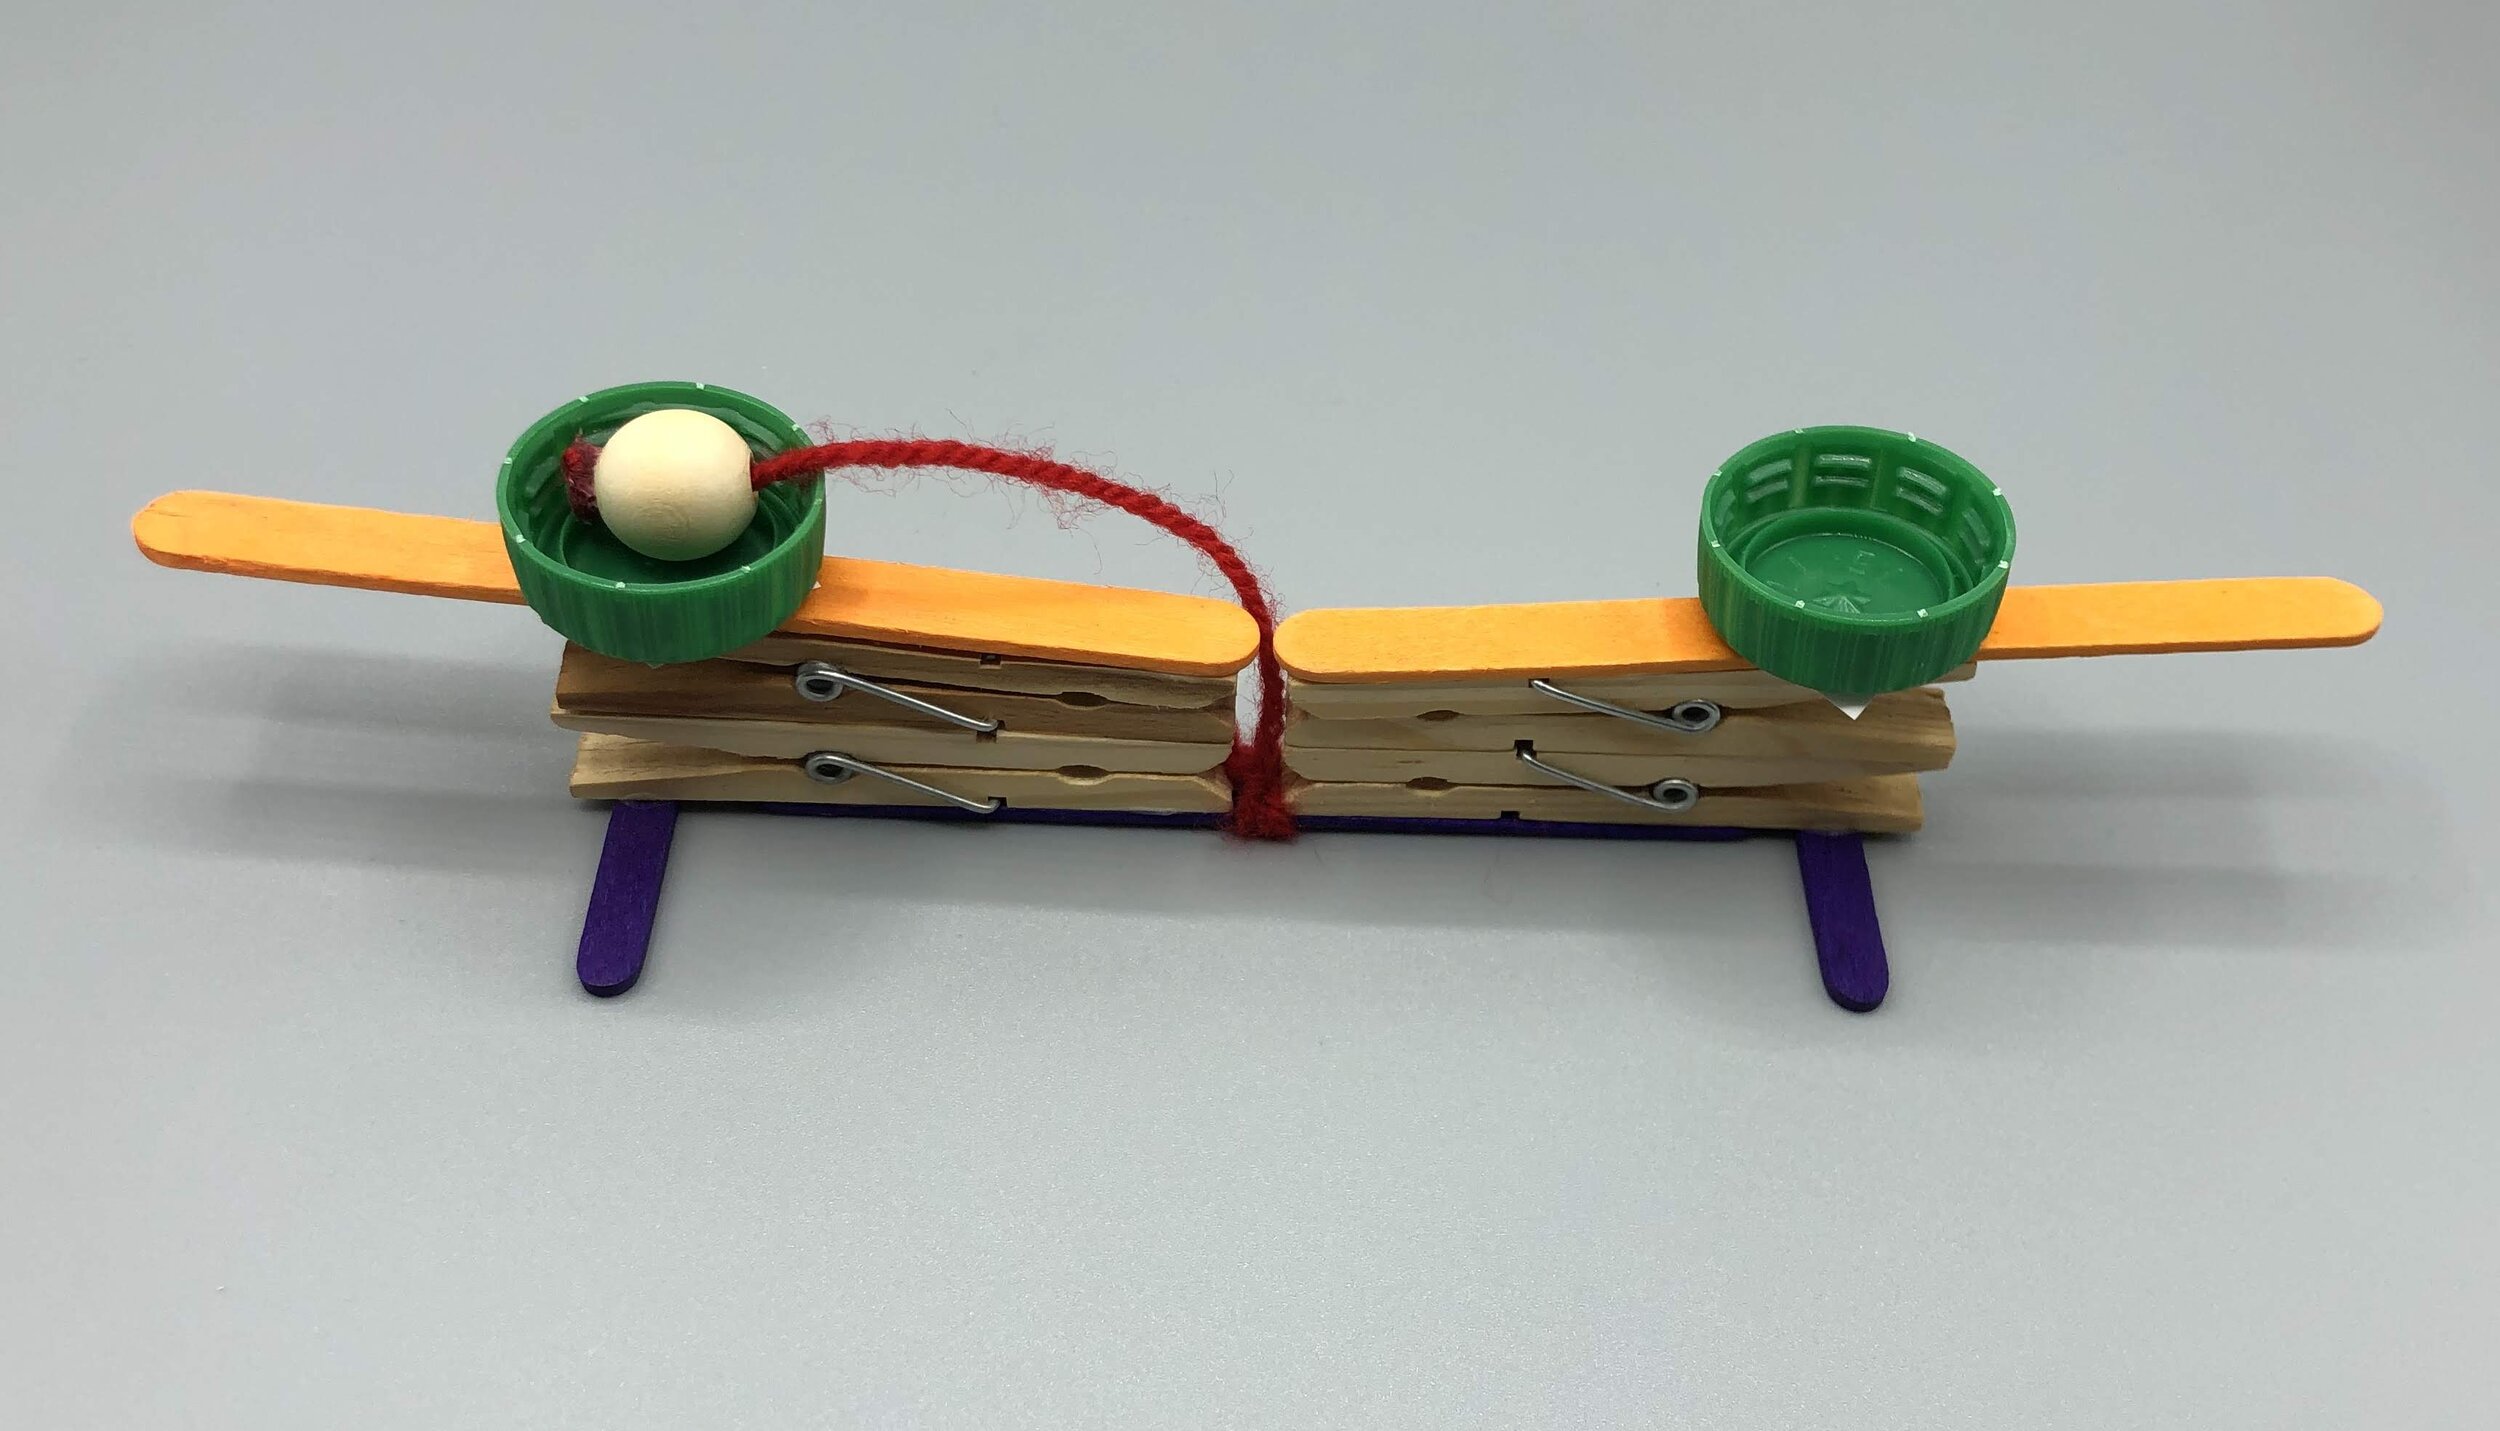
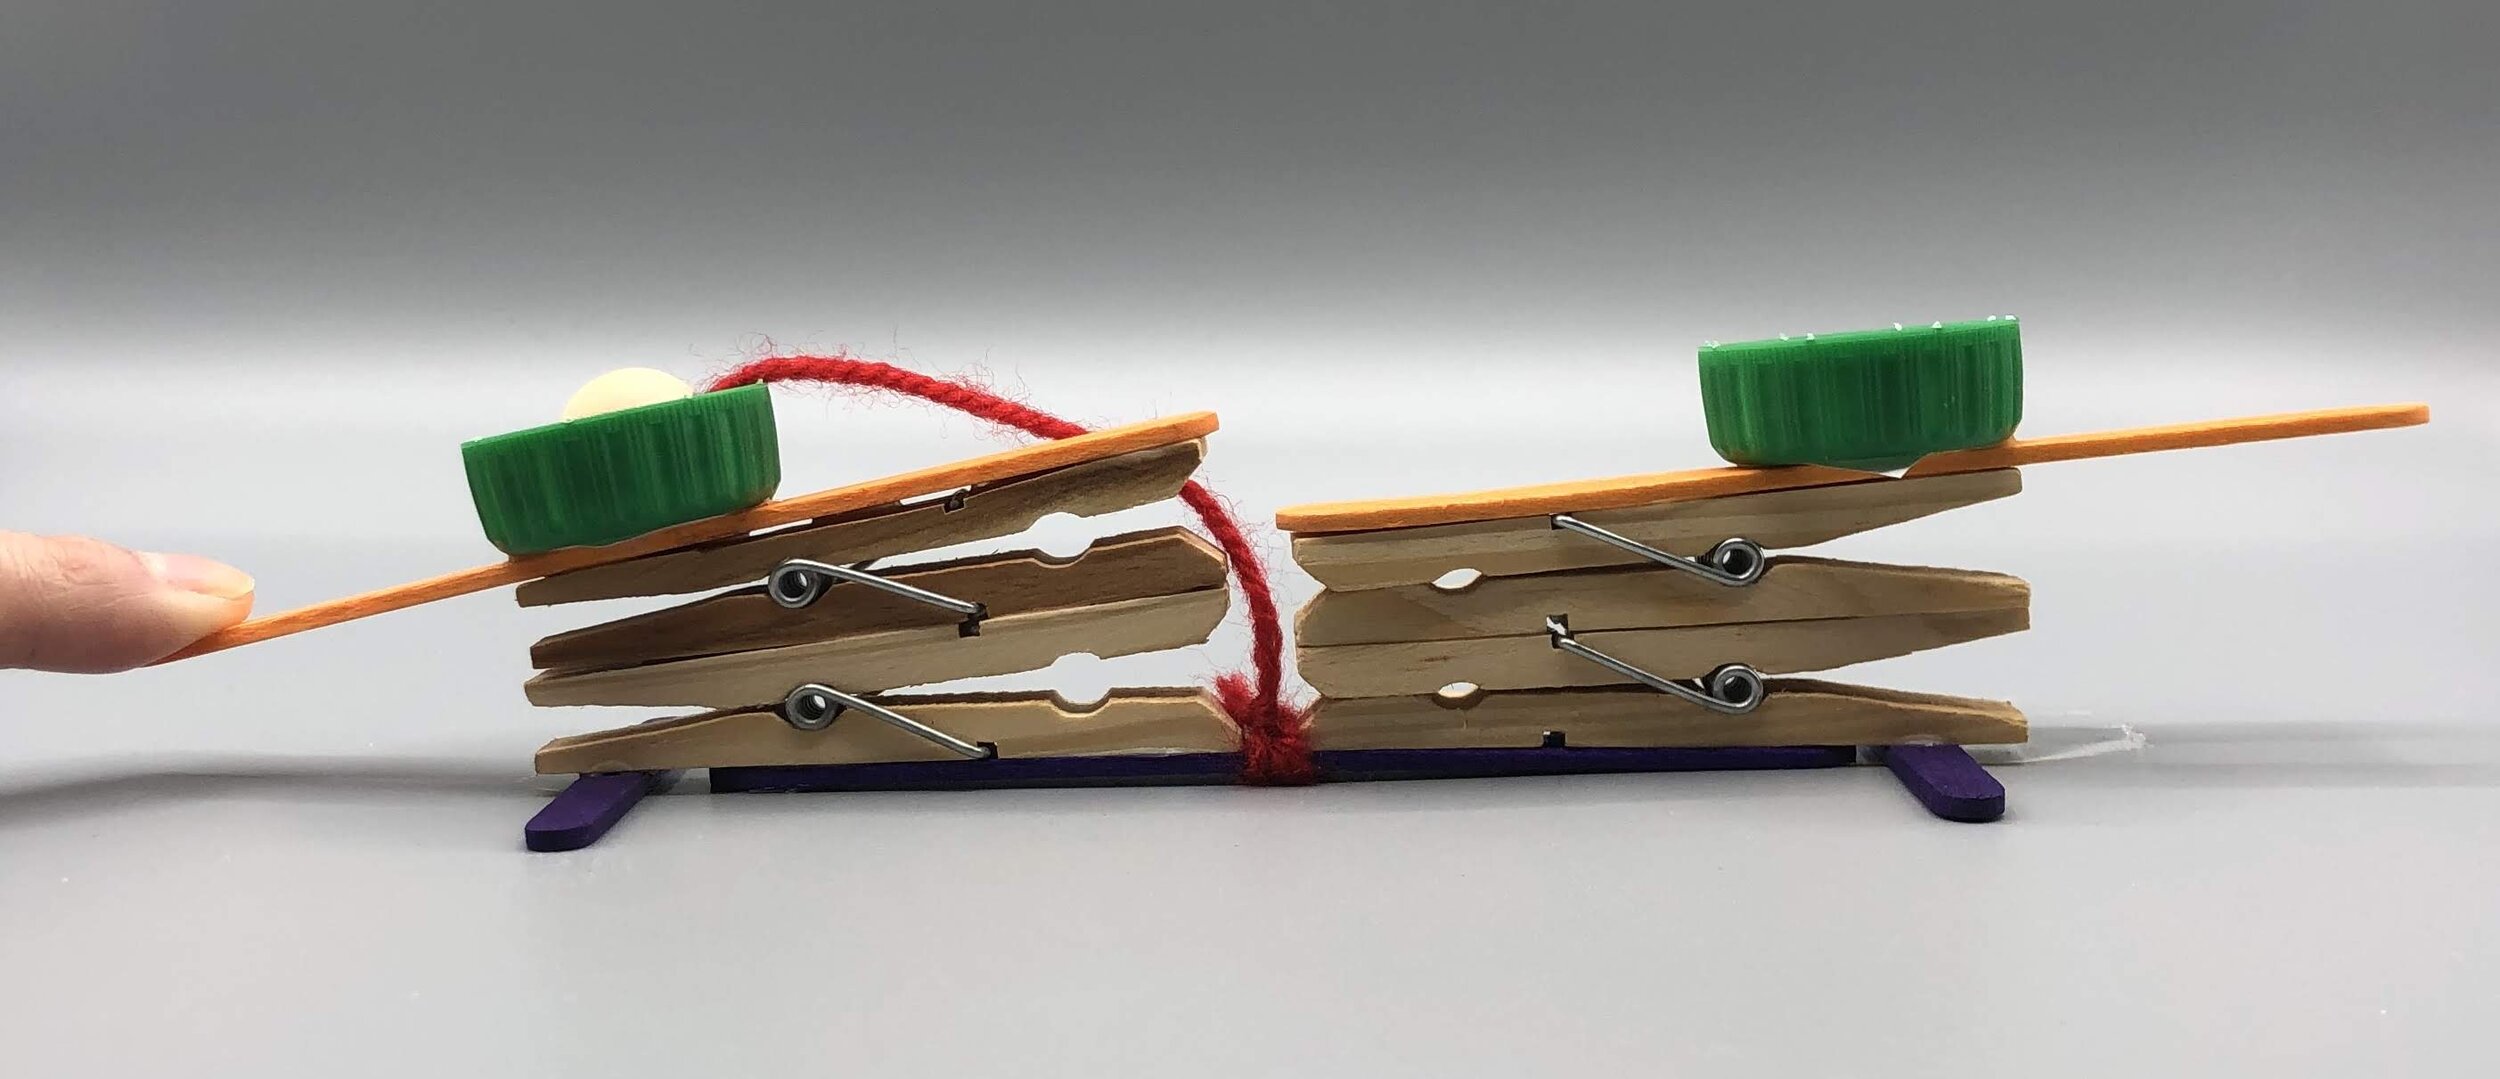
Like the walking paper horse or the self-walking feet, this craft also falls into the “I’ll save it for when I have the time” category. A while ago, I saw a short video of someone playing with this homemade toy and I thought how cool a game this was! It looked really easy to make as well! I then forgot about it until now and took some of my free time to test out this activity. Is it as easy to build as it looks? Is it as fun as it appears to be? Yes and yes. The only “problem”, if you can even call it a problem, is that you have to wait a bit after each step for the glue to dry. If you have a hot glue gun, that should not be an issue, but if you use white liquid glue like I did, you’ll have to be a bit patient.

IMG_9678.jpg

Material

cover.jpg
  • 3 popsicle sticks

  • 2 small popsicle stick (or cut a normal one in half)

  • 4 clothespins (ideally made of wood)

  • 2 bottle caps (of the same size)

  • a string

  • Glue

  • a bead (ideally, with a hole pierced in the middle)

  • Not shown in the photo : a small piece of paper sticker. This is necessary if you’re not using hot glue.

instructions

Take 2 clothespins and glue them one on top of the other. Both clothespins should face the same direction. Do the same for the other 2.

Take 2 clothespins and glue them one on top of the other. Both clothespins should face the same direction. Do the same for the other 2.

Glue a popsicle stick on top of each clothespin duo. The sticks’ extremity should not go beyond the pins’ prongs.

Glue a popsicle stick on top of each clothespin duo. The sticks’ extremity should not go beyond the pins’ prongs.

Apply glue along the third popsicle tick.

Apply glue along the third popsicle tick.

Carefully place each clothespin combo on top of the third stick so that they both meet at its middle, without touching each other. Leave just enough space for your string.

Carefully place each clothespin combo on top of the third stick so that they both meet at its middle, without touching each other. Leave just enough space for your string.

While the glue dries, take the bead and the string.

While the glue dries, take the bead and the string.

Make a big knot at the end of your string. The knot should be bigger than the hole in your bead. Obviously, this step is not necessary if you do not have a hole in your bead. If that’s the case, simply glue the string to the bead, or tie it around t…

Make a big knot at the end of your string. The knot should be bigger than the hole in your bead. Obviously, this step is not necessary if you do not have a hole in your bead. If that’s the case, simply glue the string to the bead, or tie it around the bead.

Insert the string inside the bead, until the bead reaches the knot. To make sure that the bead stays there, apply a little bit of glue between the knot and the bead, then apply some pressure. Set it aside to dry.

Insert the string inside the bead, until the bead reaches the knot. To make sure that the bead stays there, apply a little bit of glue between the knot and the bead, then apply some pressure. Set it aside to dry.

This next step is the trickiest part of the craft. Attach your string to the middle part of the bottom stick, all the while making sure that the bead reaches the lever part of the clothespins, but doesn’t go beyond that point either.

This next step is the trickiest part of the craft. Attach your string to the middle part of the bottom stick, all the while making sure that the bead reaches the lever part of the clothespins, but doesn’t go beyond that point either.

Cut off the excess string, at the bottom.

Cut off the excess string, at the bottom.

Now take your 2 bottle caps. If you are using regular white liquid glue, find 2 little pieces of paper stickers to put on the caps. Regular white glue doesn’t work well with plastic and as it dries, it will break away from the plastic. This is why p…

Now take your 2 bottle caps. If you are using regular white liquid glue, find 2 little pieces of paper stickers to put on the caps. Regular white glue doesn’t work well with plastic and as it dries, it will break away from the plastic. This is why paper stickers are recommended here. If you’re using hot glue, skip this step and go straight for the next one.

Apply a line of glue on the bottle cap.

Apply a line of glue on the bottle cap.

Carefully place the bottle cap on top of the clothespins’ lever section, always making sure that the bead can easily go inside the bottle cap. The bead should not fall short or go beyond the cap.

Carefully place the bottle cap on top of the clothespins’ lever section, always making sure that the bead can easily go inside the bottle cap. The bead should not fall short or go beyond the cap.

Do the same for the other side.

Do the same for the other side.

Turn the whole thing over. Again, the glue must have dried completely.

Turn the whole thing over. Again, the glue must have dried completely.

Now glue the 2 small popsicle sticks under each bottom clothespins. The small sticks should be perpendicular to the rest of the craft.

Now glue the 2 small popsicle sticks under each bottom clothespins. The small sticks should be perpendicular to the rest of the craft.

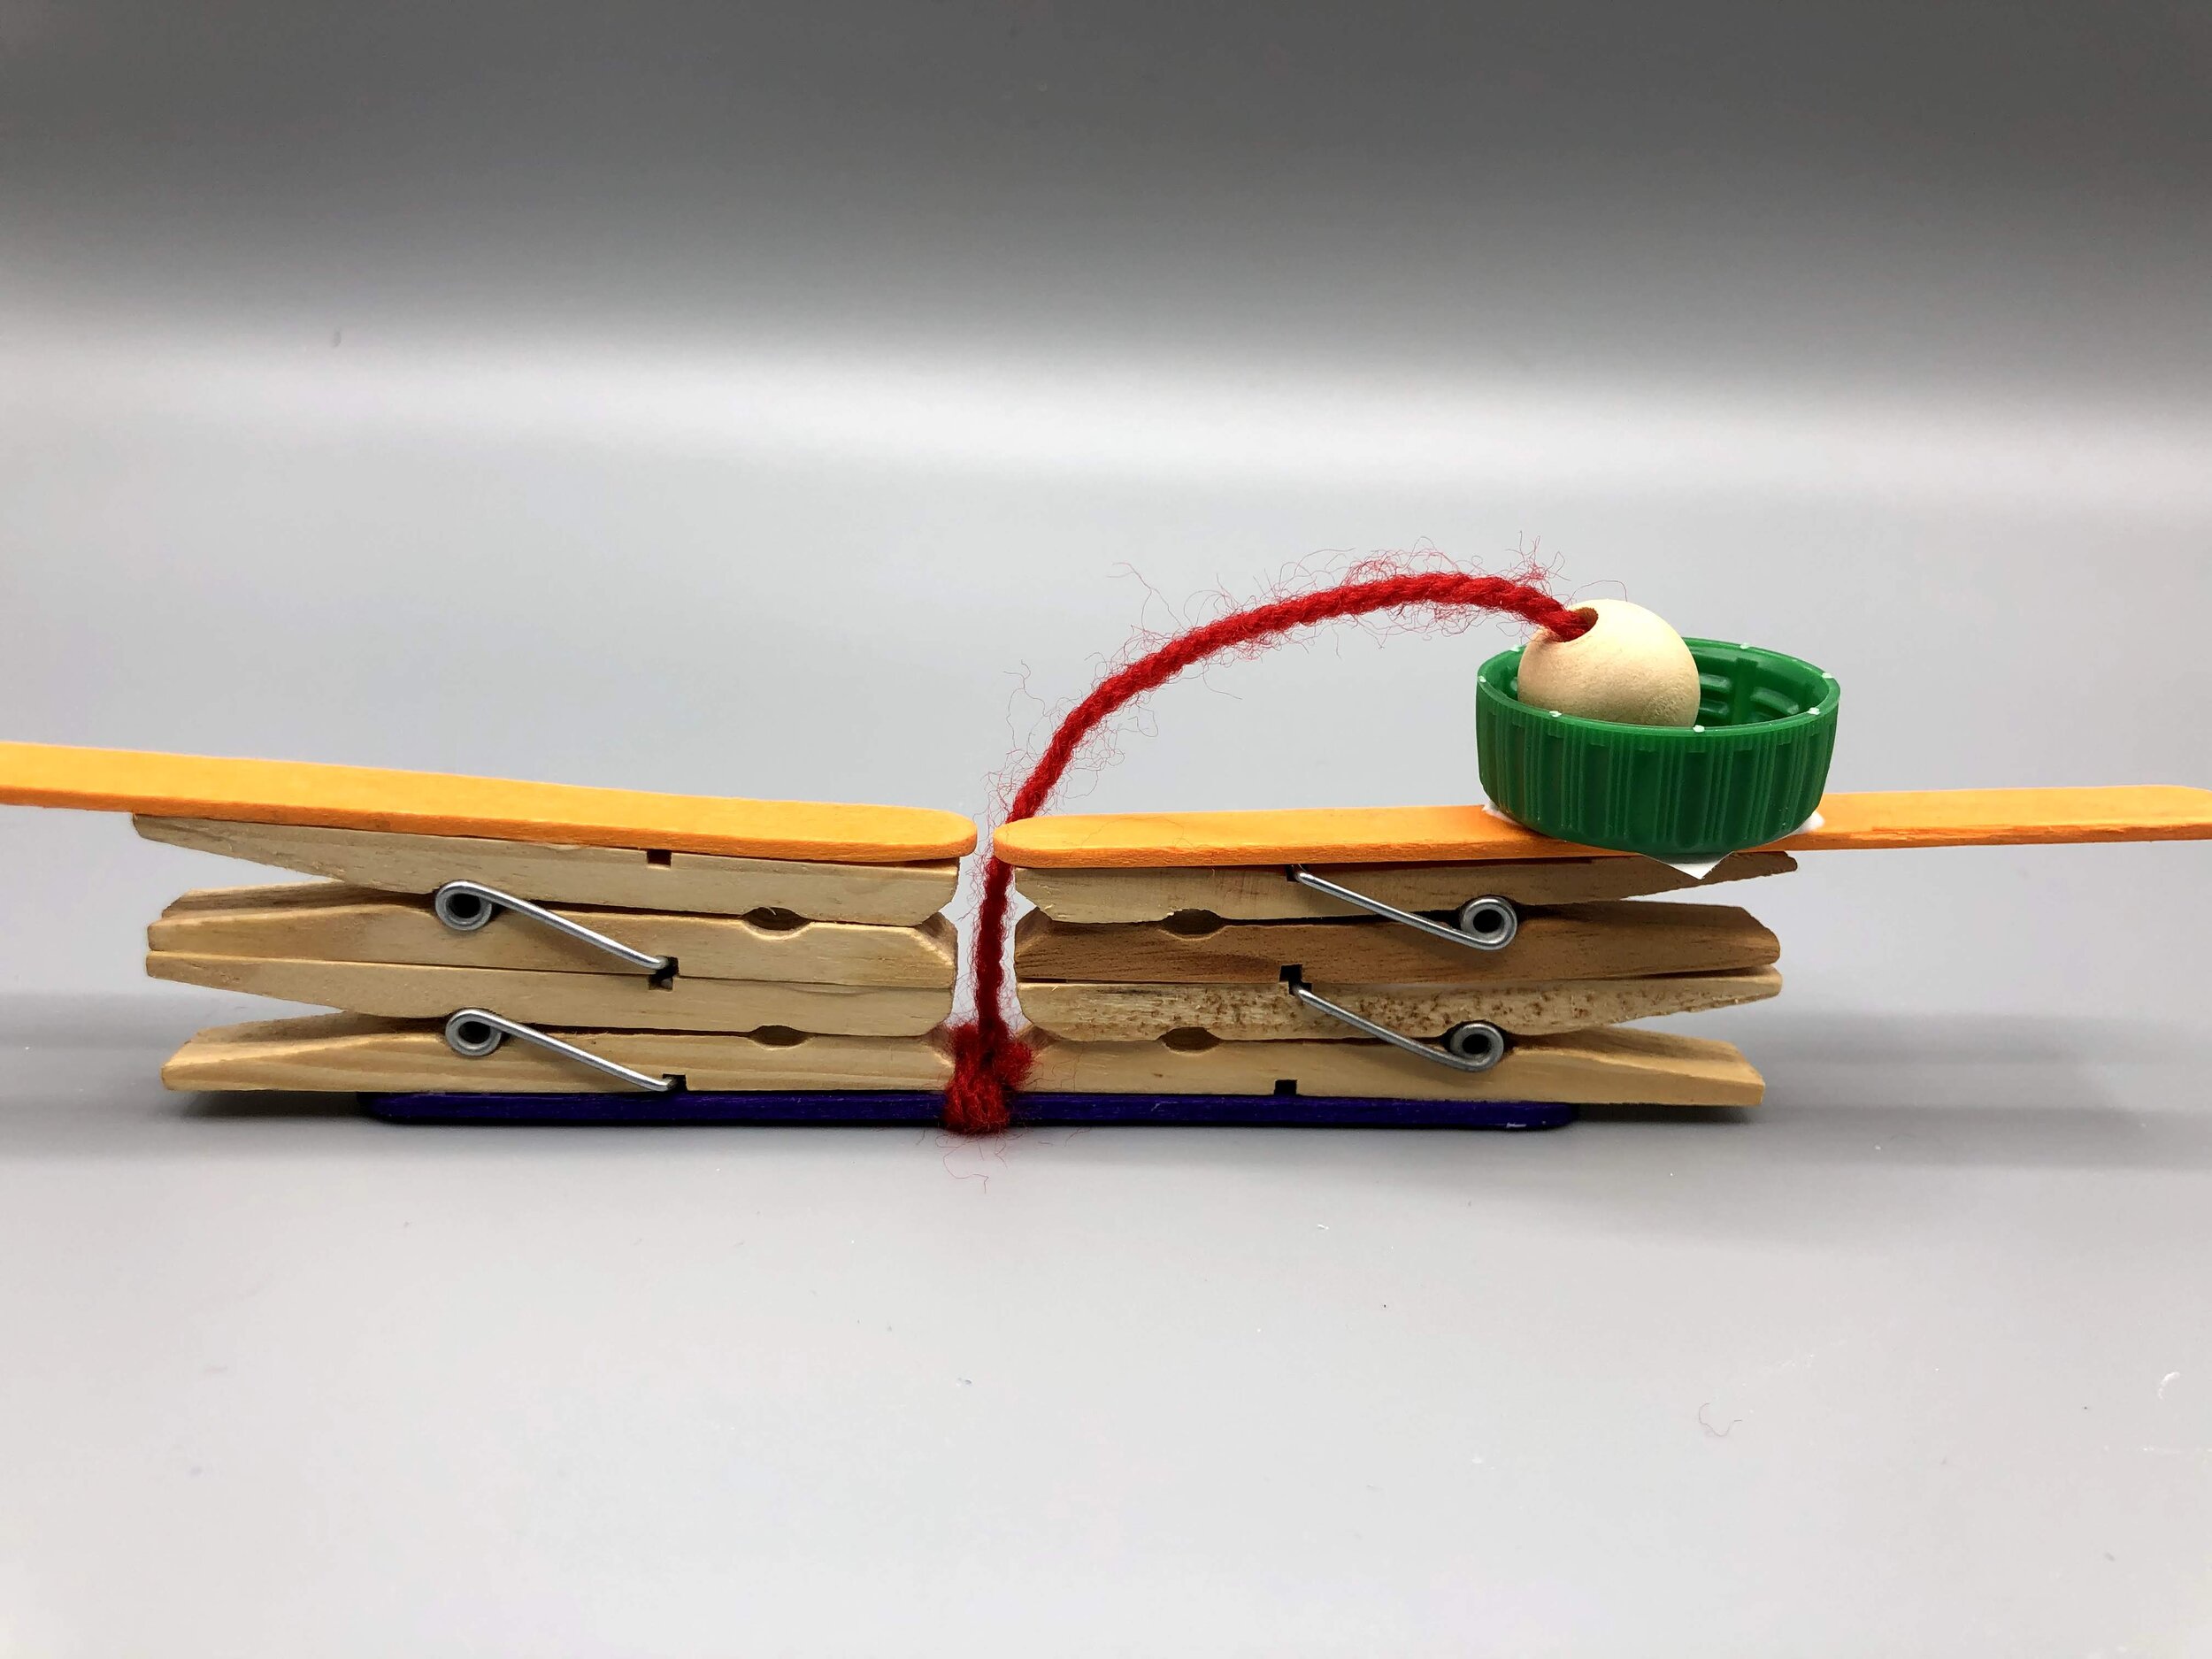
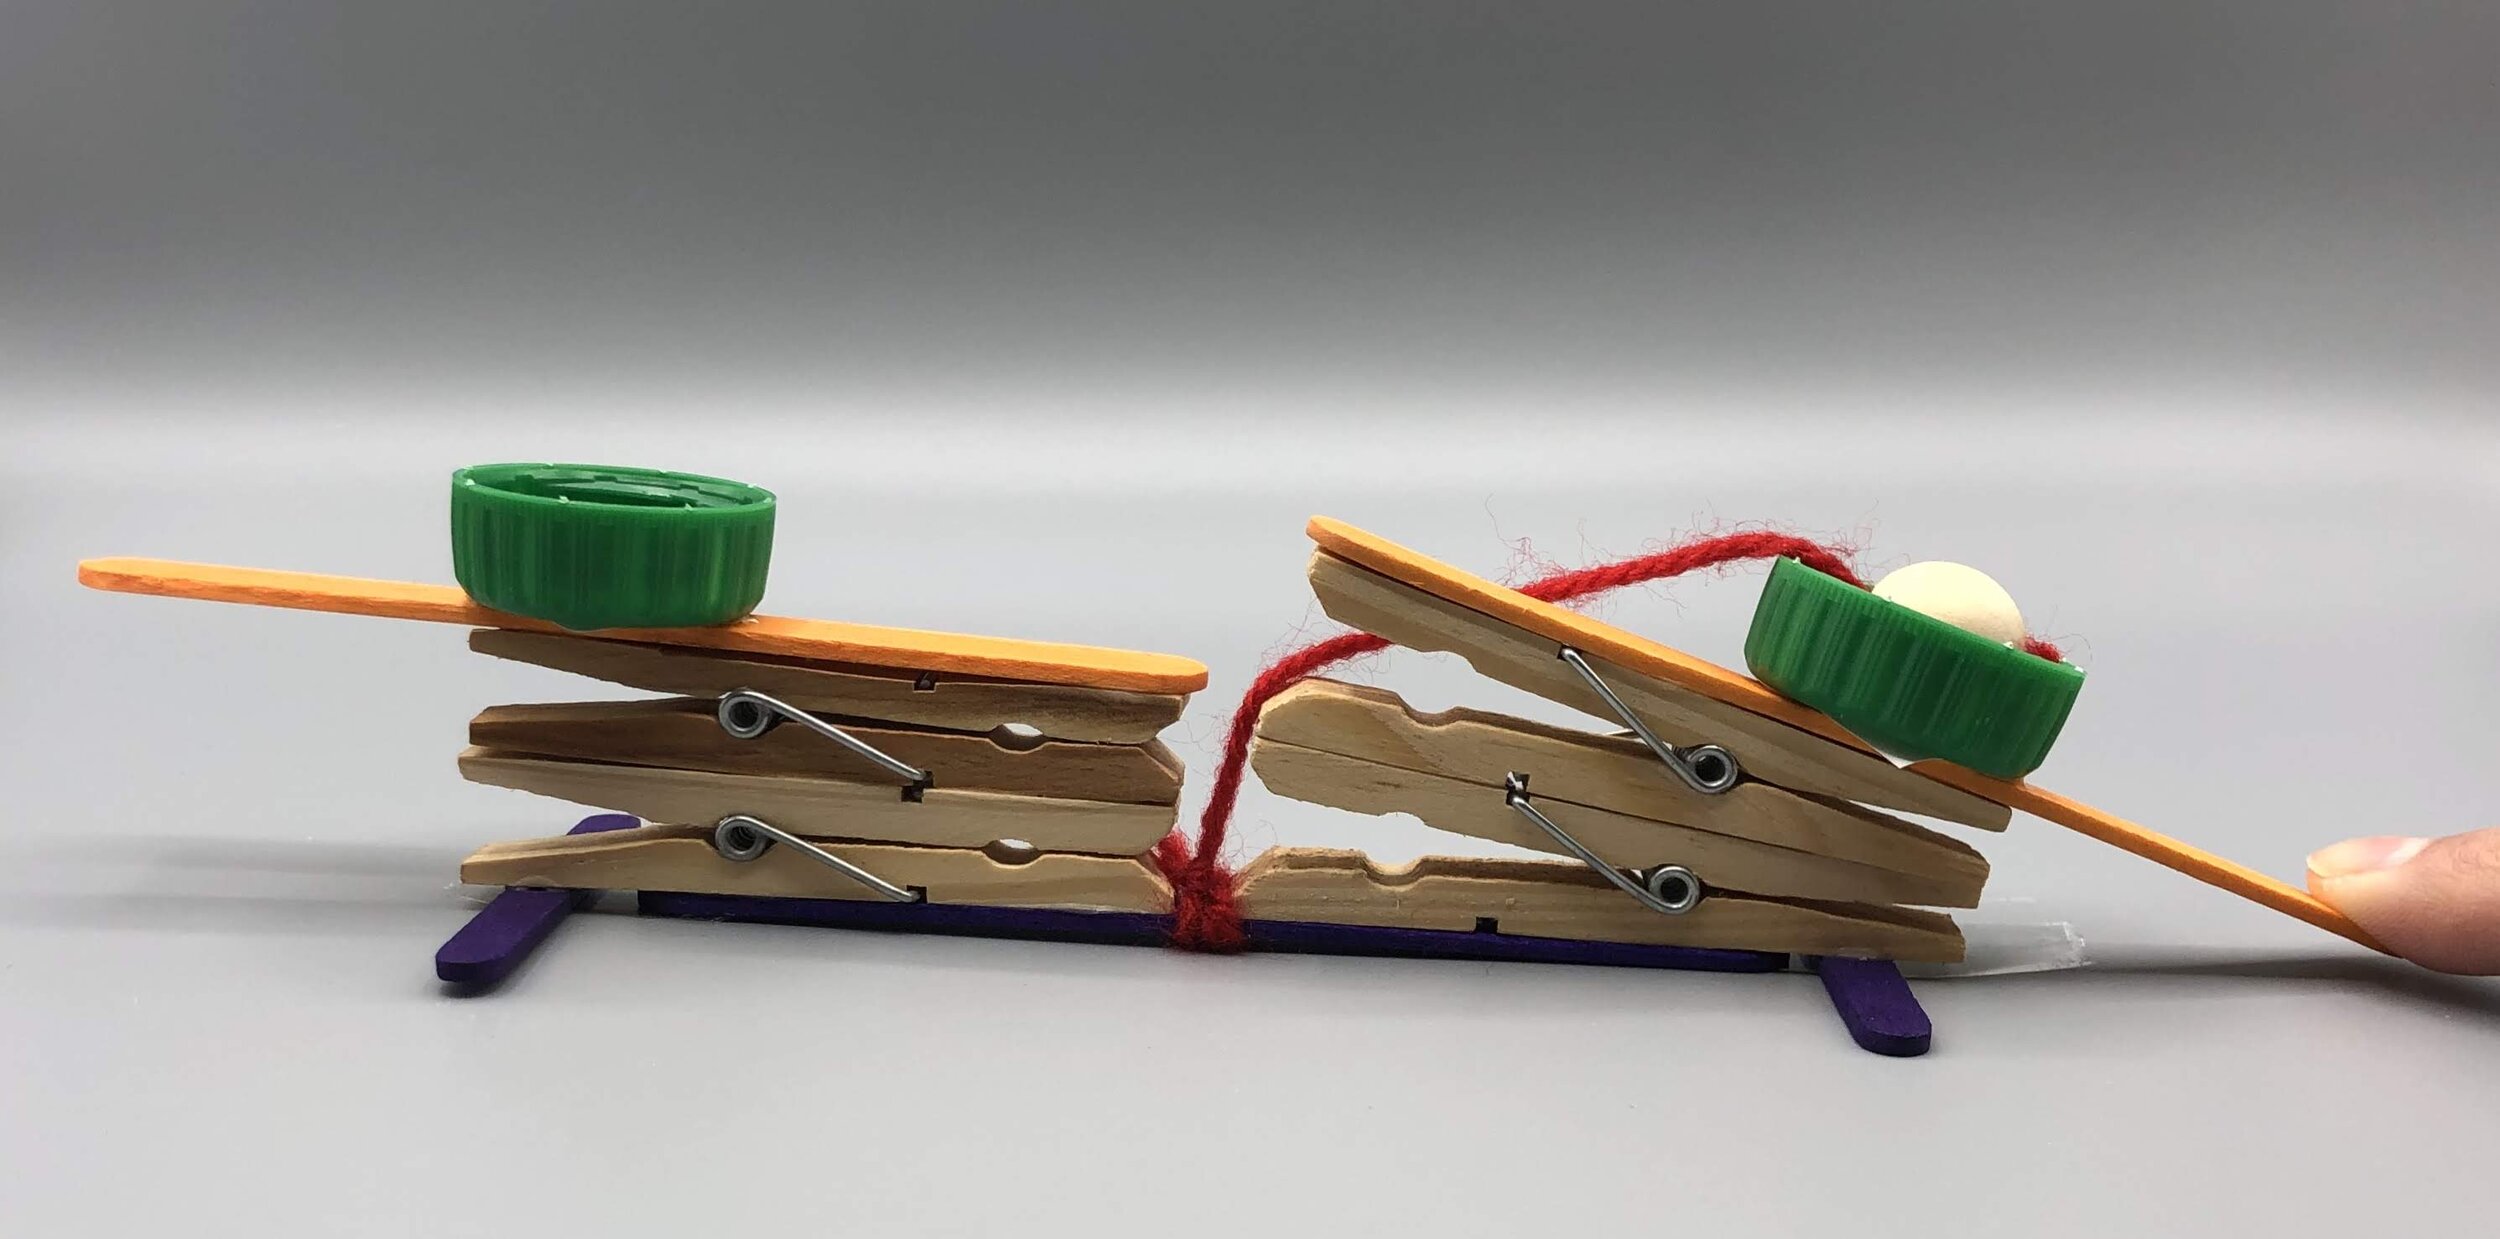
Wait for the glue to dry completely and that’s it! You now have a cup and ball game that you’ve made yourself! You can have fun with it alone or play one on one with someone! If it’s your turn to play, place the bead inside your cup, press the lever and try to send it inside the opposite cup! Since this set is extremely light, make sure to hold the game down by applying pressure on the small sticks, coming out on each side! Otherwise, you’ll lift everything up when pressing on the lever!

Check out my Instagram and/or Facebook account to watch a short video of the game being played!

Have fun!

Walking paper horse!

I just LOVE easy mechanical paper crafts! It’s nice when something is pretty and all, but if it moves or does something, I have a blast. Yesterday I made a self-walking pair of feet and today, I am making walking horses! Well, they don’t actually look like horses but let’s say they’re four legged animals. Anyways. I digress.

I found a little video of this craft a while ago and thought it looked like so much fun that I had to try it out. Never really had the time to do so until now. The video I saw made it look way easier to make the animals walk, but once I figured it out, I cannot stop playing around with it!

So if you are bored and/or looking for fun stuff to do with your kids, here is the tutorial.

IMG_8847.jpg


material

IMG_8828 (1).jpg

You really don’t need much to make this craft:

  • A sheet of paper

  • Scissors

  • A pencil

  • A ruler

That’s it!


instructions

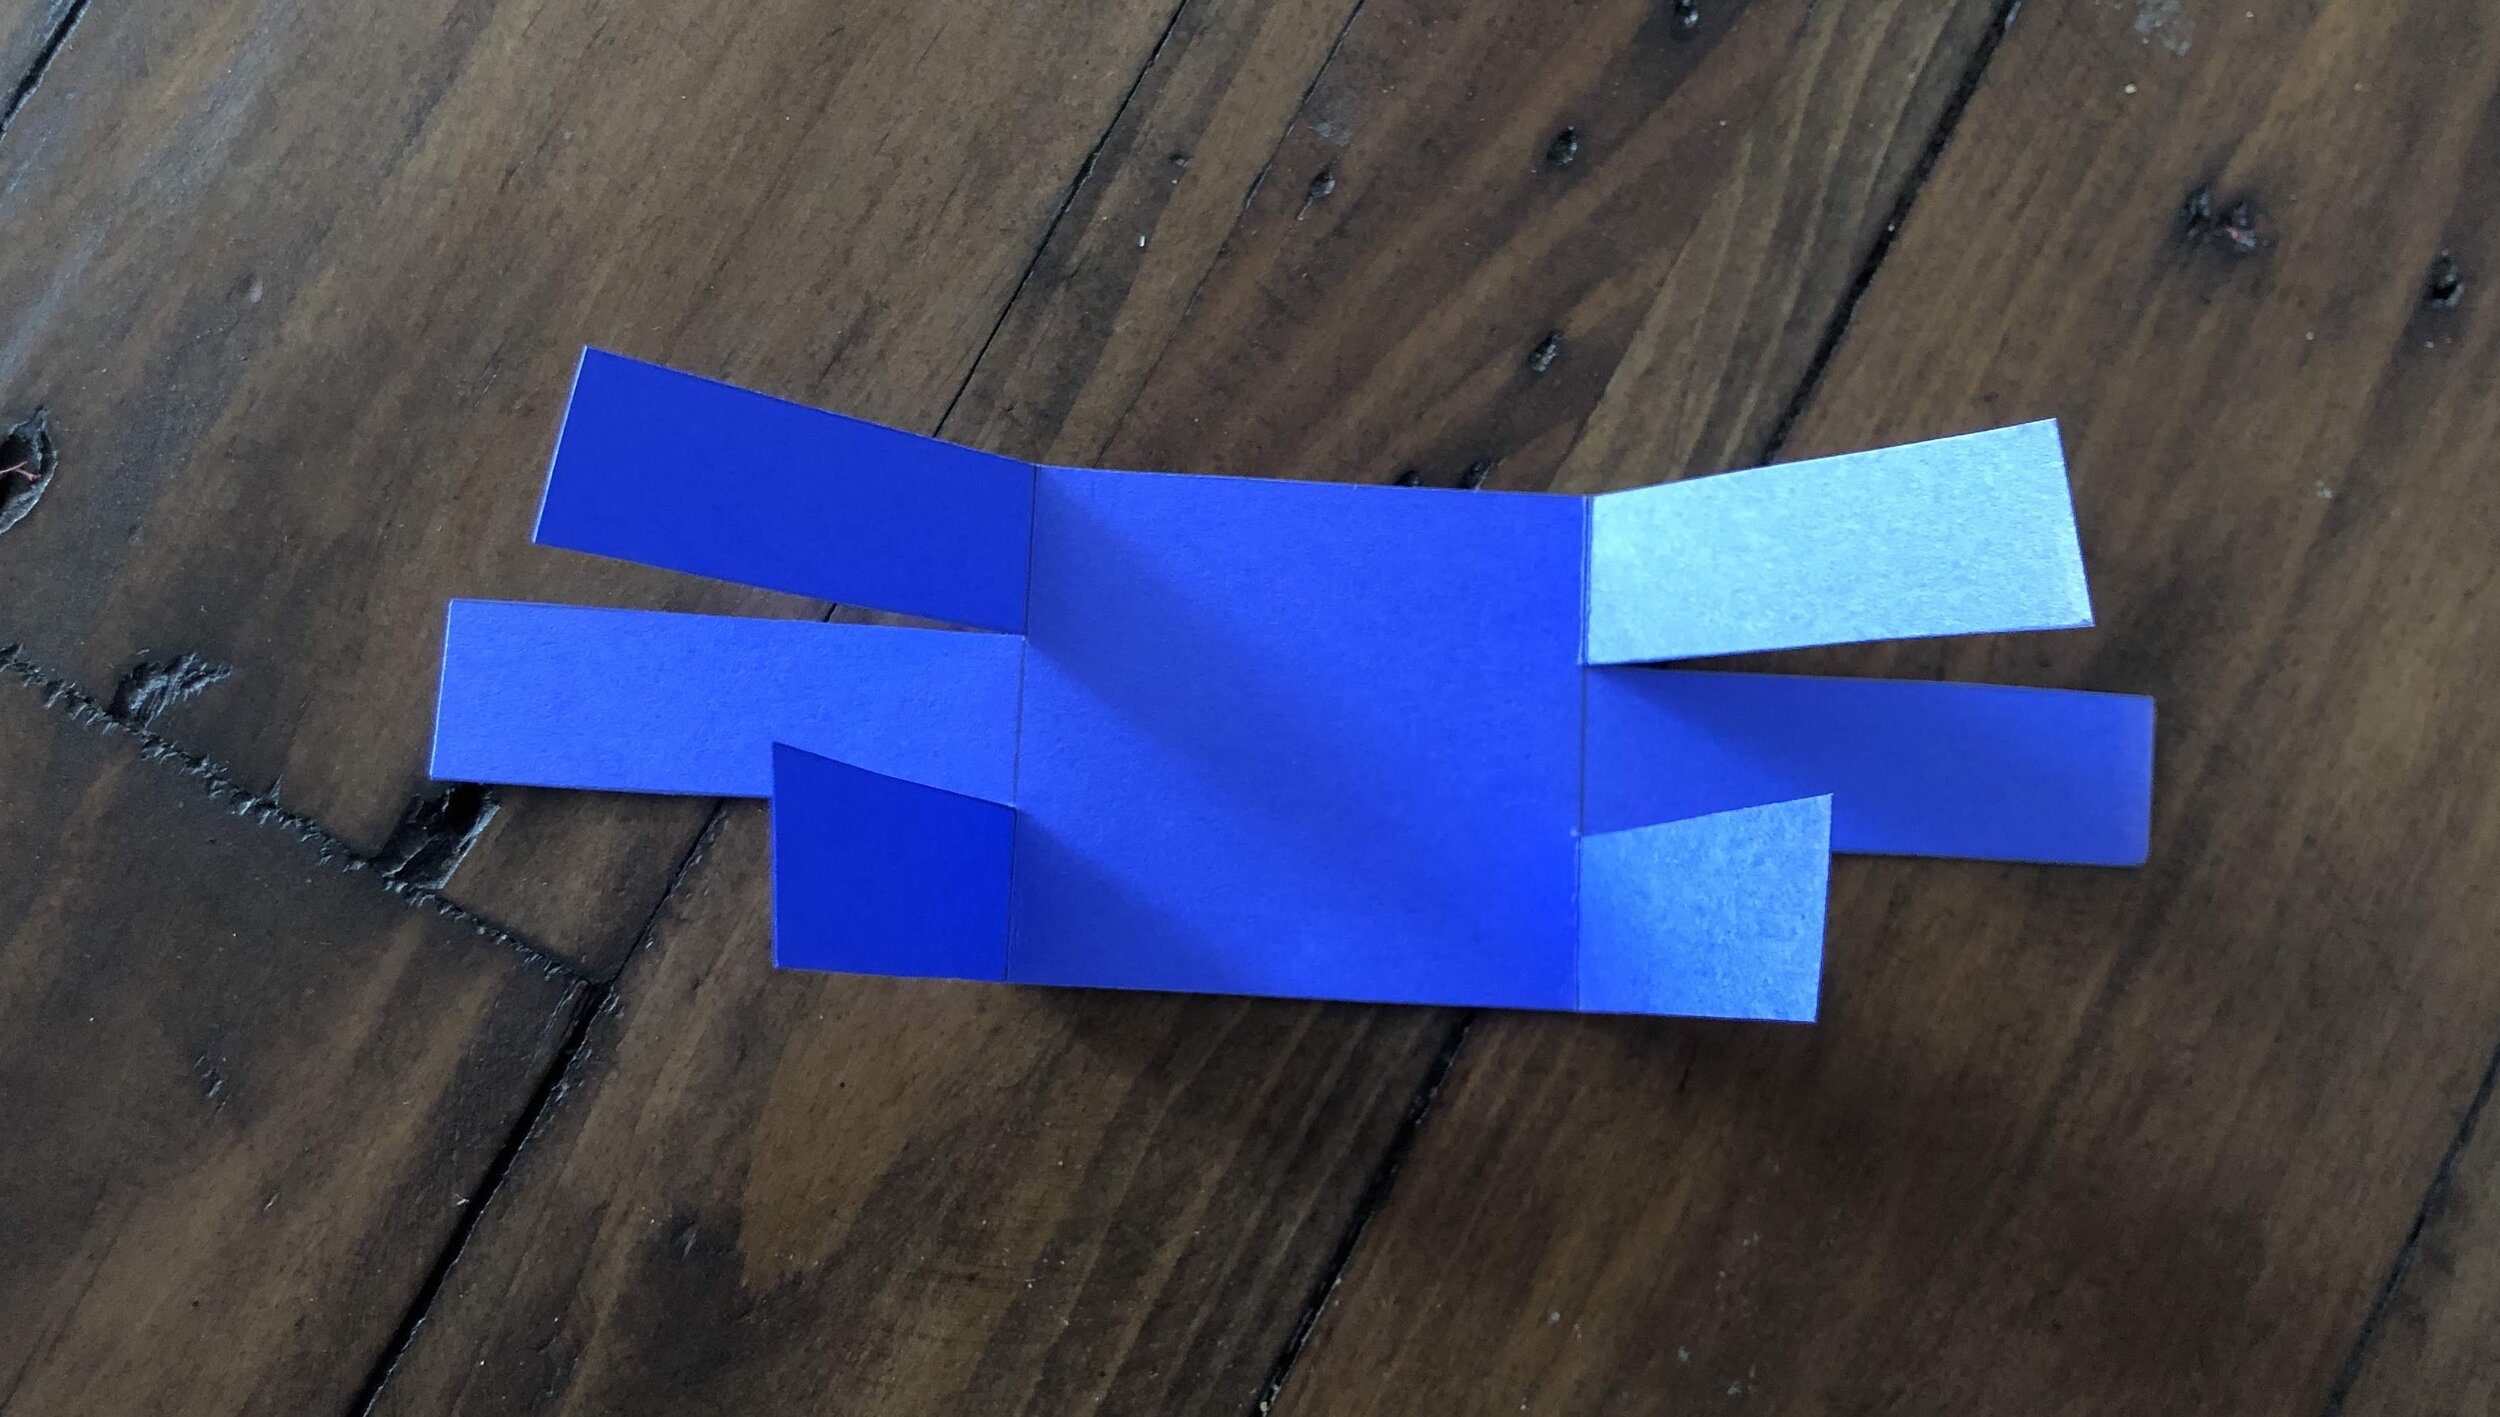
With the pencil and the ruler, draw a grid on the sheet of paper. There must be 3 columns, 5 cm wide each, and the column on the left as well as the one on the right must have 3 lines of 1.5 cm of height. On each top and bottom corner, draw a mark 0…

With the pencil and the ruler, draw a grid on the sheet of paper. There must be 3 columns, 5 cm wide each, and the column on the left as well as the one on the right must have 3 lines of 1.5 cm of height. On each top and bottom corner, draw a mark 0.3 cm away from the border, and draw a line from that mark to the corner right above or below it. You must see a little triangle on each corner as a result.

Cut the outline of the grid.

Cut the outline of the grid.

Then cut out the tiny little triangle on each corner, and cut along the horizontal lines.

Then cut out the tiny little triangle on each corner, and cut along the horizontal lines.

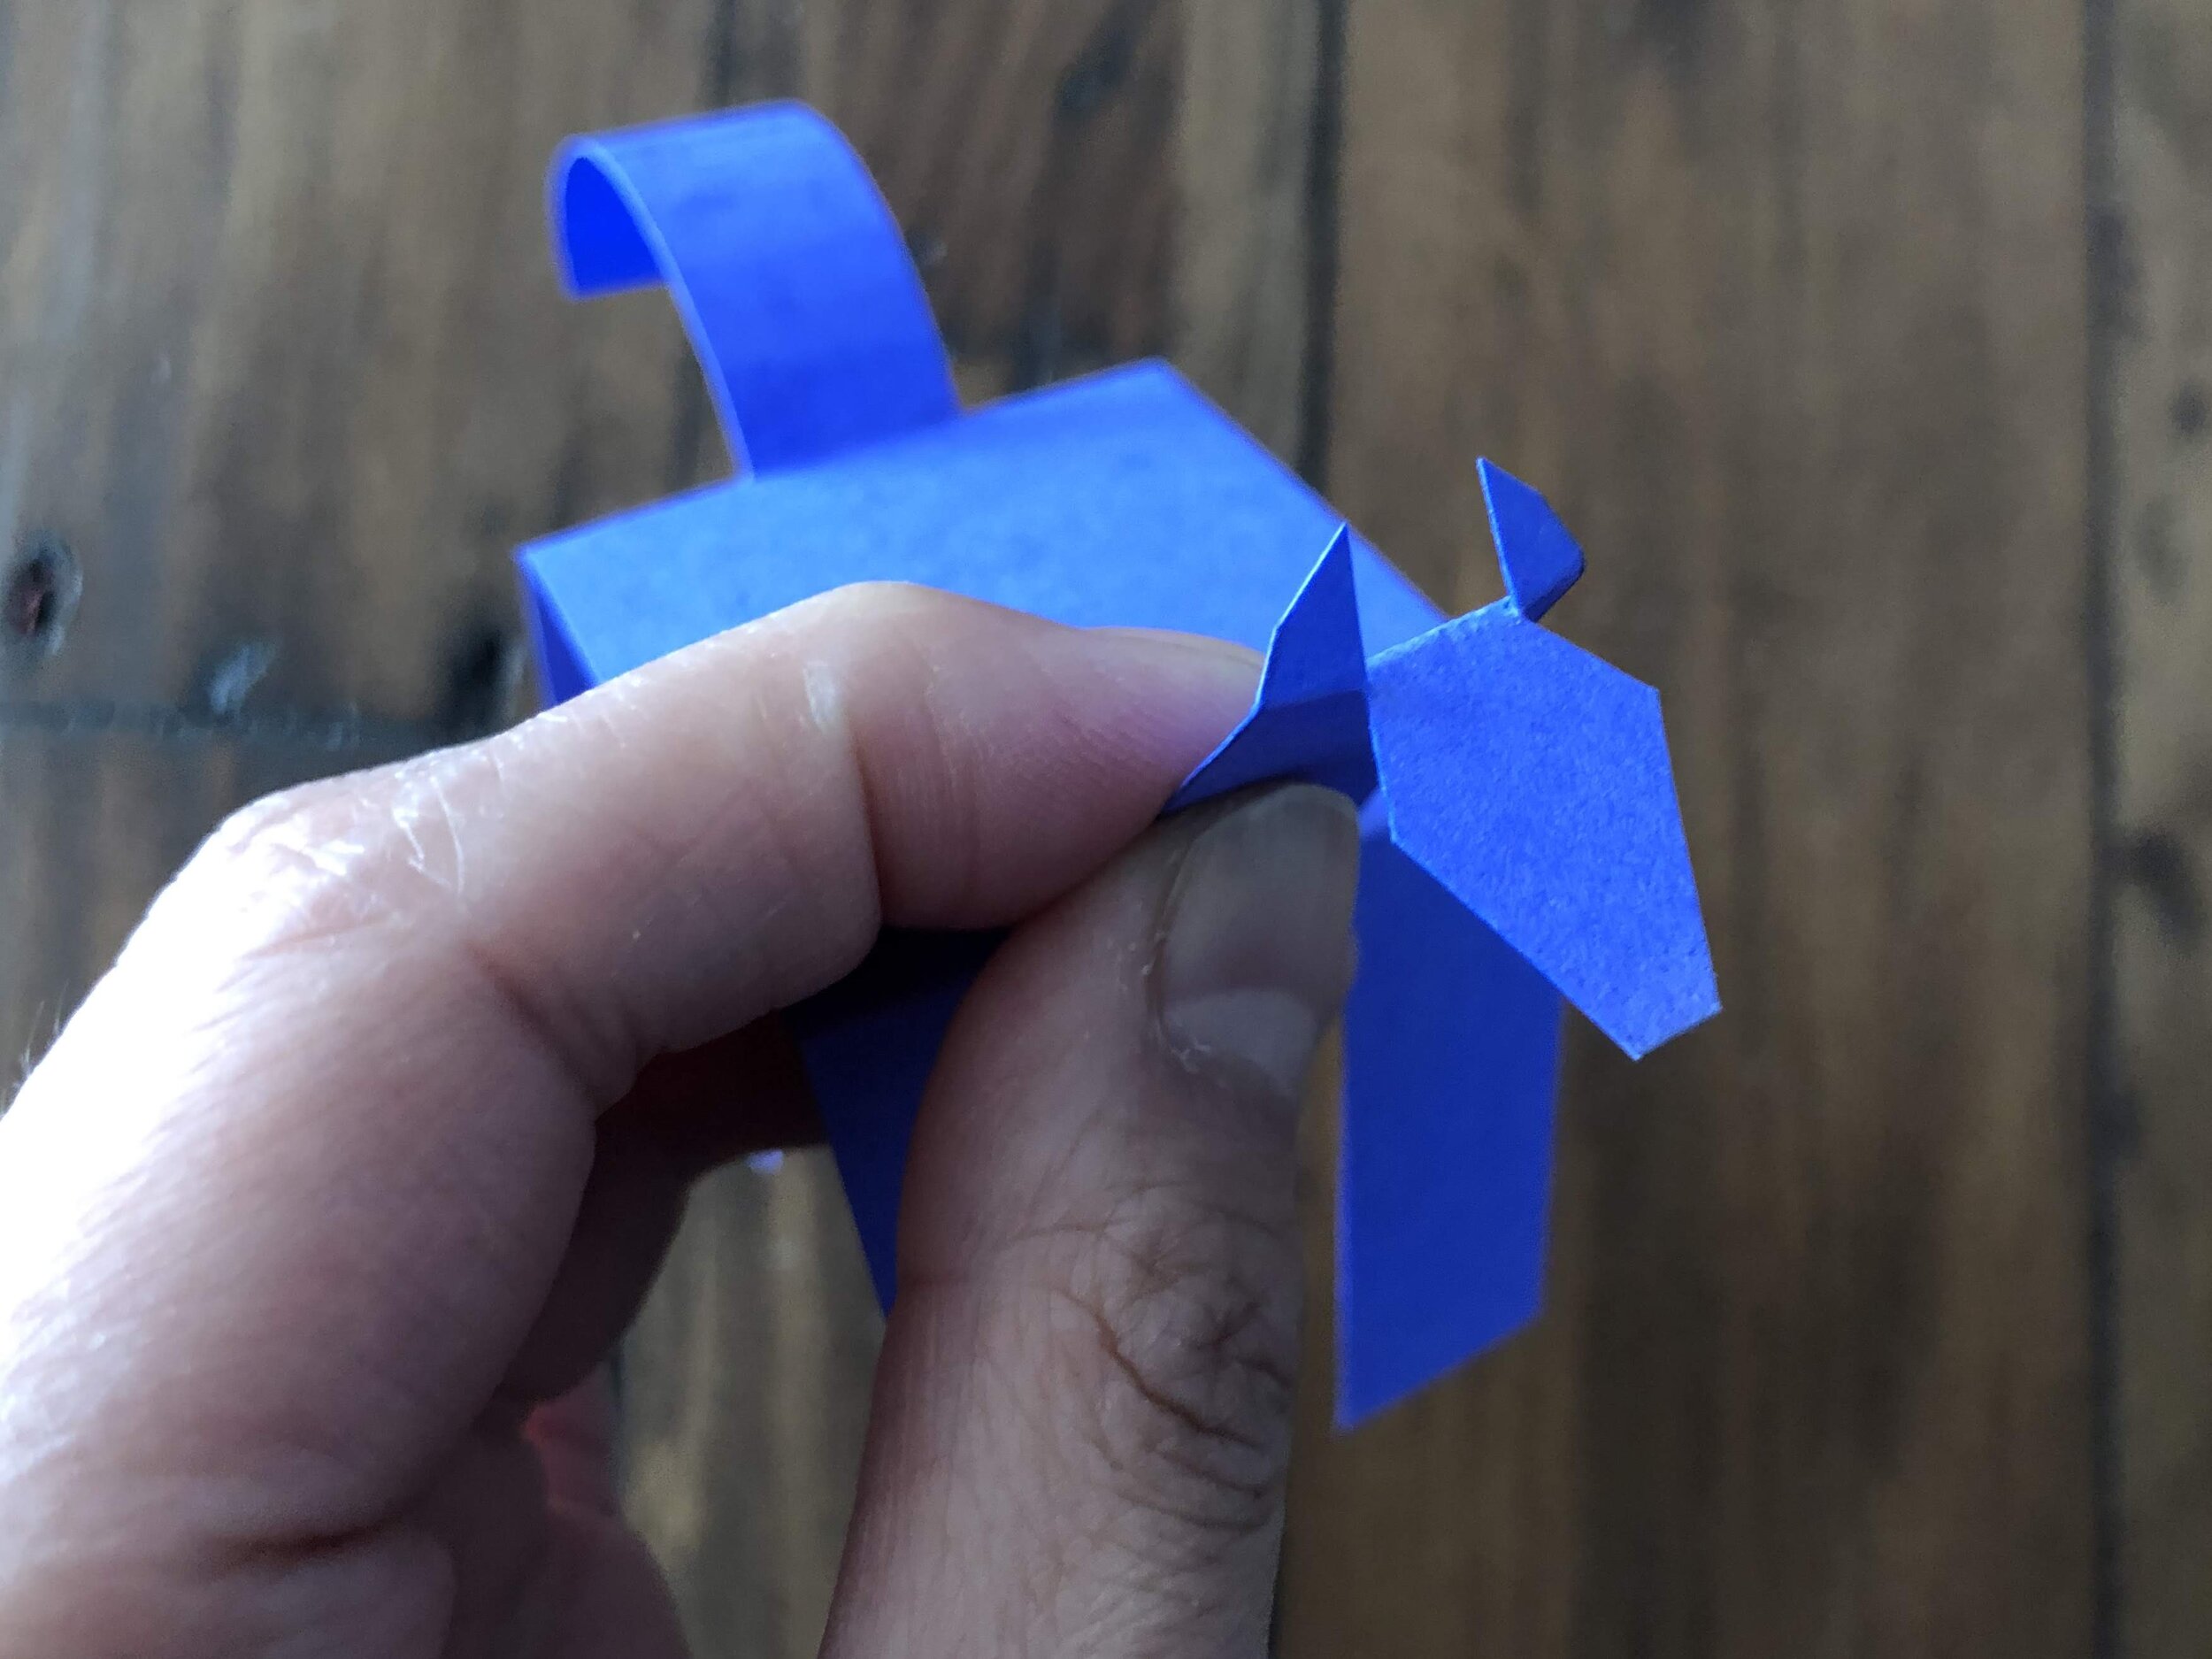
Now fold the top right leg along the vertical line, and do so for the 2 legs at the very left and right bottom and the other upper leg.

Now fold the top right leg along the vertical line, and do so for the 2 legs at the very left and right bottom and the other upper leg.

This is the result you should get.

This is the result you should get.

Now fold the 2 middle parts in the opposite direction, to obtain the above result. See? Now you have four legs, a tail and a head!

Now fold the 2 middle parts in the opposite direction, to obtain the above result. See? Now you have four legs, a tail and a head!

Give more shape to your animal’s tail by rolling it, of twisting it.

Give more shape to your animal’s tail by rolling it, of twisting it.

For the head, fold the extremity a bit.

For the head, fold the extremity a bit.

Decorate the head as you wish. I simply cut out ears but you could draw eyes, and a nose.

Decorate the head as you wish. I simply cut out ears but you could draw eyes, and a nose.

And that’s it! Your animal is ready to go for a walk!

And that’s it! Your animal is ready to go for a walk!

On a flat surface, nothing will happen. You must put your animal on a slanted surface, give it a little tilt and watch it walk down the hill!

I must say that this last step requires a little practice. It took me some time to figure out the perfect angle for my horse, and the appropriate force with which I must tilt and push the animal for it to start walking and not just fall on the side. Sometimes, they will stop walking mid-way and will need your help to continue walking.

Nonetheless, once I got all that figured out, I had a blast!

Check out my Instagram and/or Facebook accounts to watch a little video of my horse walking down a cardboard hill!

Until next time, have fun!

Self-walking feet!

I stumbled on this crafting idea some time ago but never really got around to testing it. These weird and stressful times are the perfect opportunity to whip out all my arts and craft equipment and play around, just to clear my head, keep myself busy and distracted at home.

So here it is : the self-walking feet! This is super simple to make, yet somehow a bit creepy but so fun to play around with! It really freaked my cat out!

IMG_8818.jpg

material

Untitled.jpg

That’s really all you need, and most of these things should already be found in your home. At least, their equivalents!

  • Colorful sheets of paper. You could also reuse old wrapping paper, newspapers, or old magazine pages, etc.

  • A paper straw

  • A pencil

  • Two (2) short sticks or a long one cut in half **

  • Scissors

  • Glue

  • A cardboard cylinder. I used an empty ribbon roll but you could also use a duct tape roll.

  • Tape

** Ideally, I recommend crafting sticks because they are thicker than BBQ skewers. But if that’s all you have at home, that’ll work out just fine, but the skewers will slip out of the straw more easily, that’s all. If you have any stick that would fit just right inside a straw without being too snug inside, that would be perfect.

instructions

On the back of a colorful sheet of paper, draw a pair of feet. You could also outline the contour of your own feet, just for fun.

On the back of a colorful sheet of paper, draw a pair of feet. You could also outline the contour of your own feet, just for fun.

Cut out the feet you just drew.

Cut out the feet you just drew.

Cut the paper straw in half and tape the extremity of each half under each feet, on the inner side, a little below the big toe.

Cut the paper straw in half and tape the extremity of each half under each feet, on the inner side, a little below the big toe.

If you’re working with an empty cardboard roll or cylinder, cover it with colorful paper to make it pretty. If you’re using a roll of duct tape that is still functional, better skip this step.

If you’re working with an empty cardboard roll or cylinder, cover it with colorful paper to make it pretty. If you’re using a roll of duct tape that is still functional, better skip this step.

Tape a short stick on each side of the cylinder. Notice on the picture how the sticks are not placed at the same level. The stick on the left is taped on the lower side while the stick on the right is taped to the upper side of the roll. This will a…

Tape a short stick on each side of the cylinder. Notice on the picture how the sticks are not placed at the same level. The stick on the left is taped on the lower side while the stick on the right is taped to the upper side of the roll. This will allow for the walking part of the craft.

Now place the left foot on the left side of the cylinder, and the right foot on the right side.

Now place the left foot on the left side of the cylinder, and the right foot on the right side.

Insert the sticks inside the straws. And that’s it!

Insert the sticks inside the straws. And that’s it!

How simple was that? All that’s left to do is make the feet walk! Put them on a flat surface, give the roll a slight push and watch it walk away! Play around with slanted surfaces.

The sticks roll inside the straws, allowing for the walking movement. Check out my Instagram or Facebook account for a short video of the feet walking!

Alright! Have fun and stay safe.

Moving paper snakes!

I really love kids’crafts. They’re the most enjoyable to make while grownup crafts, I find, always have to be practical or related to some life hack. No. Kids’ stuff are just meant to be fun and that’s what I like.

A few years ago I started organizing kids crafting activities at work and I found out that I really enjoyed it! Since then, I’m constantly looking for and trying out new ideas, mostly for my personal pleasure, and sometimes for work. All my crafts are highly focused on upcycling (you know, to reduce waste but also to limit money spending) and, for parents out there, they really encourage kids to use their imagination to make something out of what seems like nothing, while allowing them to discover the joys of creating something with their own hands. More and more, we buy things that are ready-made and every now and then, it’s nice to develop or reconnect with this increasingly disappearing skill.

In this post, I’m sharing one of my favorite craft: the moving paper snake. I organized this activity for work, two summers ago, and it was by far the kids’ favorite as well! Anything slightly mechanical will make them jump up and down from excitement. This snake is super fun to make and to play with, but the best part is that it is also super easy to build and doesn’t require much.

IMG_0413.jpg

Material

This is pretty much all you’ll need for this craft!

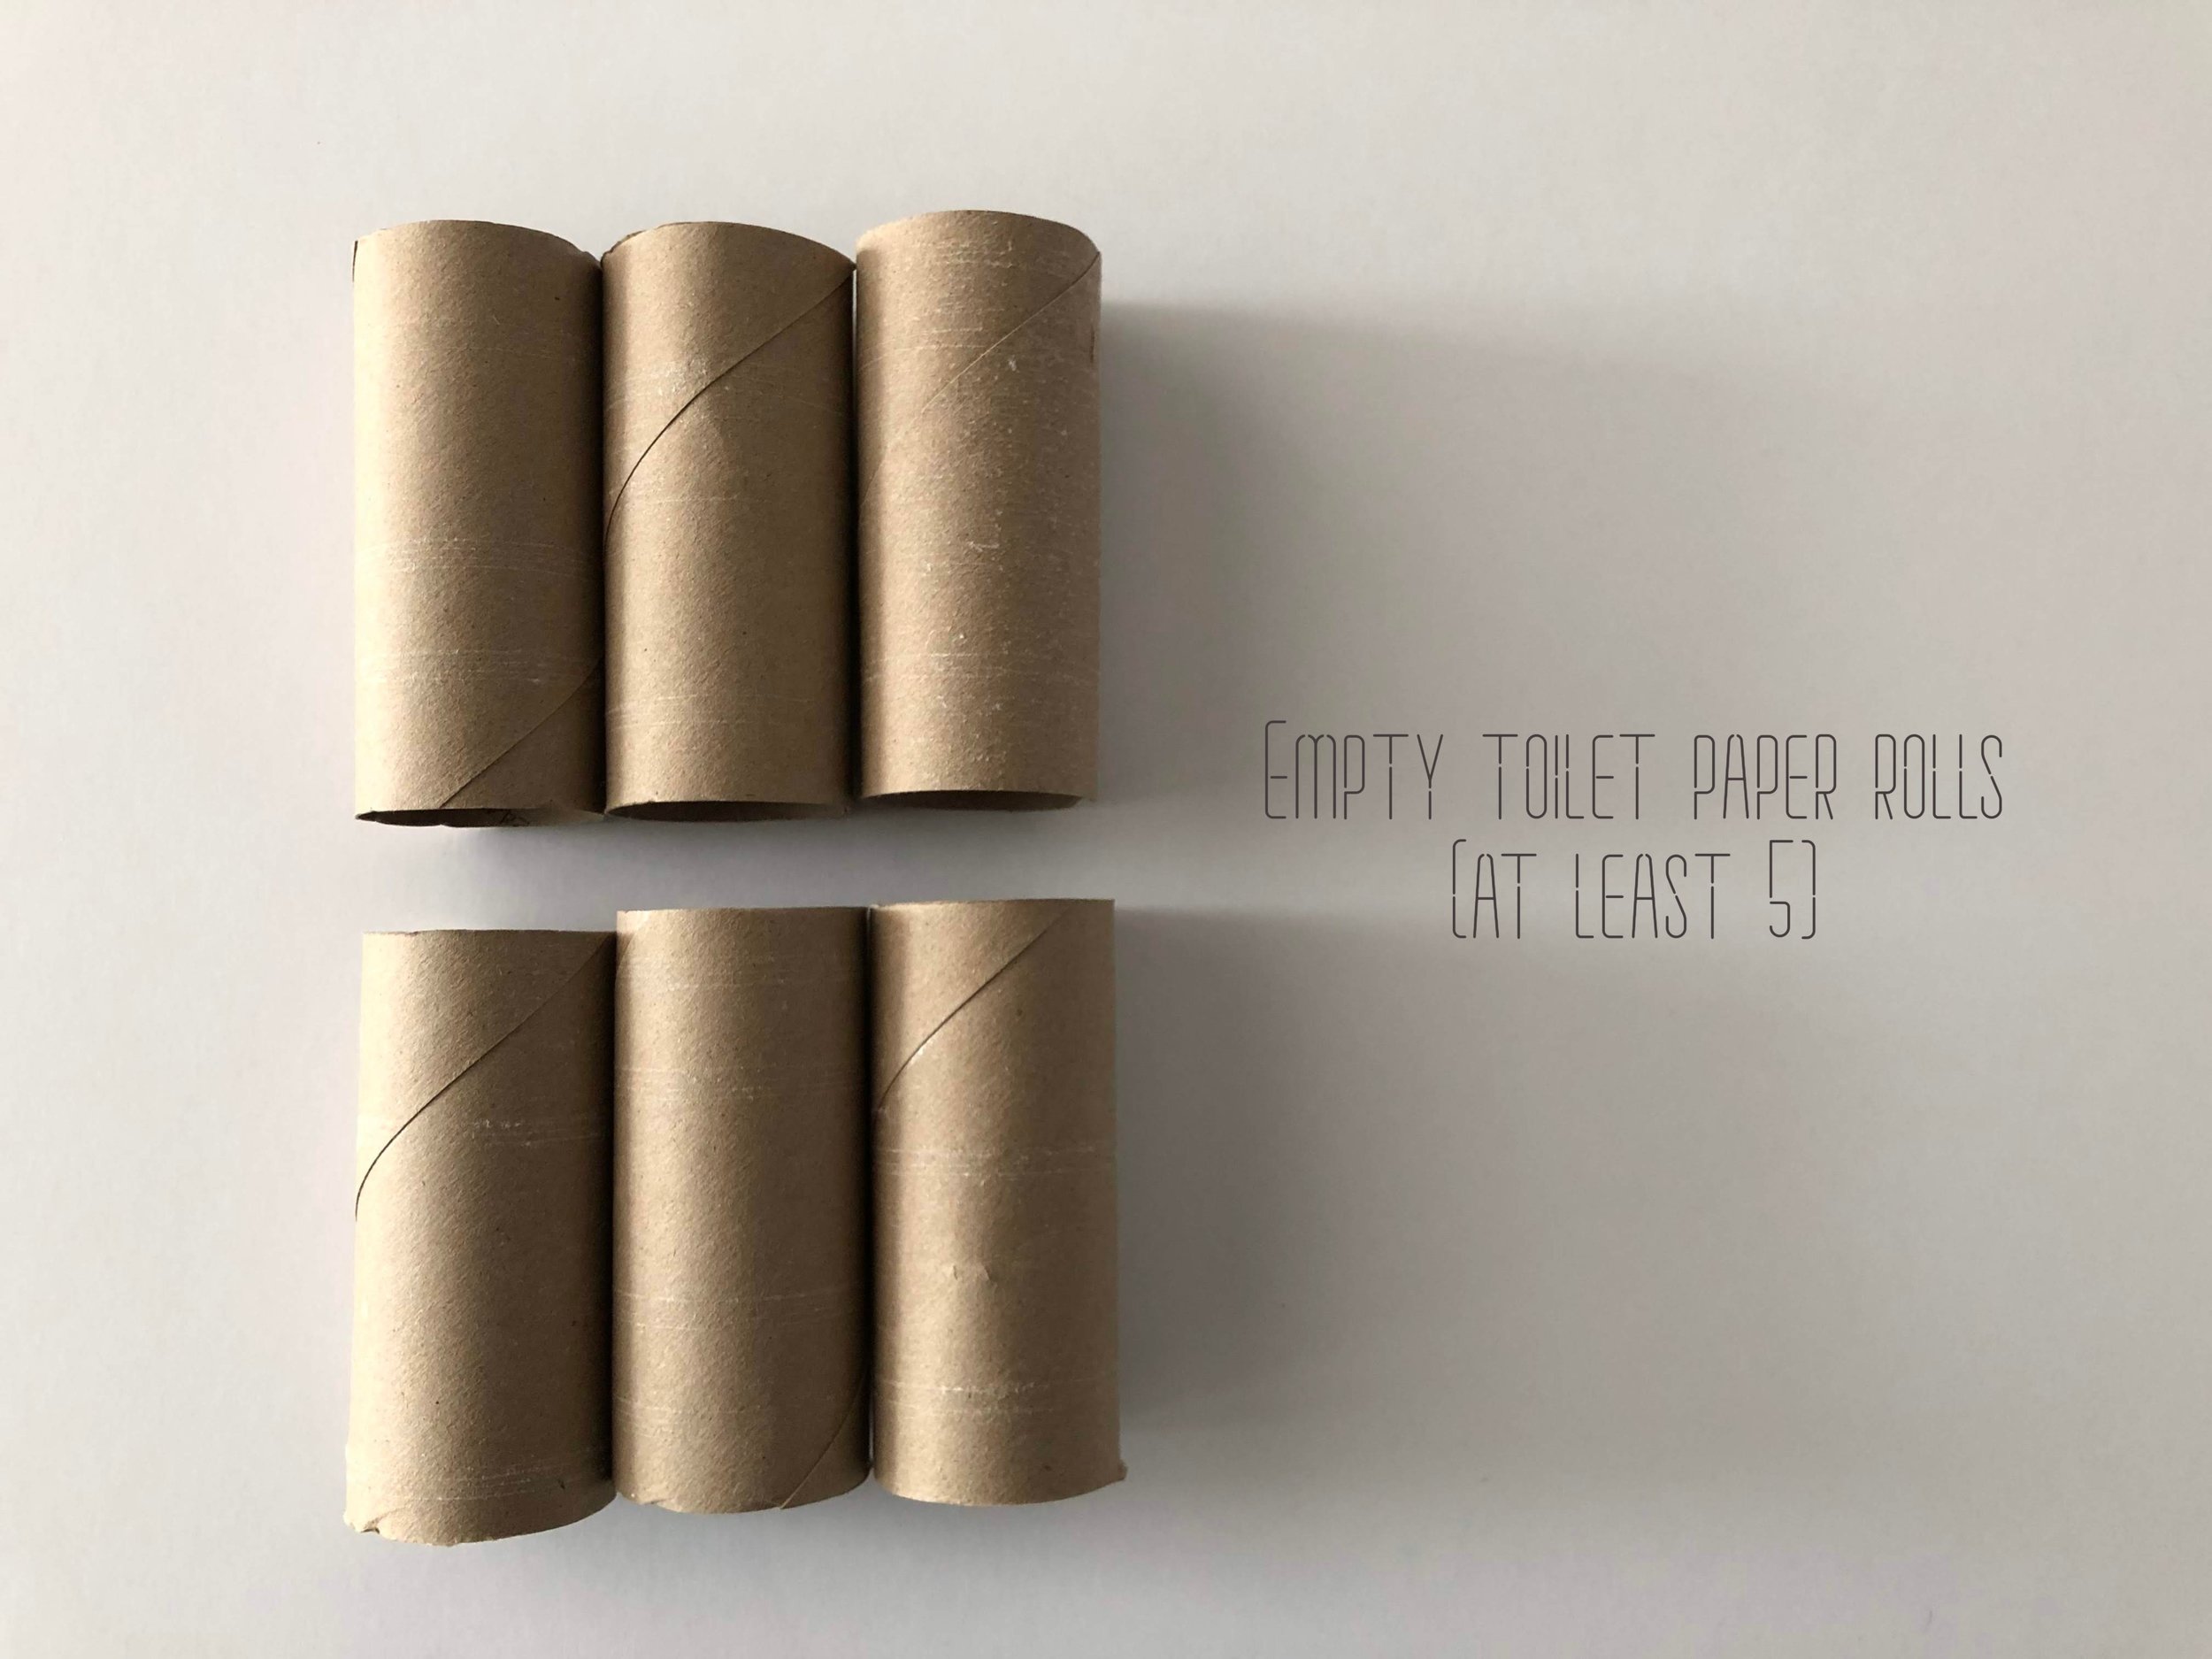
  • At least 5 empty toilet paper rolls. I used 6 in this case.

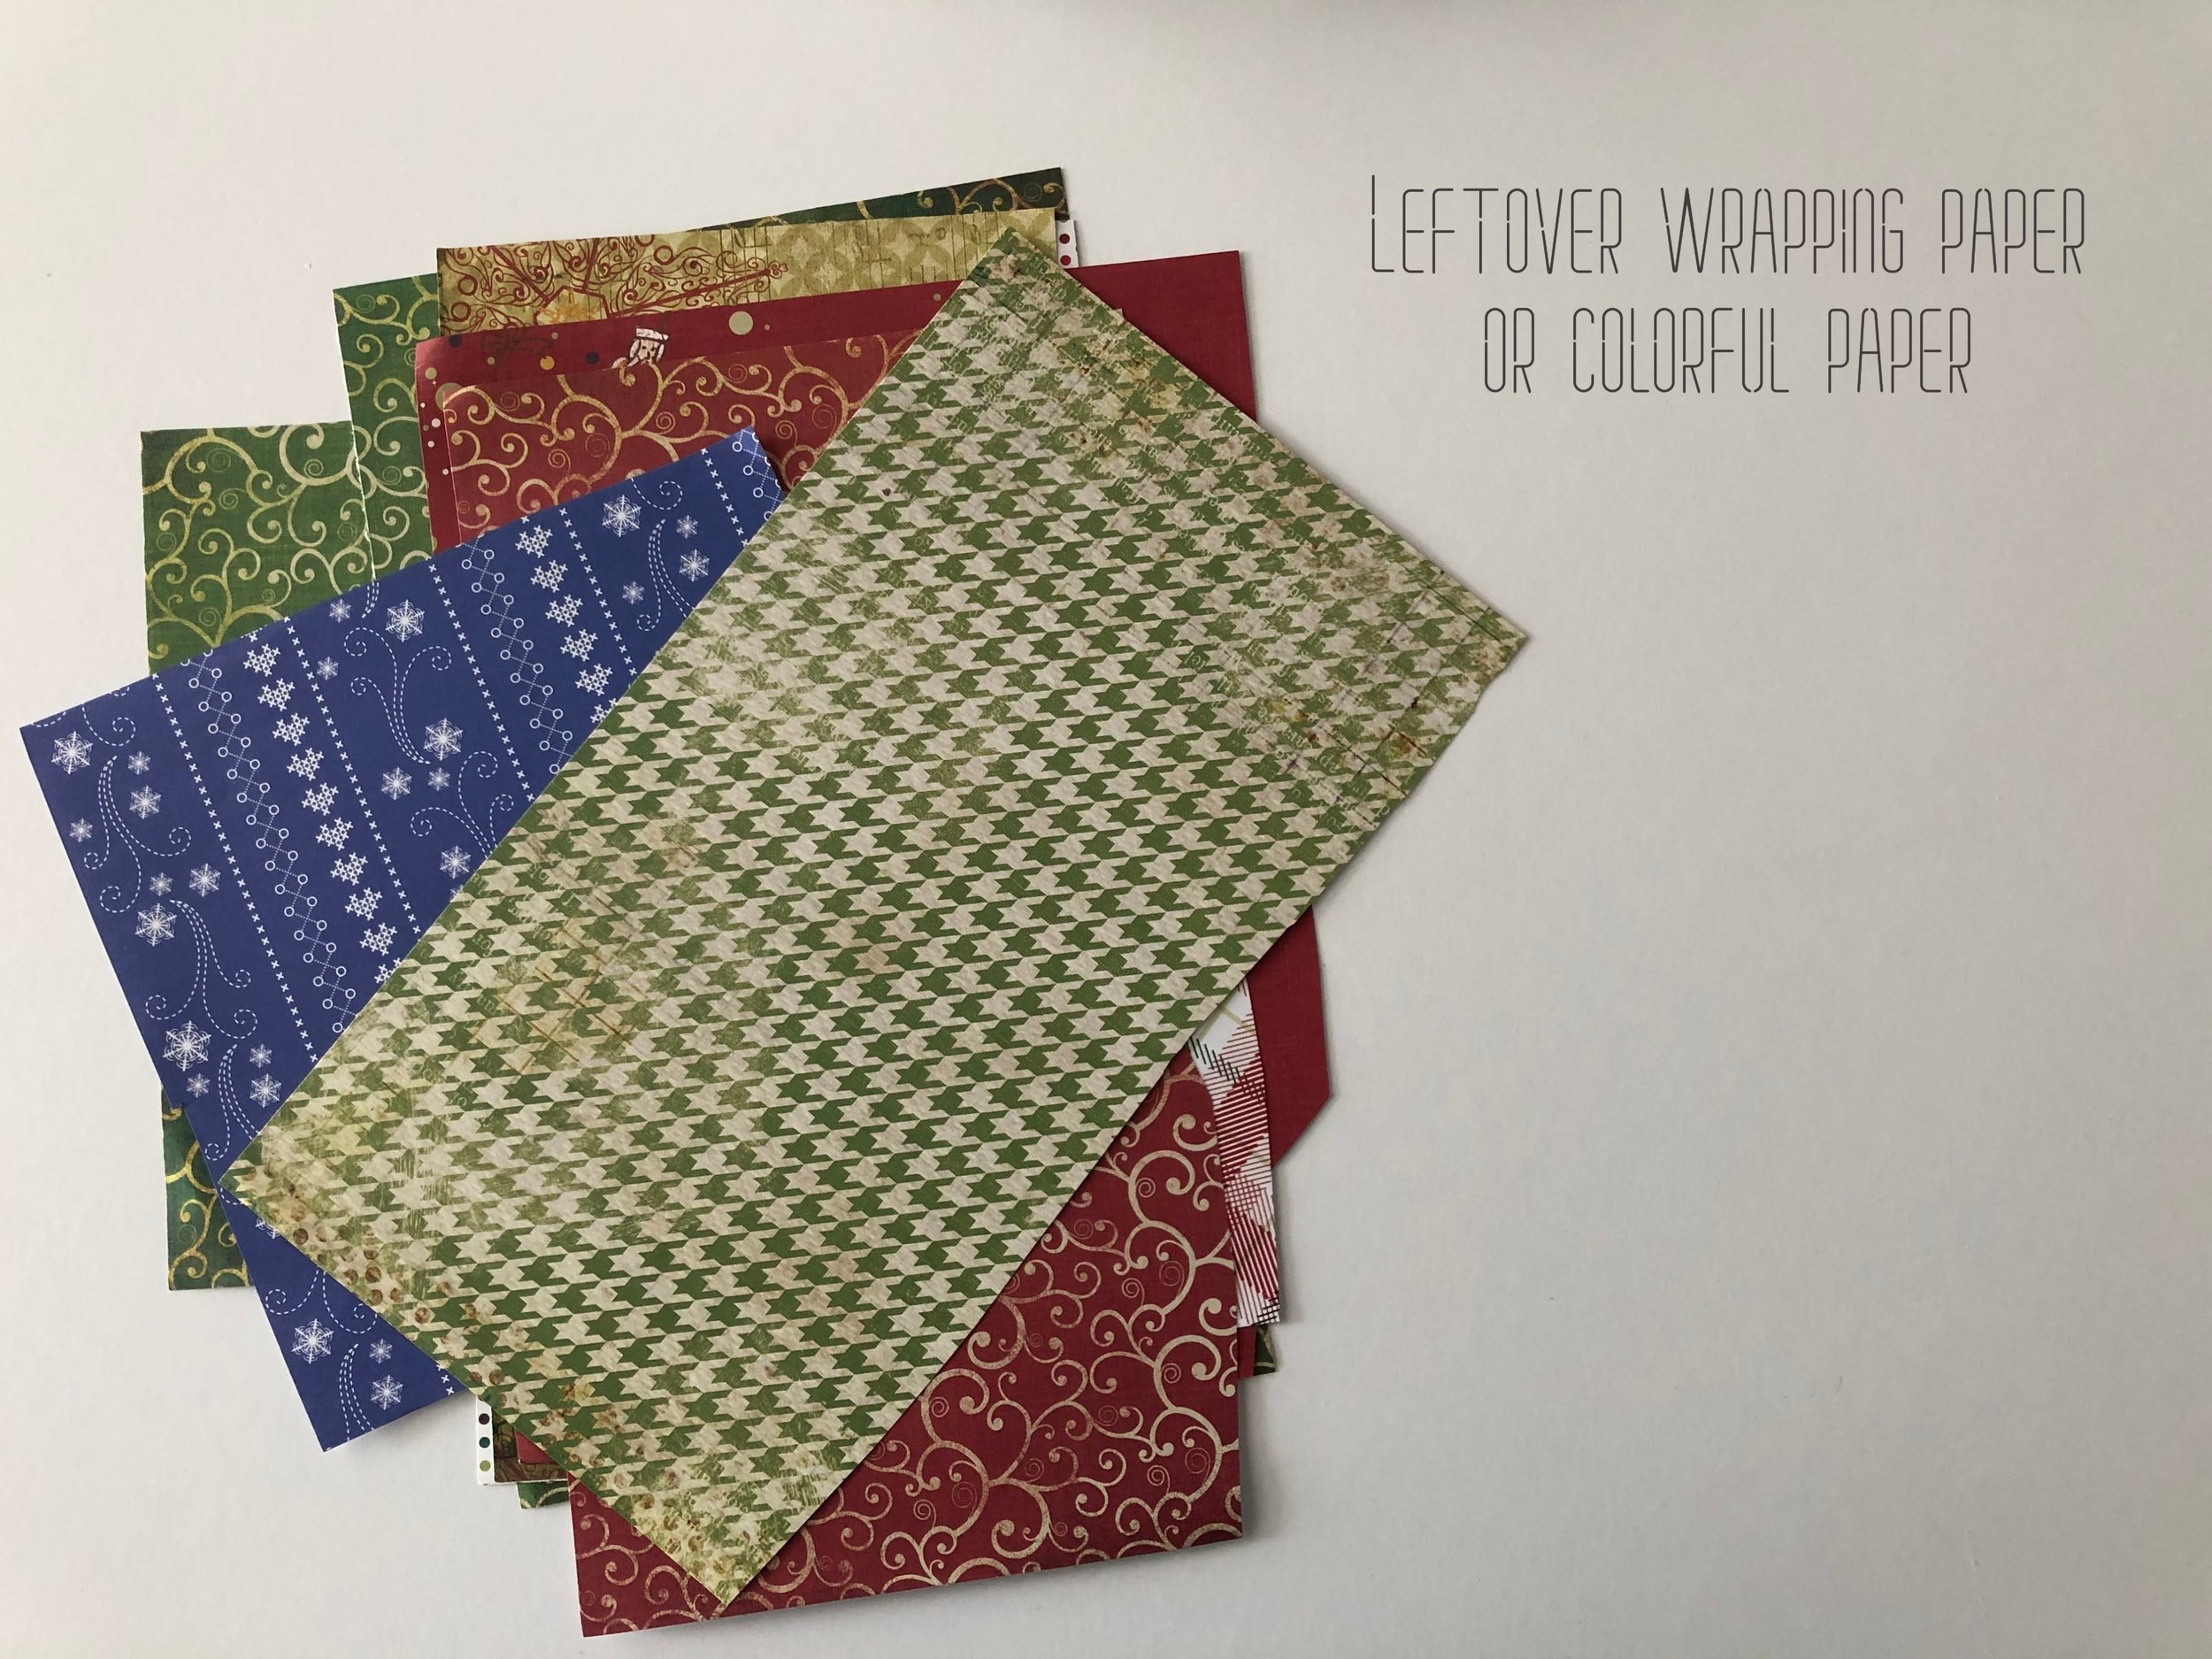
  • Leftover wrapping paper. Never throw them out, it’ll be a waste! Carefully unwrap the gift and keep the paper neatly in a box!

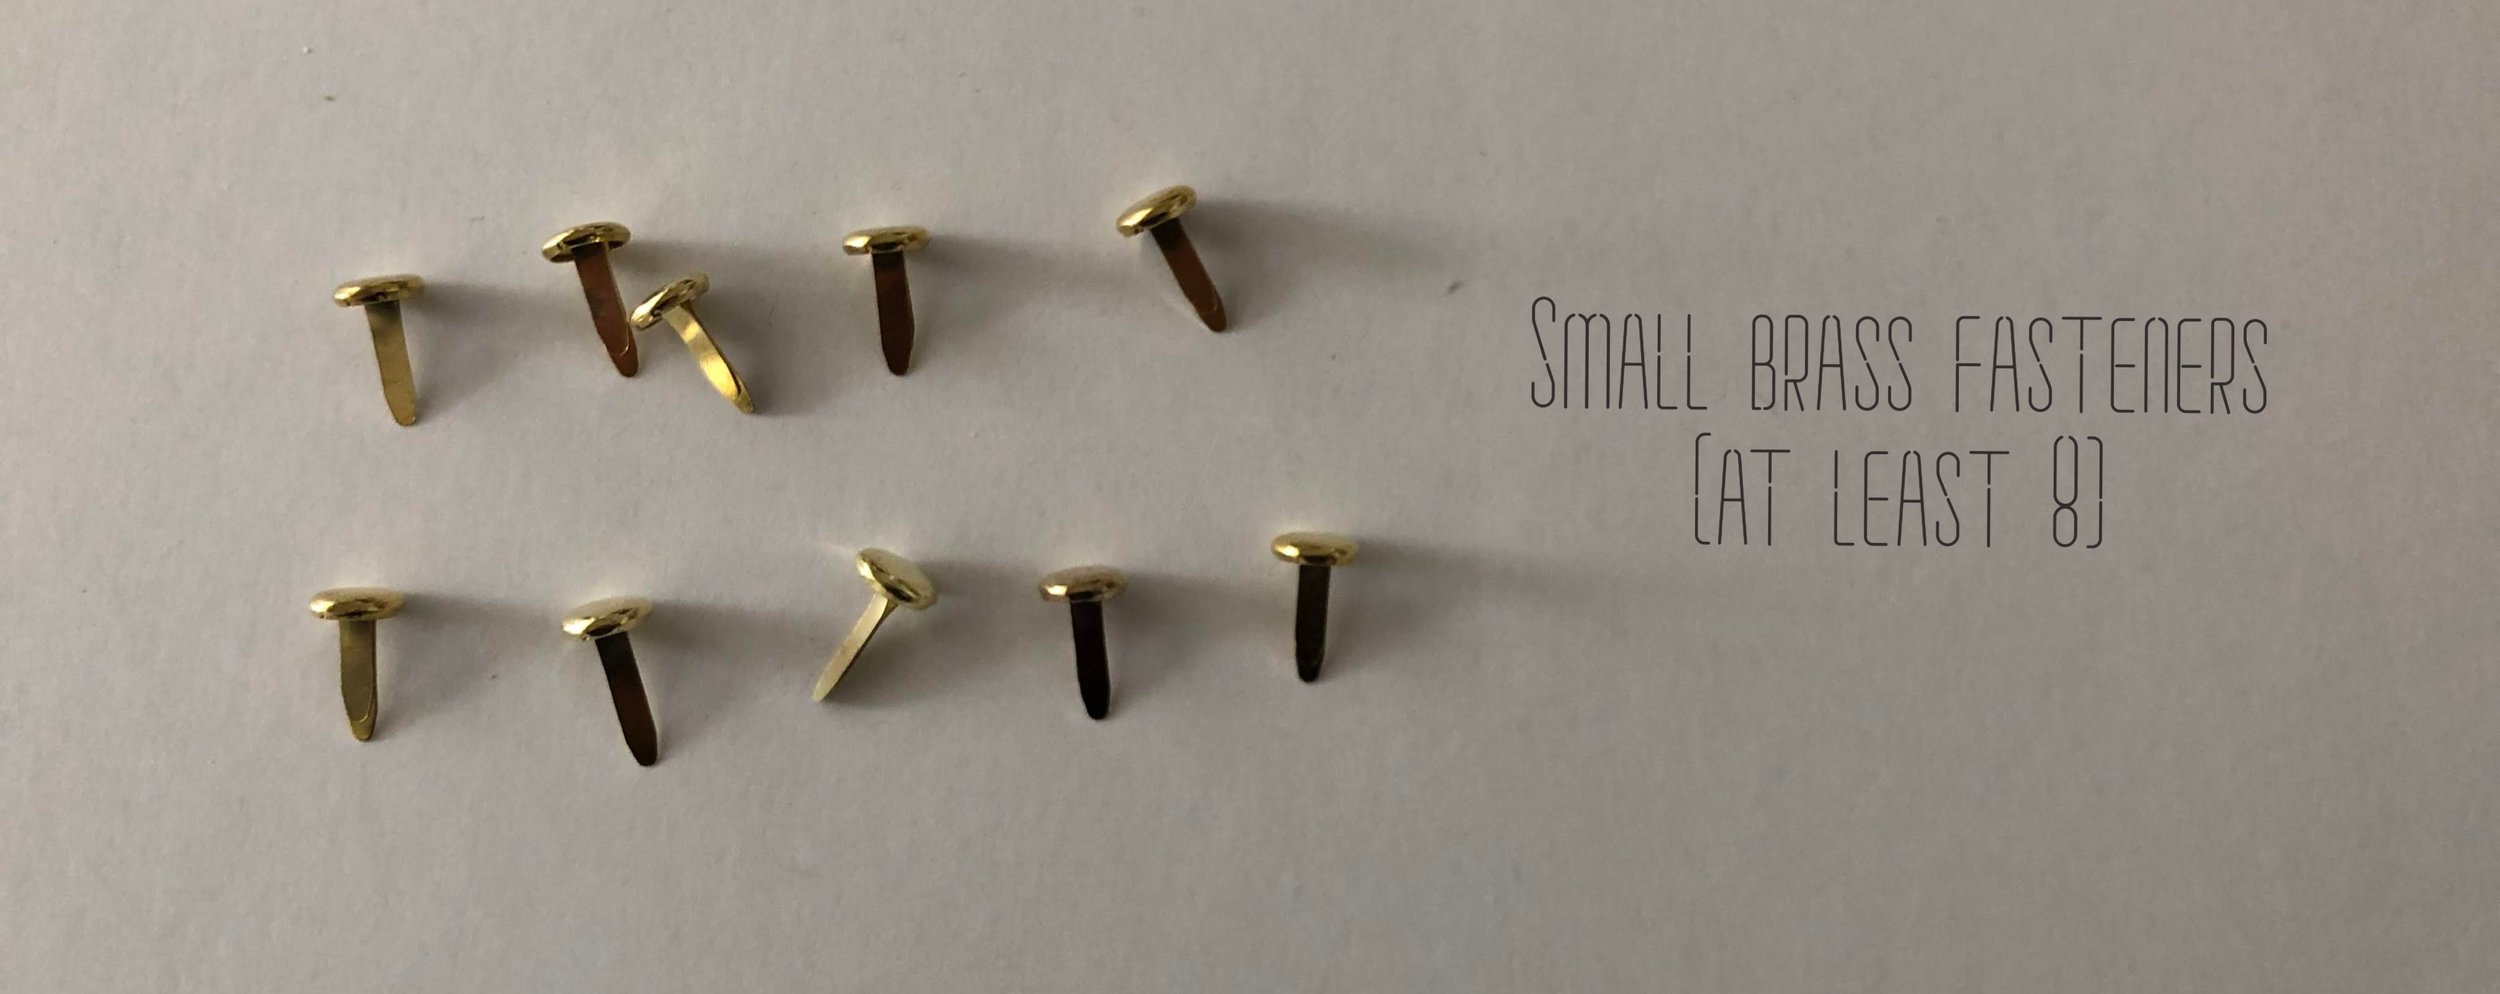
  • A bunch of brass fasteners. But if you do not have any, that’s ok! You can use refolded paper clips or cut a bunch of pipe cleaners into smaller parts.

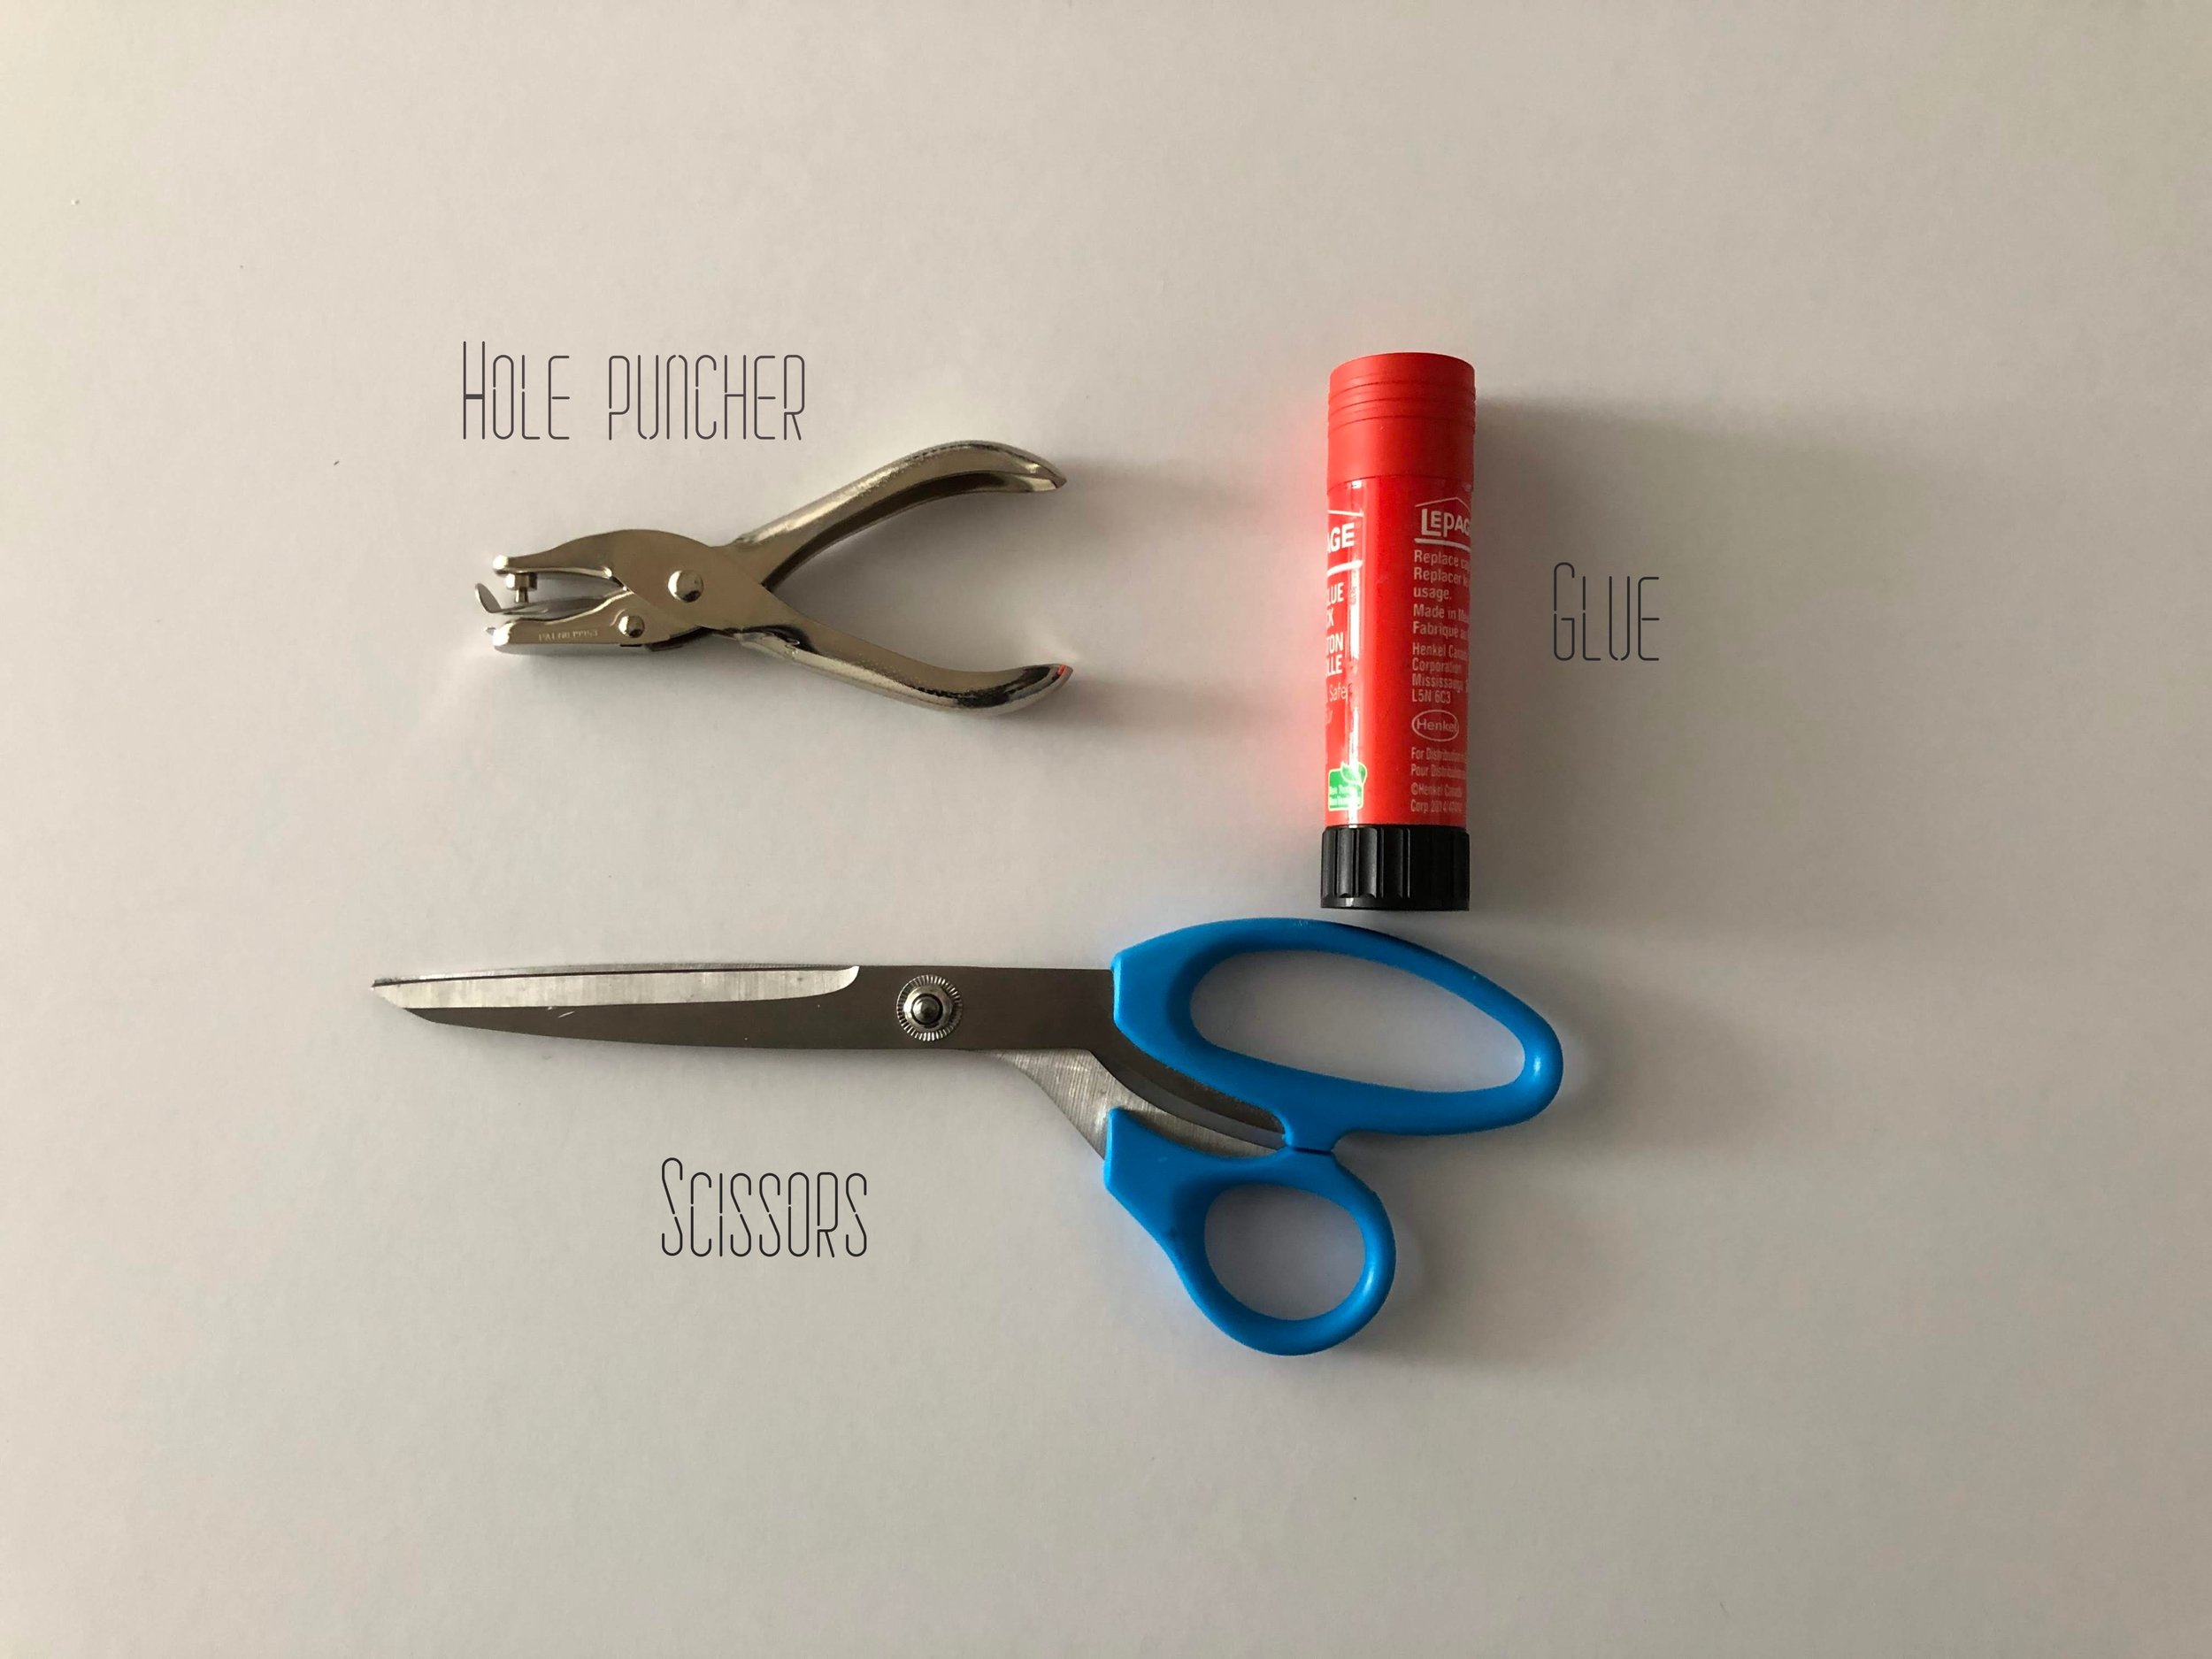
  • And of course, the basic tools : scissors, glue and a hole puncher. In this case, I used a puncher that makes smaller holes but it’s also ok if you do not have one. The regular puncher will work just fine.

  • Also not shown above but you can add any accessory you want to decorate the snake to your liking. I just added eyes.

Instructions

1- Cover the toilet paper rolls with wrapping paper.

1- Cover the toilet paper rolls with wrapping paper.

2- Cut the extremities of each roll so they are pointy.

2- Cut the extremities of each roll so they are pointy.

3 - Punch a hole at each extremity, on the upper point and also on the lower one.!!! You cannot see it very well on the picture but the first paper roll is the only one that has holes on one end. All the other rolls have holes on each end.

3 - Punch a hole at each extremity, on the upper point and also on the lower one.

!!! You cannot see it very well on the picture but the first paper roll is the only one that has holes on one end. All the other rolls have holes on each end.

4 - Starting with the first roll (the one that is not punched on both ends), combine 2 rolls together by inserting the brass fasteners into their punched holes. A fastener must be inserted into the upper and the lower holes

4 - Starting with the first roll (the one that is not punched on both ends), combine 2 rolls together by inserting the brass fasteners into their punched holes. A fastener must be inserted into the upper and the lower holes

5 - Continue to combine all the rolls together, until you don’t have any rolls left.

5 - Continue to combine all the rolls together, until you don’t have any rolls left.

6 - And that’s pretty much it! There’s your snake! All that is left to do is give it some life and personality!

6 - And that’s pretty much it! There’s your snake! All that is left to do is give it some life and personality!

7 - In this case, I only gave my snake a pair of googly eyes, I cut its tails a bit so that it’s pointier and gave it a tongue.But, you can do what ever you want at this point! You could cut tiny pieces of paper and put scales on your snake!

7 - In this case, I only gave my snake a pair of googly eyes, I cut its tails a bit so that it’s pointier and gave it a tongue.

But, you can do what ever you want at this point! You could cut tiny pieces of paper and put scales on your snake!

The brass attachments allow the different parts of your snake to move independently from each other so you can pretty much spend a great deal of time playing with it, making it move which ever way you like!

Check out my Instagram account for a little stop motion video I made, playing with my paper snake!

Have fun and stay tuned for more upcoming crafting ideas!

Yarn Easter eggs

IMG_0886.JPG

I am always on the lookout for easy but fun activities for both adults and kids because I just love crafting. It relaxes me and helps me reconnect with my 5 year old self. Since Easter is just around the corner, I am going to share one of my favorite Easter crafts: yarn eggs! They are a bit messy to make but that is half the fun!
Material

  • Small balloons or water balloons
  • Colorful yarn
  • Mod Podge or Elmer's glue
  • Water
  • Optional: tiny chocolate Easter eggs

Tools

  • Old newspapers
  • A bowl
  • Plastic tubes (or drying racks, cookies sheets, small bowls or glasses)
  • A pin or scissors and a tweezer

Instructions

  1. Blow as many balloons as you like. Do not blow them too much, make sure they are blown just enough to be shaped like an egg. If you want to gift your yarn eggs with little chocolate ones inside, insert the treats in the balloons before blowing them. Tie the end of each balloon so it doesn't deflate.
  2. Make sure that you have protected your workstation with old newspapers!
  3. In a bowl, mix the Modge Podge (or white liquid glue) with a bit of water. Not too much water, though, or the yarn will not stick. Just enough to water the glue down a tiny little bit. The glue still has to be a bit thick.
  4. Now dip your yarn in the glue mixture. You can either use a very long string if you want one color for your egg, or, if you want colorful eggs, use shorter threads. Just dip them one at a time or else they will form one big messy knot.
  5. Once the yarn has soaked the glue mixture, pull it out and remove the excess.
  6. Then, simply wrap the yarn around your egg. Let yourself go, there is no rule here! If there are little chocolate eggs in your balloons, just make sure that there are no big holes in the yarn pattern as you wrap it around the balloon. This will prevent the chocolates from falling out of the yarn eggs.
  7. Once you are satisfied with the result, put the egg aside to dry and move on to another egg. I used small plastic tubes to dry my eggs but you can use whatever you have at your disposal: cookie sheets, small bowls, drying rack... 
  8. Let your eggs dry overnight.
  9. Once the yarn has dried completely, take a pair of scissors or a pin to pop the balloons.
  10. The balloons will deflate and all you will have left is an egg shaped ball of yarn! How cool is that?
  11. Retrieve the deflated balloon with a tweezer.
  12. If you have treats inside the balloons, use the scissors to carefully cut the deflated balloon into pieces and, with a tweezer, delicately remove the little bits of balloon and extract the chocolate eggs.
IMG_0883.JPG
IMG_0852.JPG

These eggs are super easy and fun to make! If you have kids, it'd be a great family activity to organize for Easter or, you could hand them out as gifts and watch the joy in people's faces as they "crack" their eggs!