
Like the walking paper horse or the self-walking feet, this craft also falls into the “I’ll save it for when I have the time” category. A while ago, I saw a short video of someone playing with this homemade toy and I thought how cool a game this was! It looked really easy to make as well! I then forgot about it until now and took some of my free time to test out this activity. Is it as easy to build as it looks? Is it as fun as it appears to be? Yes and yes. The only “problem”, if you can even call it a problem, is that you have to wait a bit after each step for the glue to dry. If you have a hot glue gun, that should not be an issue, but if you use white liquid glue like I did, you’ll have to be a bit patient.
Material
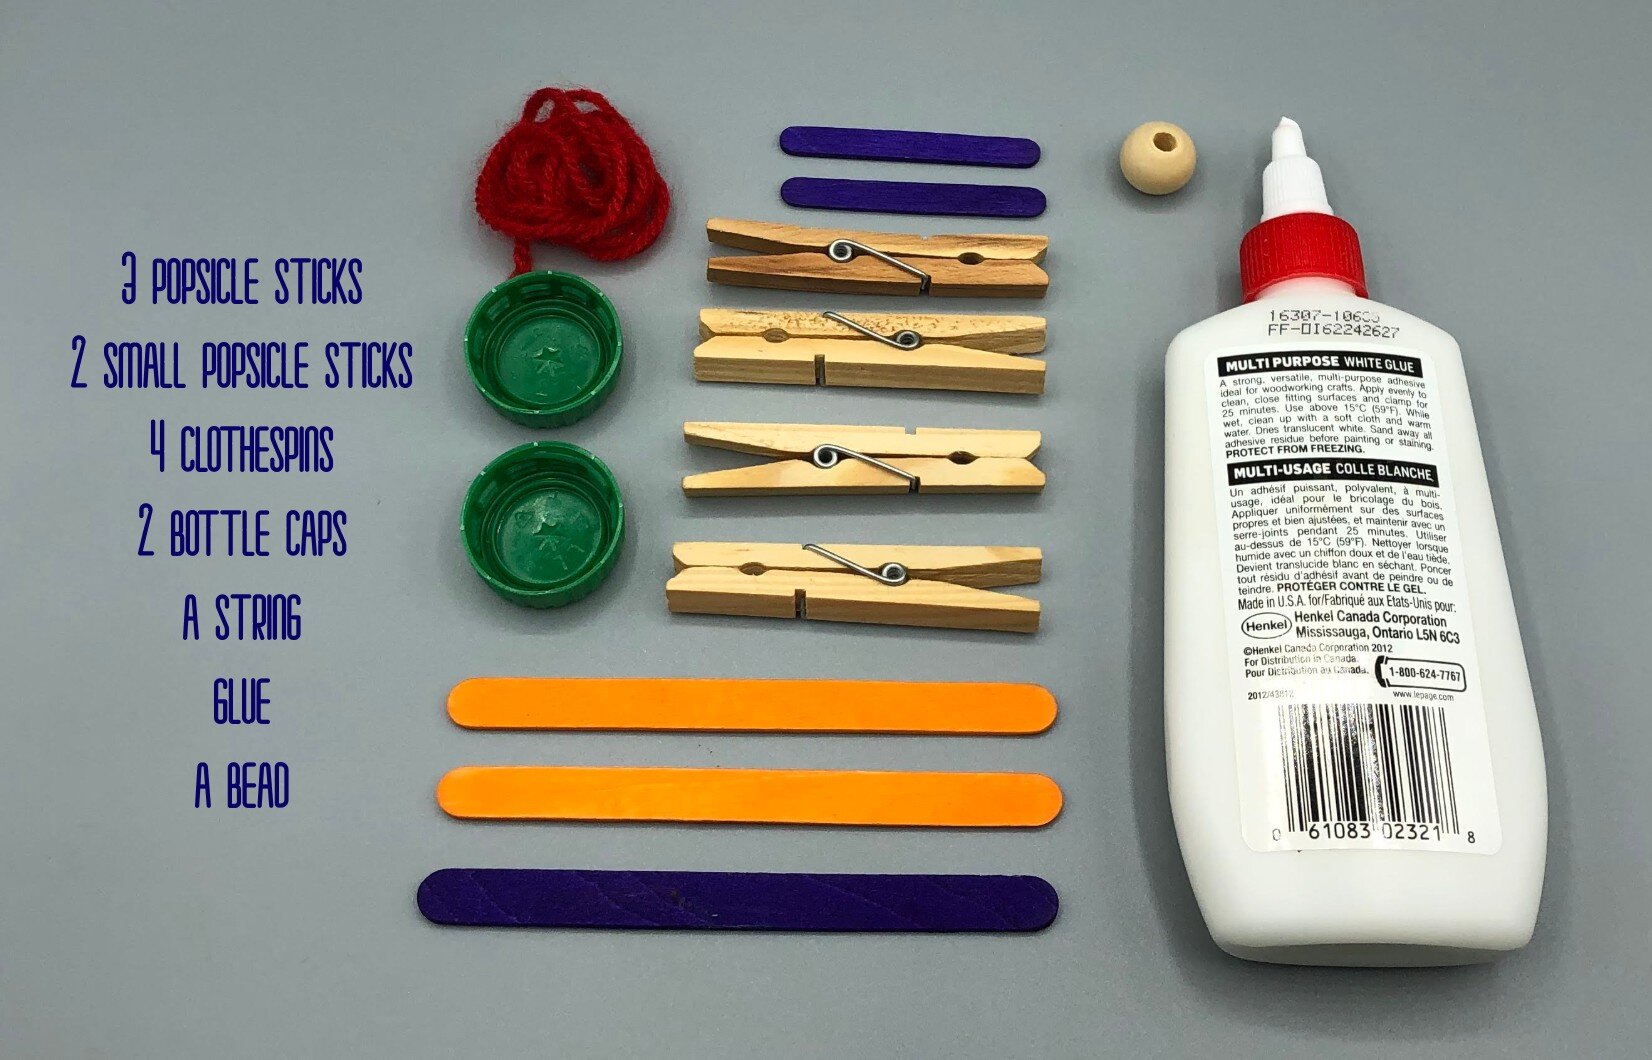
3 popsicle sticks
2 small popsicle stick (or cut a normal one in half)
4 clothespins (ideally made of wood)
2 bottle caps (of the same size)
a string
Glue
a bead (ideally, with a hole pierced in the middle)
Not shown in the photo : a small piece of paper sticker. This is necessary if you’re not using hot glue.
instructions

Take 2 clothespins and glue them one on top of the other. Both clothespins should face the same direction. Do the same for the other 2.

Glue a popsicle stick on top of each clothespin duo. The sticks’ extremity should not go beyond the pins’ prongs.

Apply glue along the third popsicle tick.

Carefully place each clothespin combo on top of the third stick so that they both meet at its middle, without touching each other. Leave just enough space for your string.

While the glue dries, take the bead and the string.

Make a big knot at the end of your string. The knot should be bigger than the hole in your bead. Obviously, this step is not necessary if you do not have a hole in your bead. If that’s the case, simply glue the string to the bead, or tie it around the bead.

Insert the string inside the bead, until the bead reaches the knot. To make sure that the bead stays there, apply a little bit of glue between the knot and the bead, then apply some pressure. Set it aside to dry.
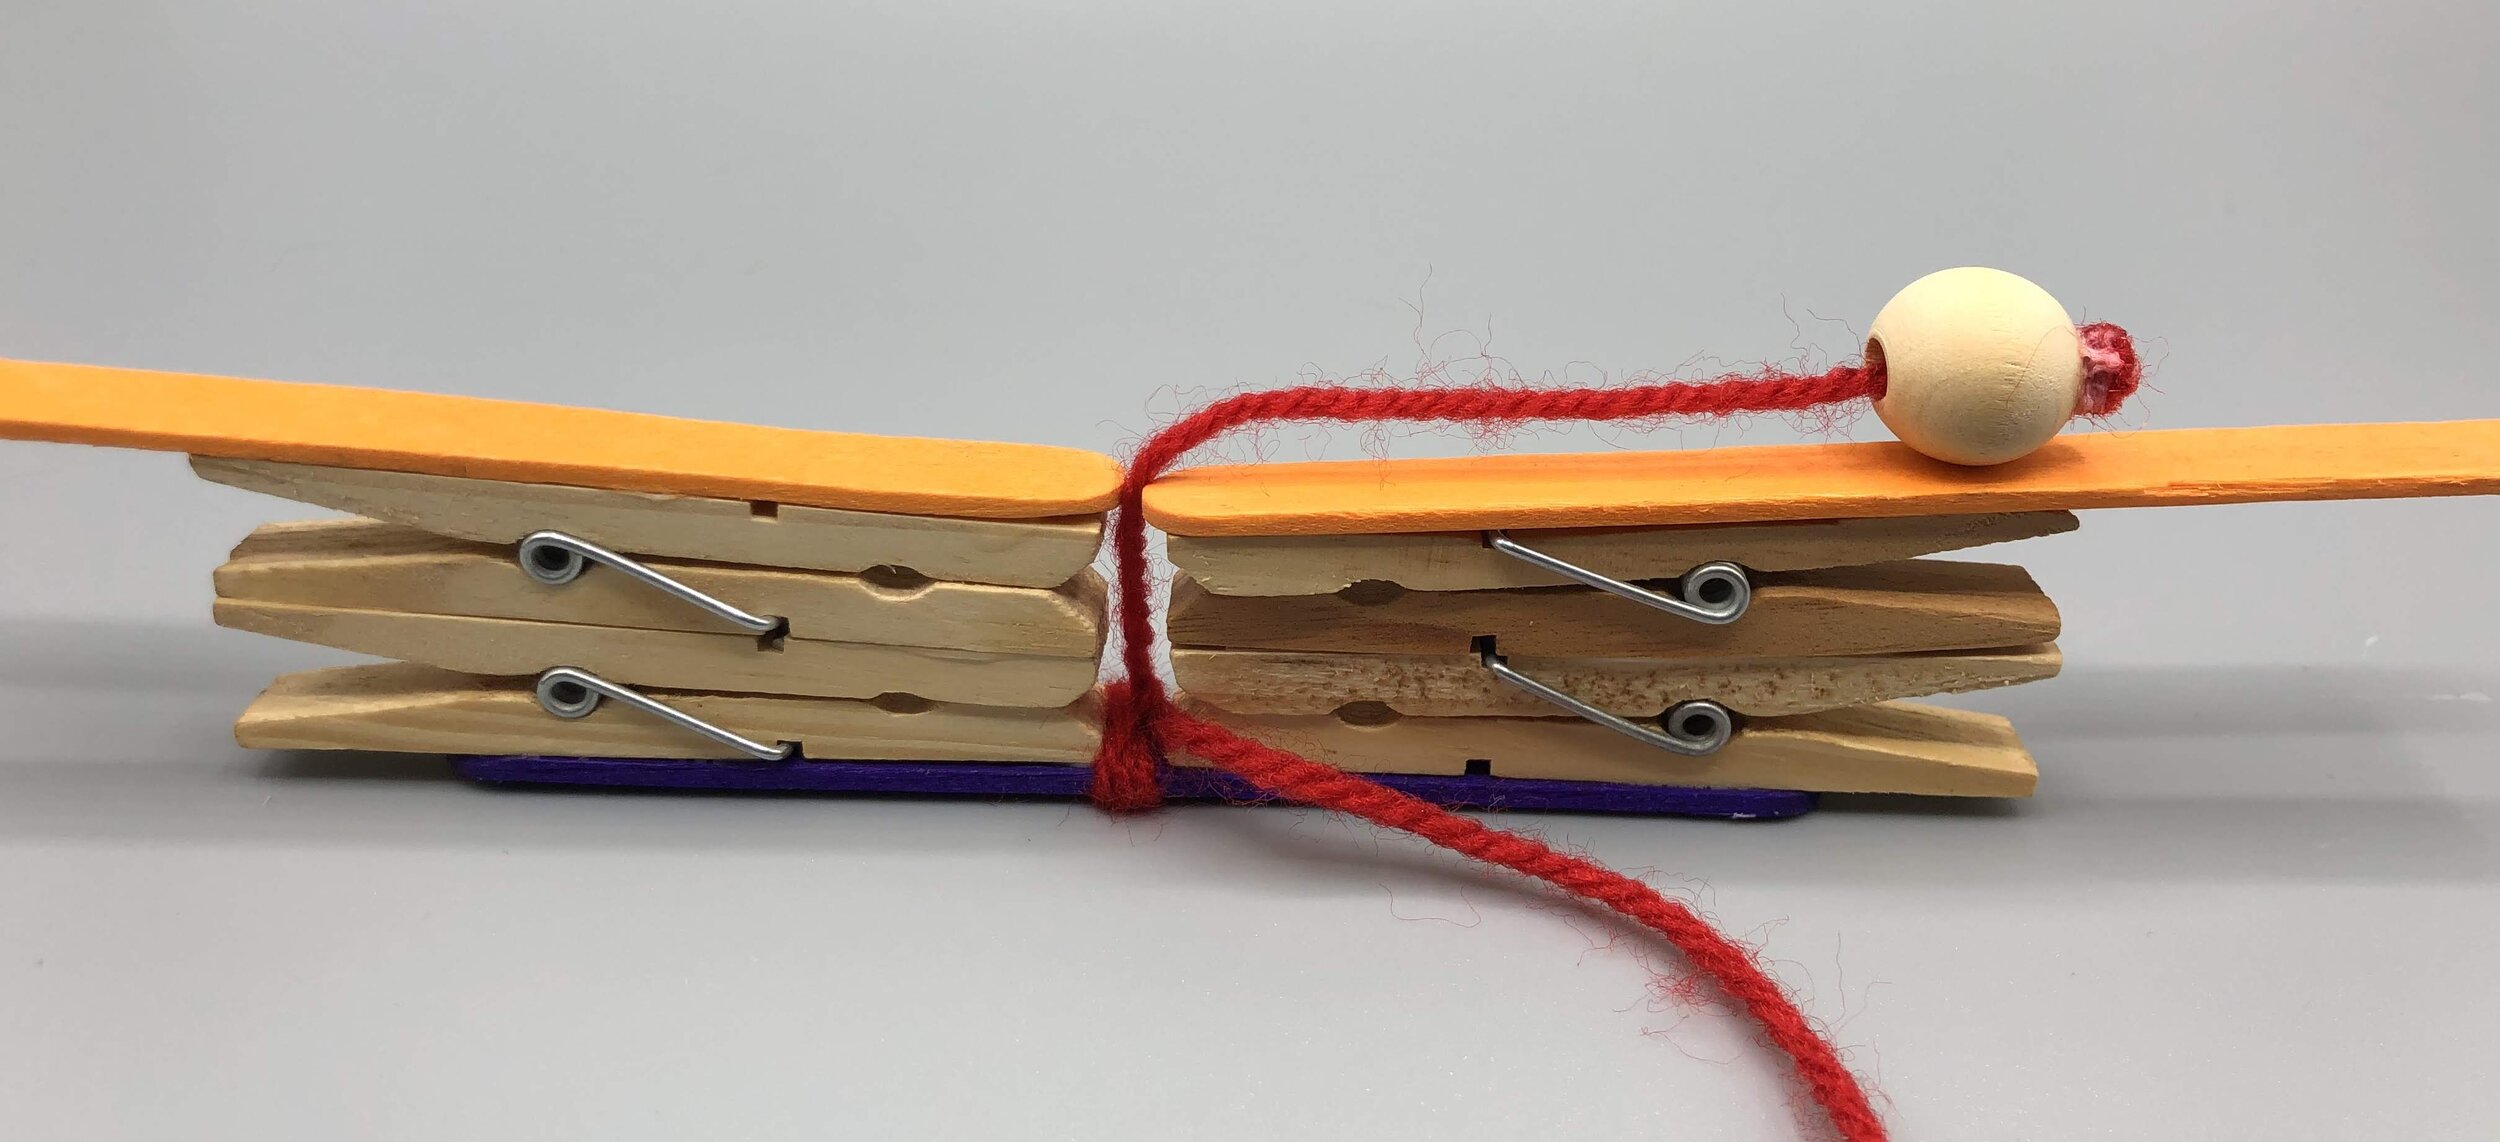
This next step is the trickiest part of the craft. Attach your string to the middle part of the bottom stick, all the while making sure that the bead reaches the lever part of the clothespins, but doesn’t go beyond that point either.

Cut off the excess string, at the bottom.

Now take your 2 bottle caps. If you are using regular white liquid glue, find 2 little pieces of paper stickers to put on the caps. Regular white glue doesn’t work well with plastic and as it dries, it will break away from the plastic. This is why paper stickers are recommended here. If you’re using hot glue, skip this step and go straight for the next one.

Apply a line of glue on the bottle cap.
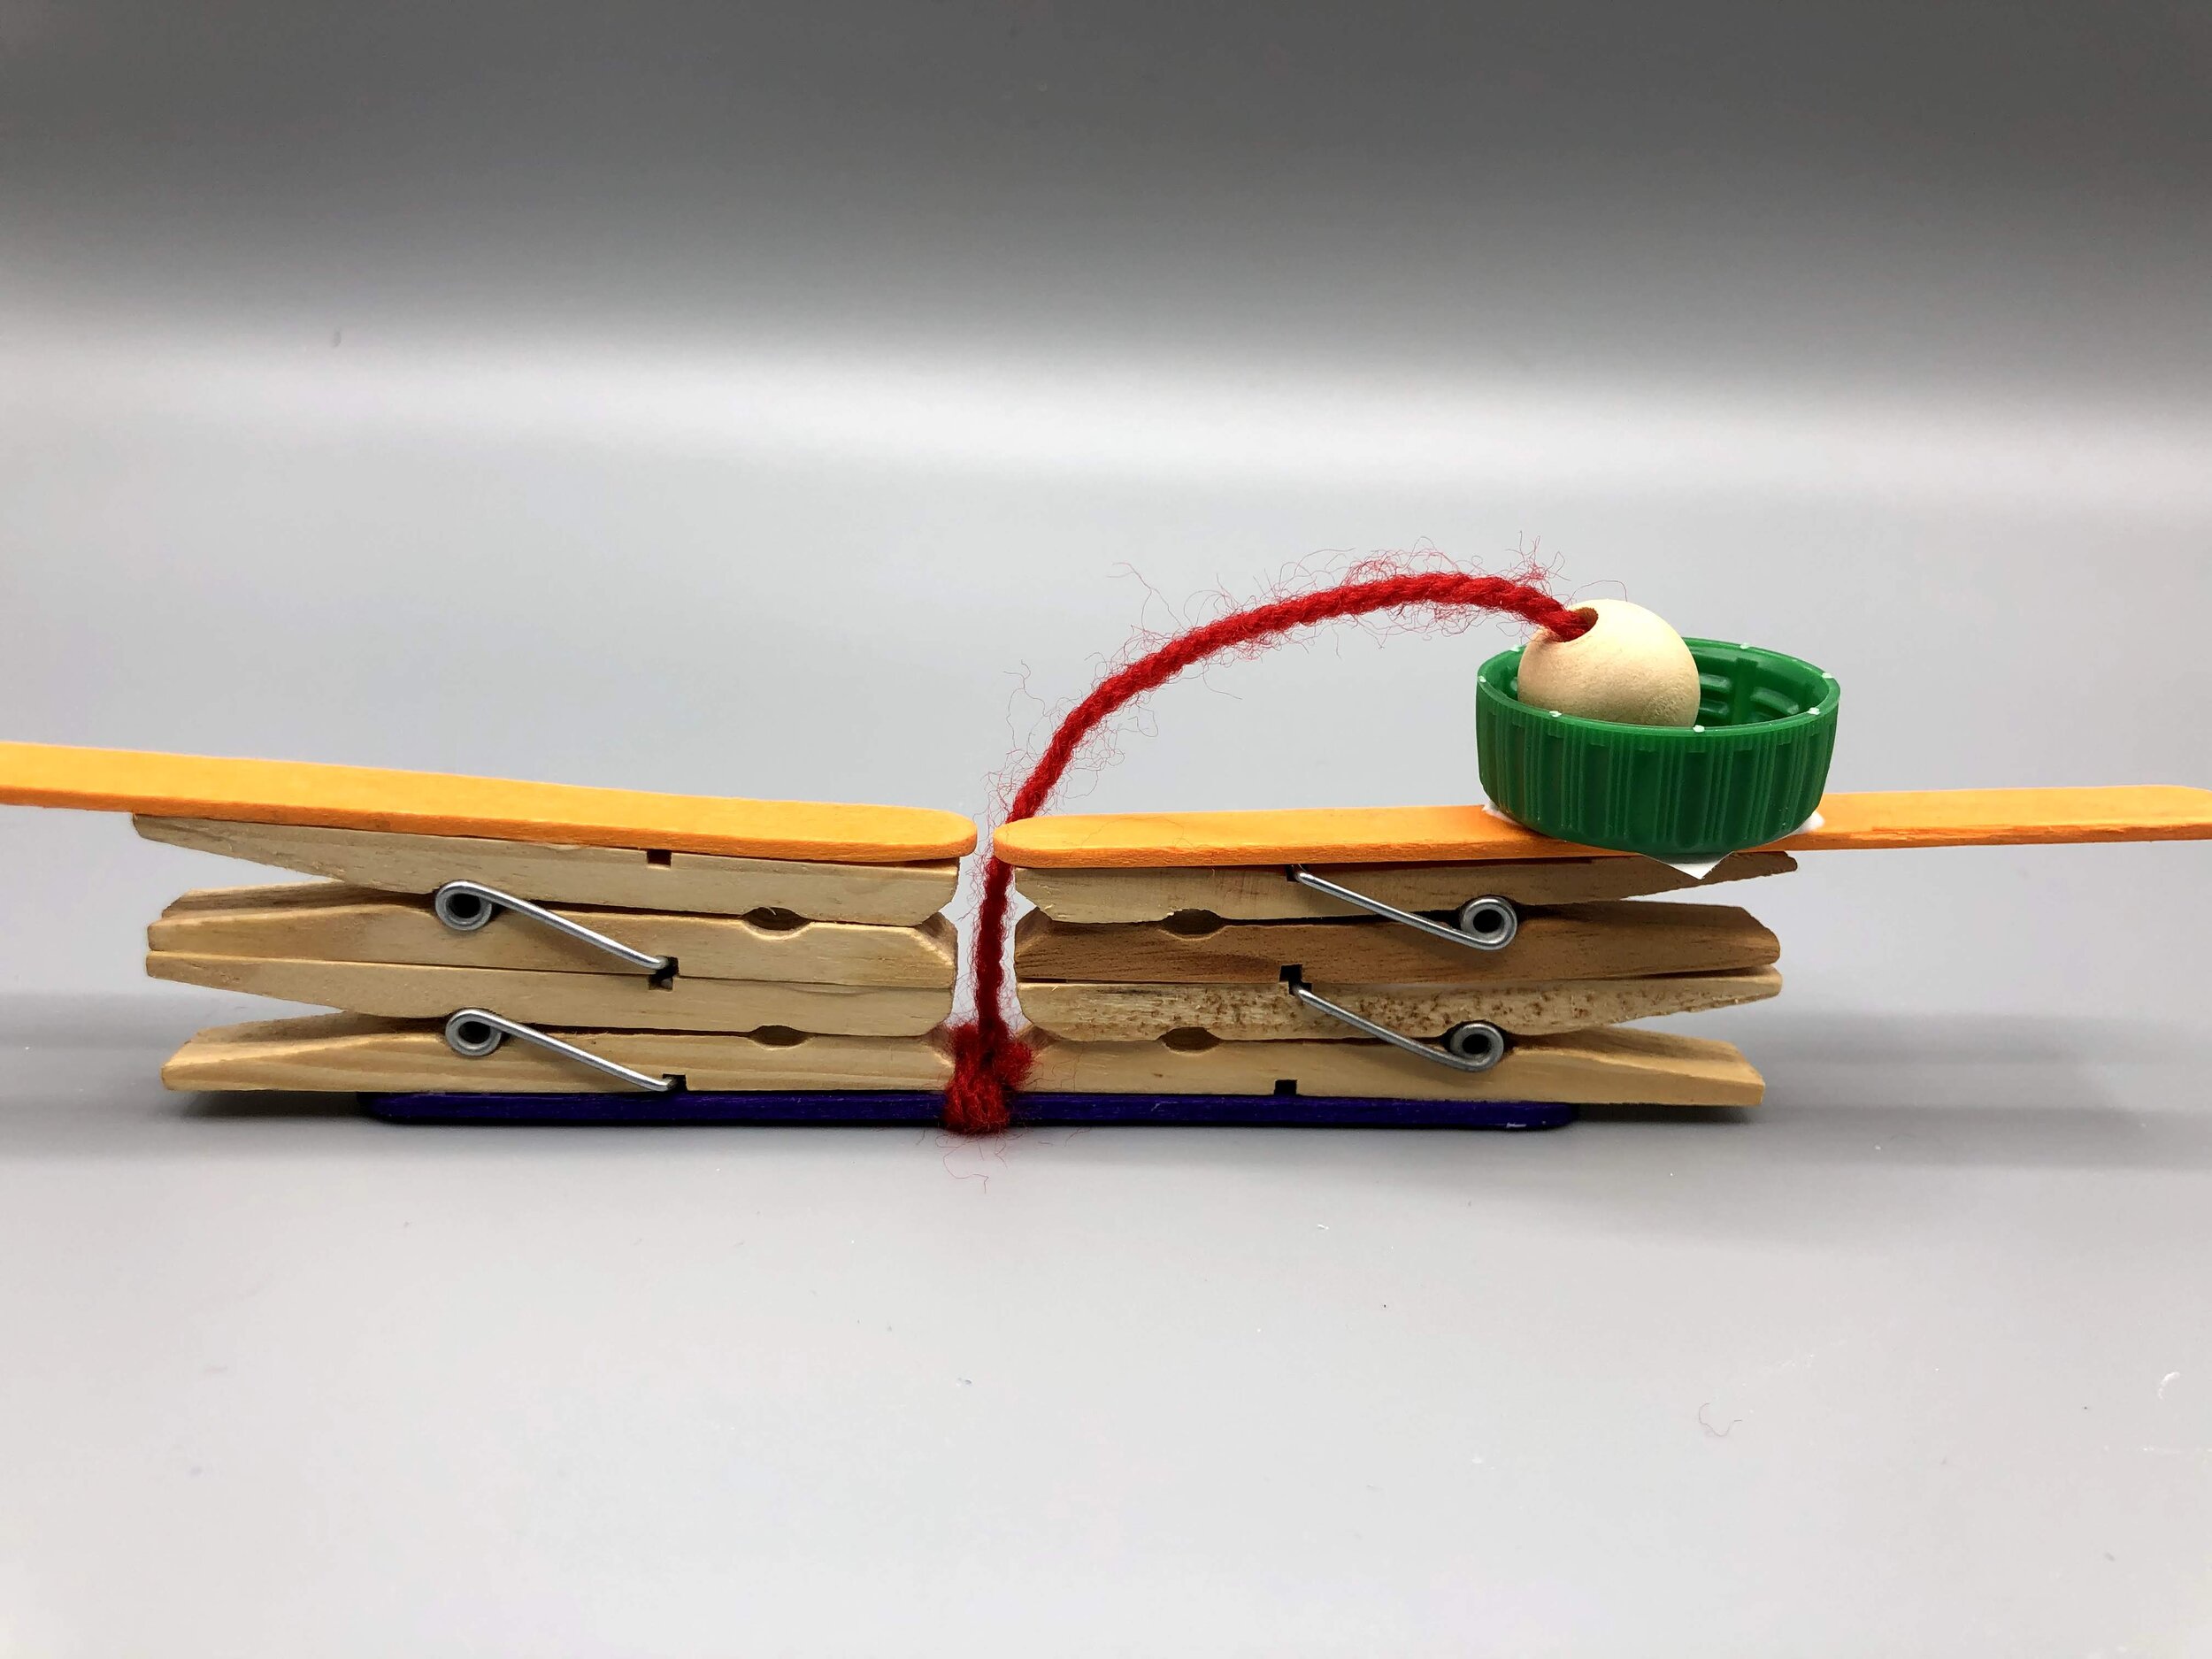
Carefully place the bottle cap on top of the clothespins’ lever section, always making sure that the bead can easily go inside the bottle cap. The bead should not fall short or go beyond the cap.

Do the same for the other side.

Turn the whole thing over. Again, the glue must have dried completely.

Now glue the 2 small popsicle sticks under each bottom clothespins. The small sticks should be perpendicular to the rest of the craft.
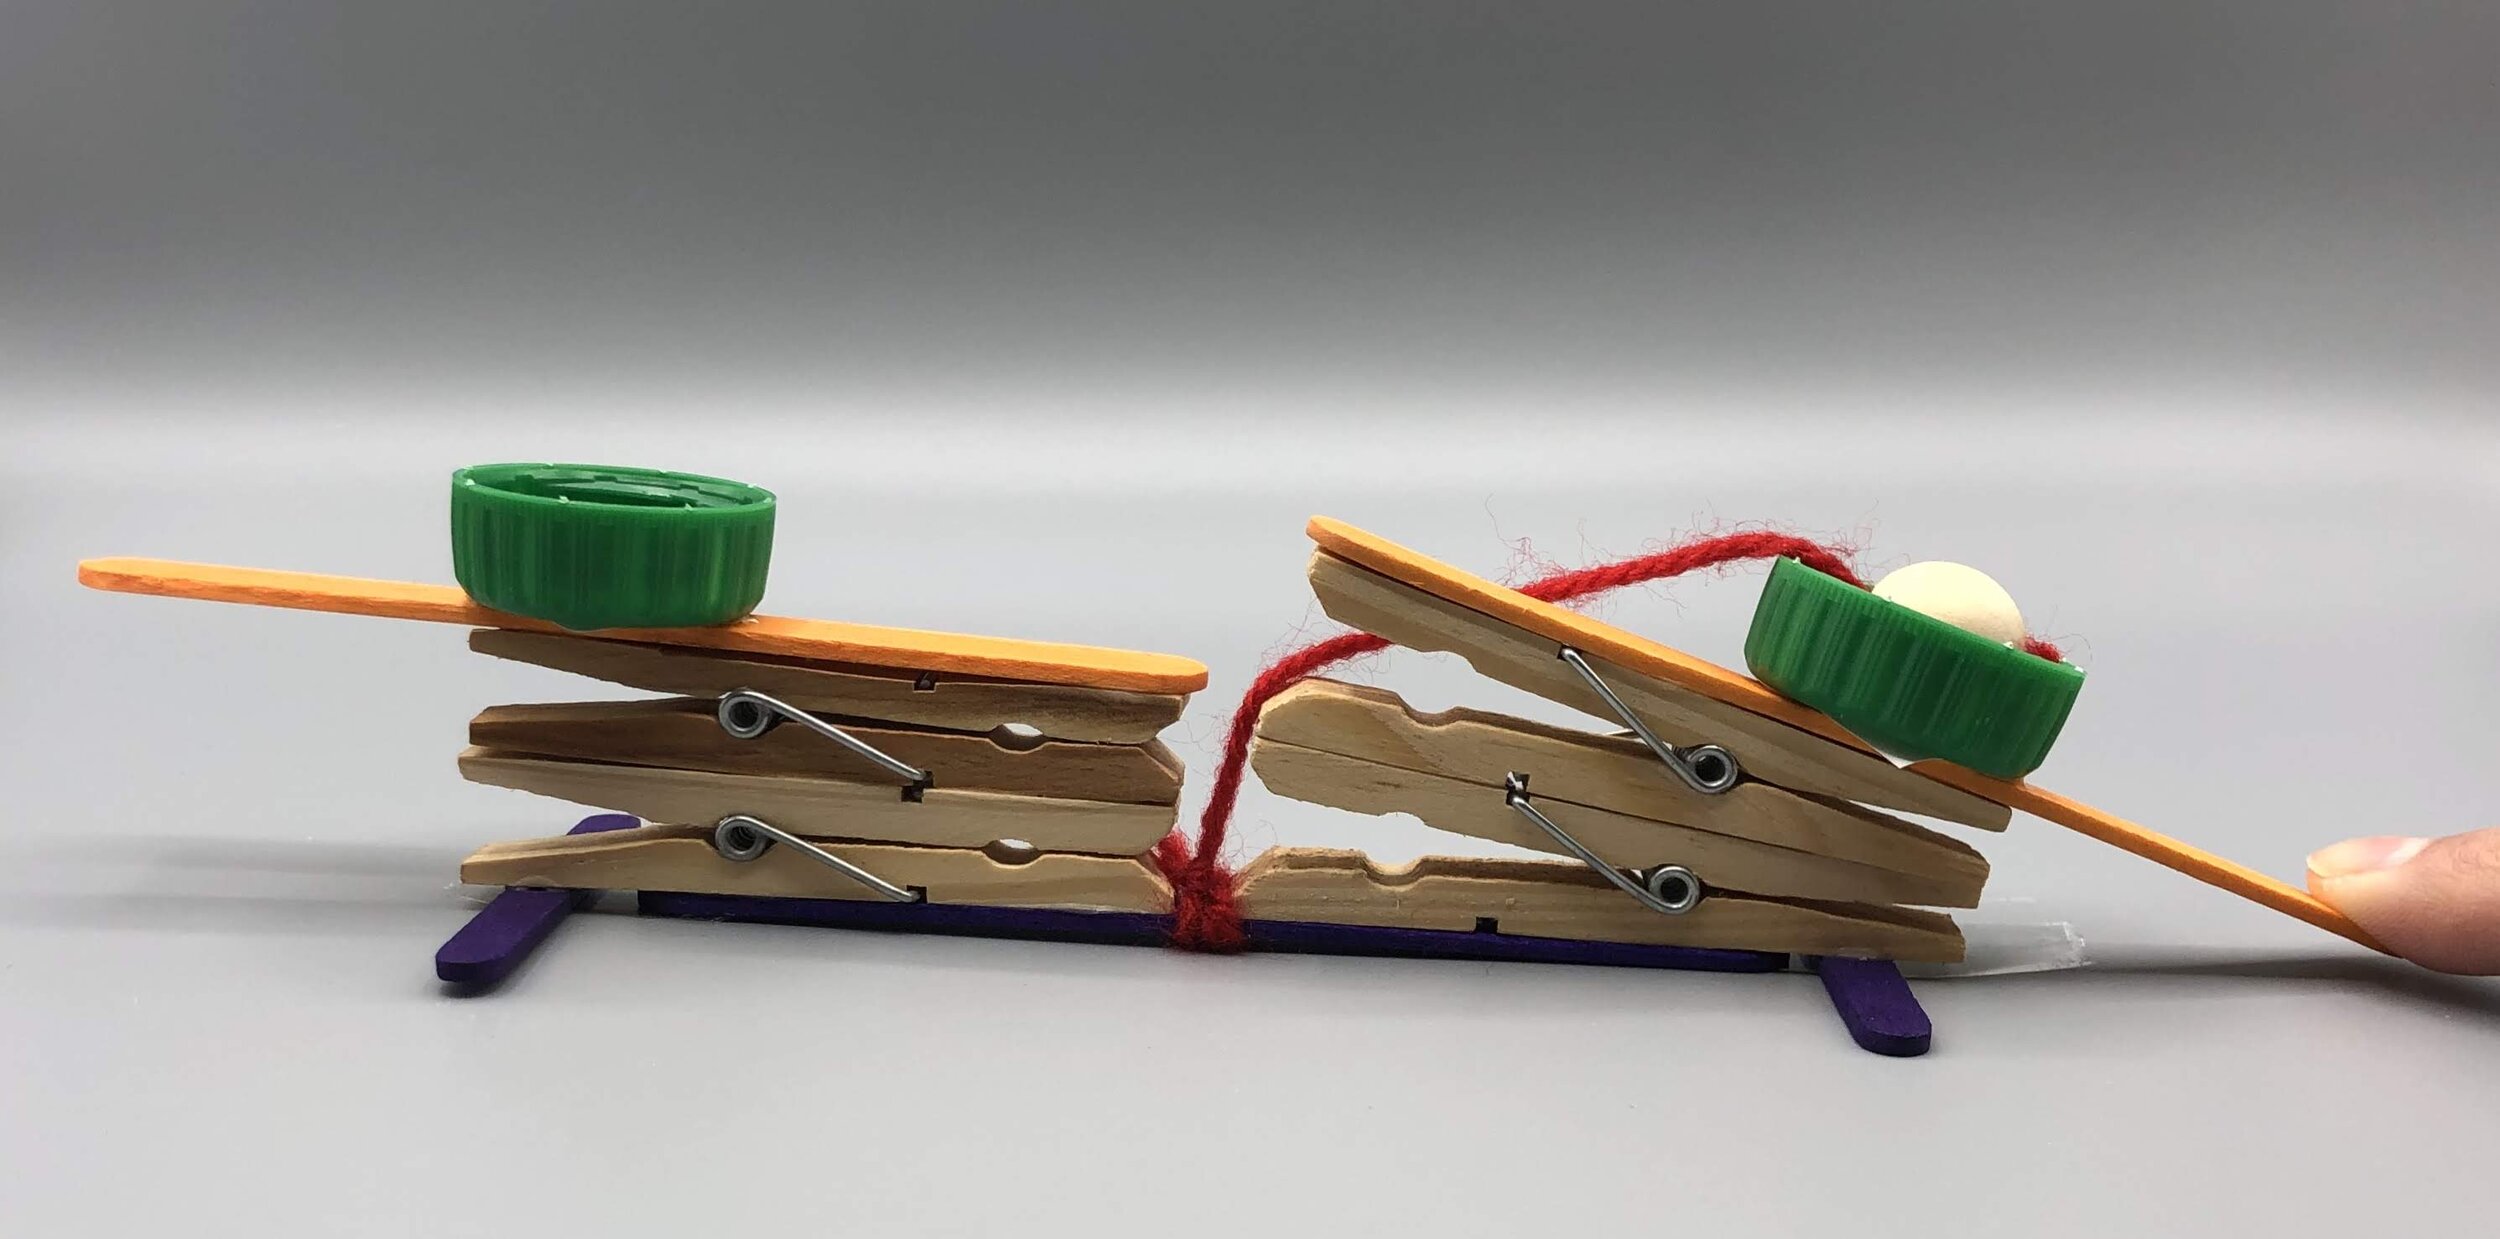
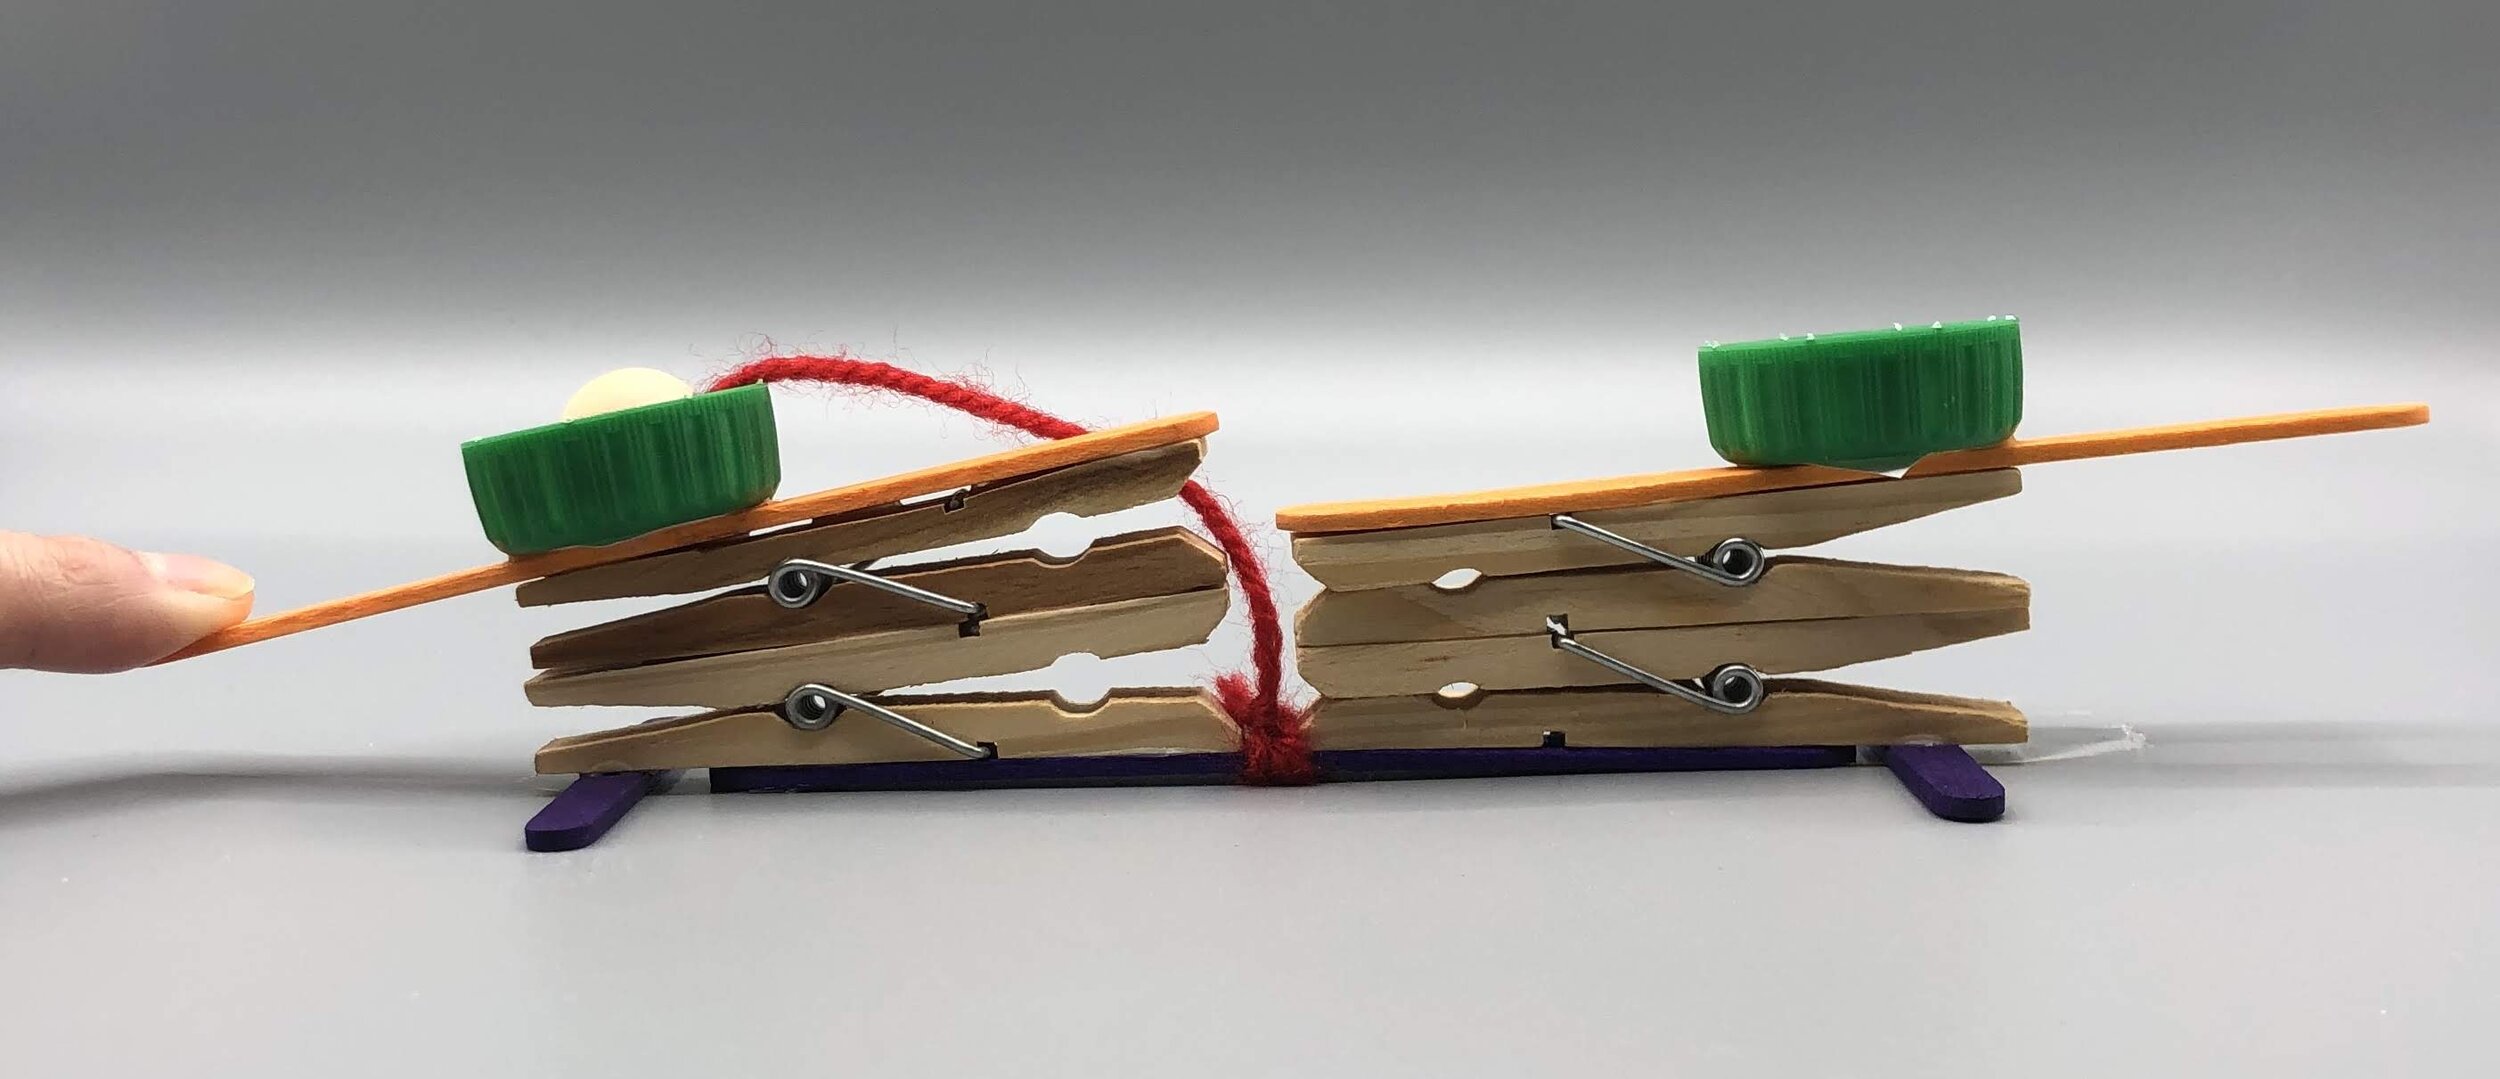
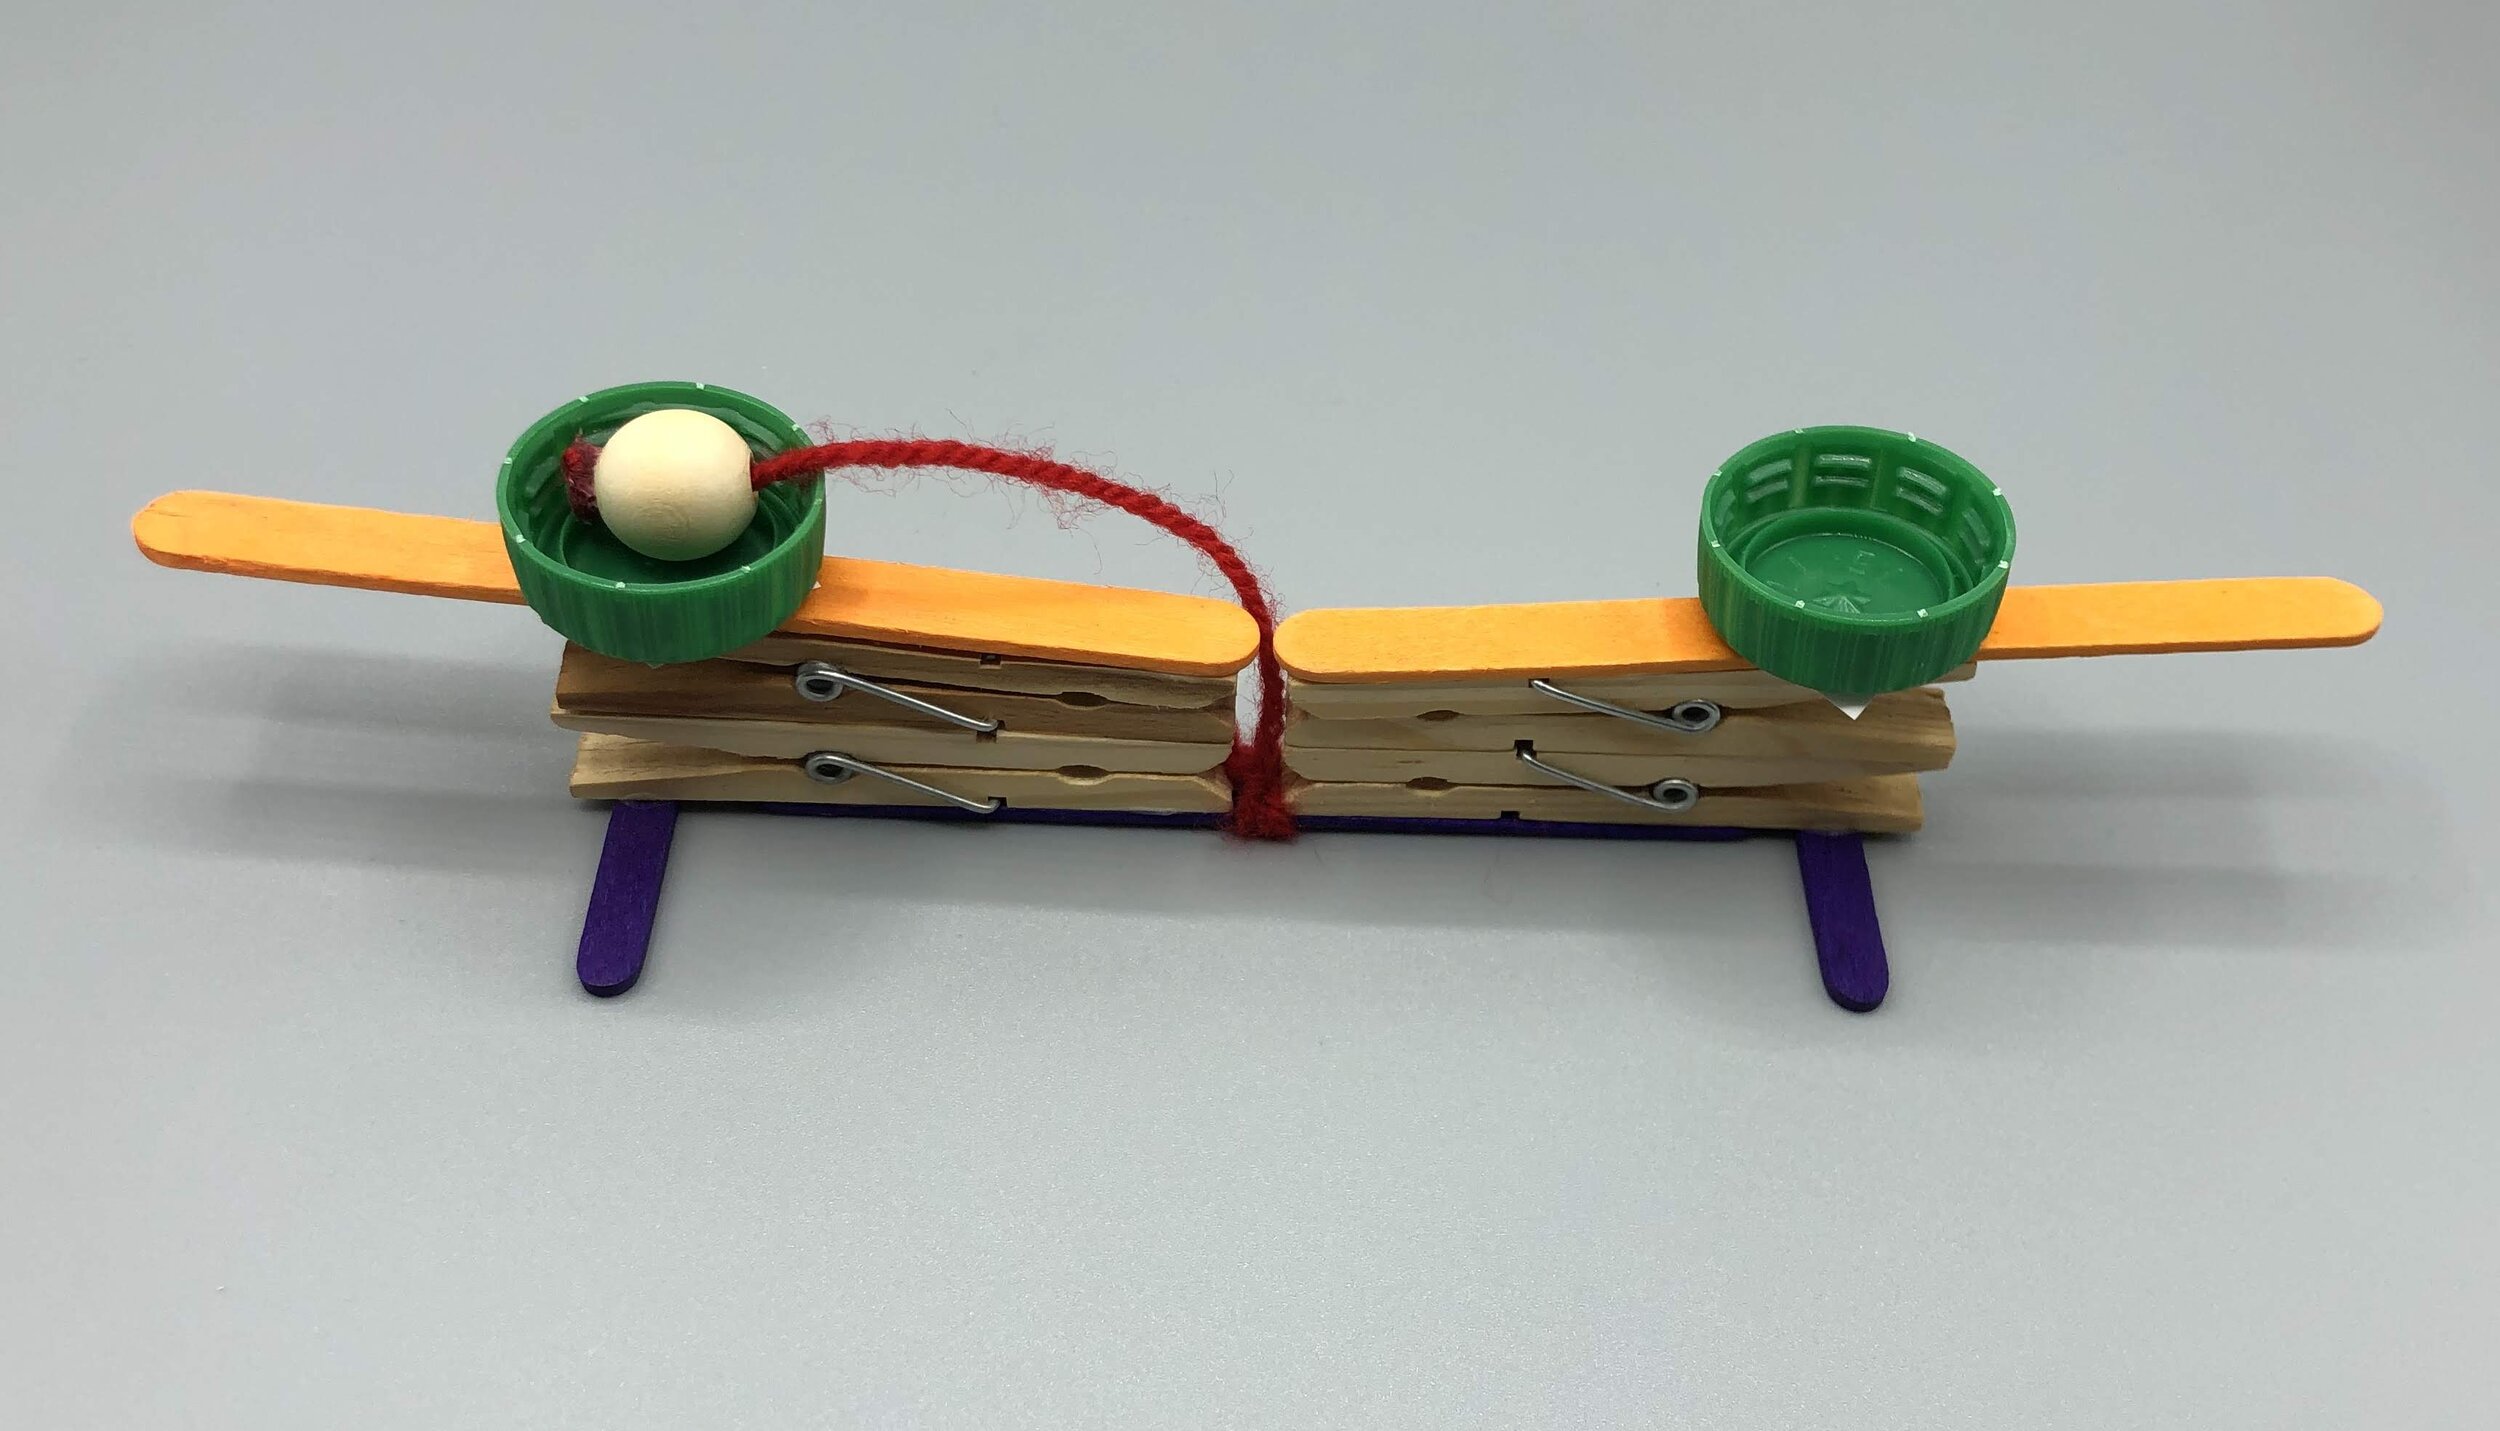
Wait for the glue to dry completely and that’s it! You now have a cup and ball game that you’ve made yourself! You can have fun with it alone or play one on one with someone! If it’s your turn to play, place the bead inside your cup, press the lever and try to send it inside the opposite cup! Since this set is extremely light, make sure to hold the game down by applying pressure on the small sticks, coming out on each side! Otherwise, you’ll lift everything up when pressing on the lever!
Check out my Instagram and/or Facebook account to watch a short video of the game being played!
Have fun!


