I organized this paper craft a few years ago for work and it was a such a huge success with kids that I wanted to revisit it today. Anything they can create that is somewhat mechanical will be wildly popular. And this activity is additionally so simple and easy to make that it’s a win-win for all parties involved. If you are looking for something super fun and effortless to make with easily bored kids, this is the way to go. AND, you can use things that are probably already lying around the house!

material
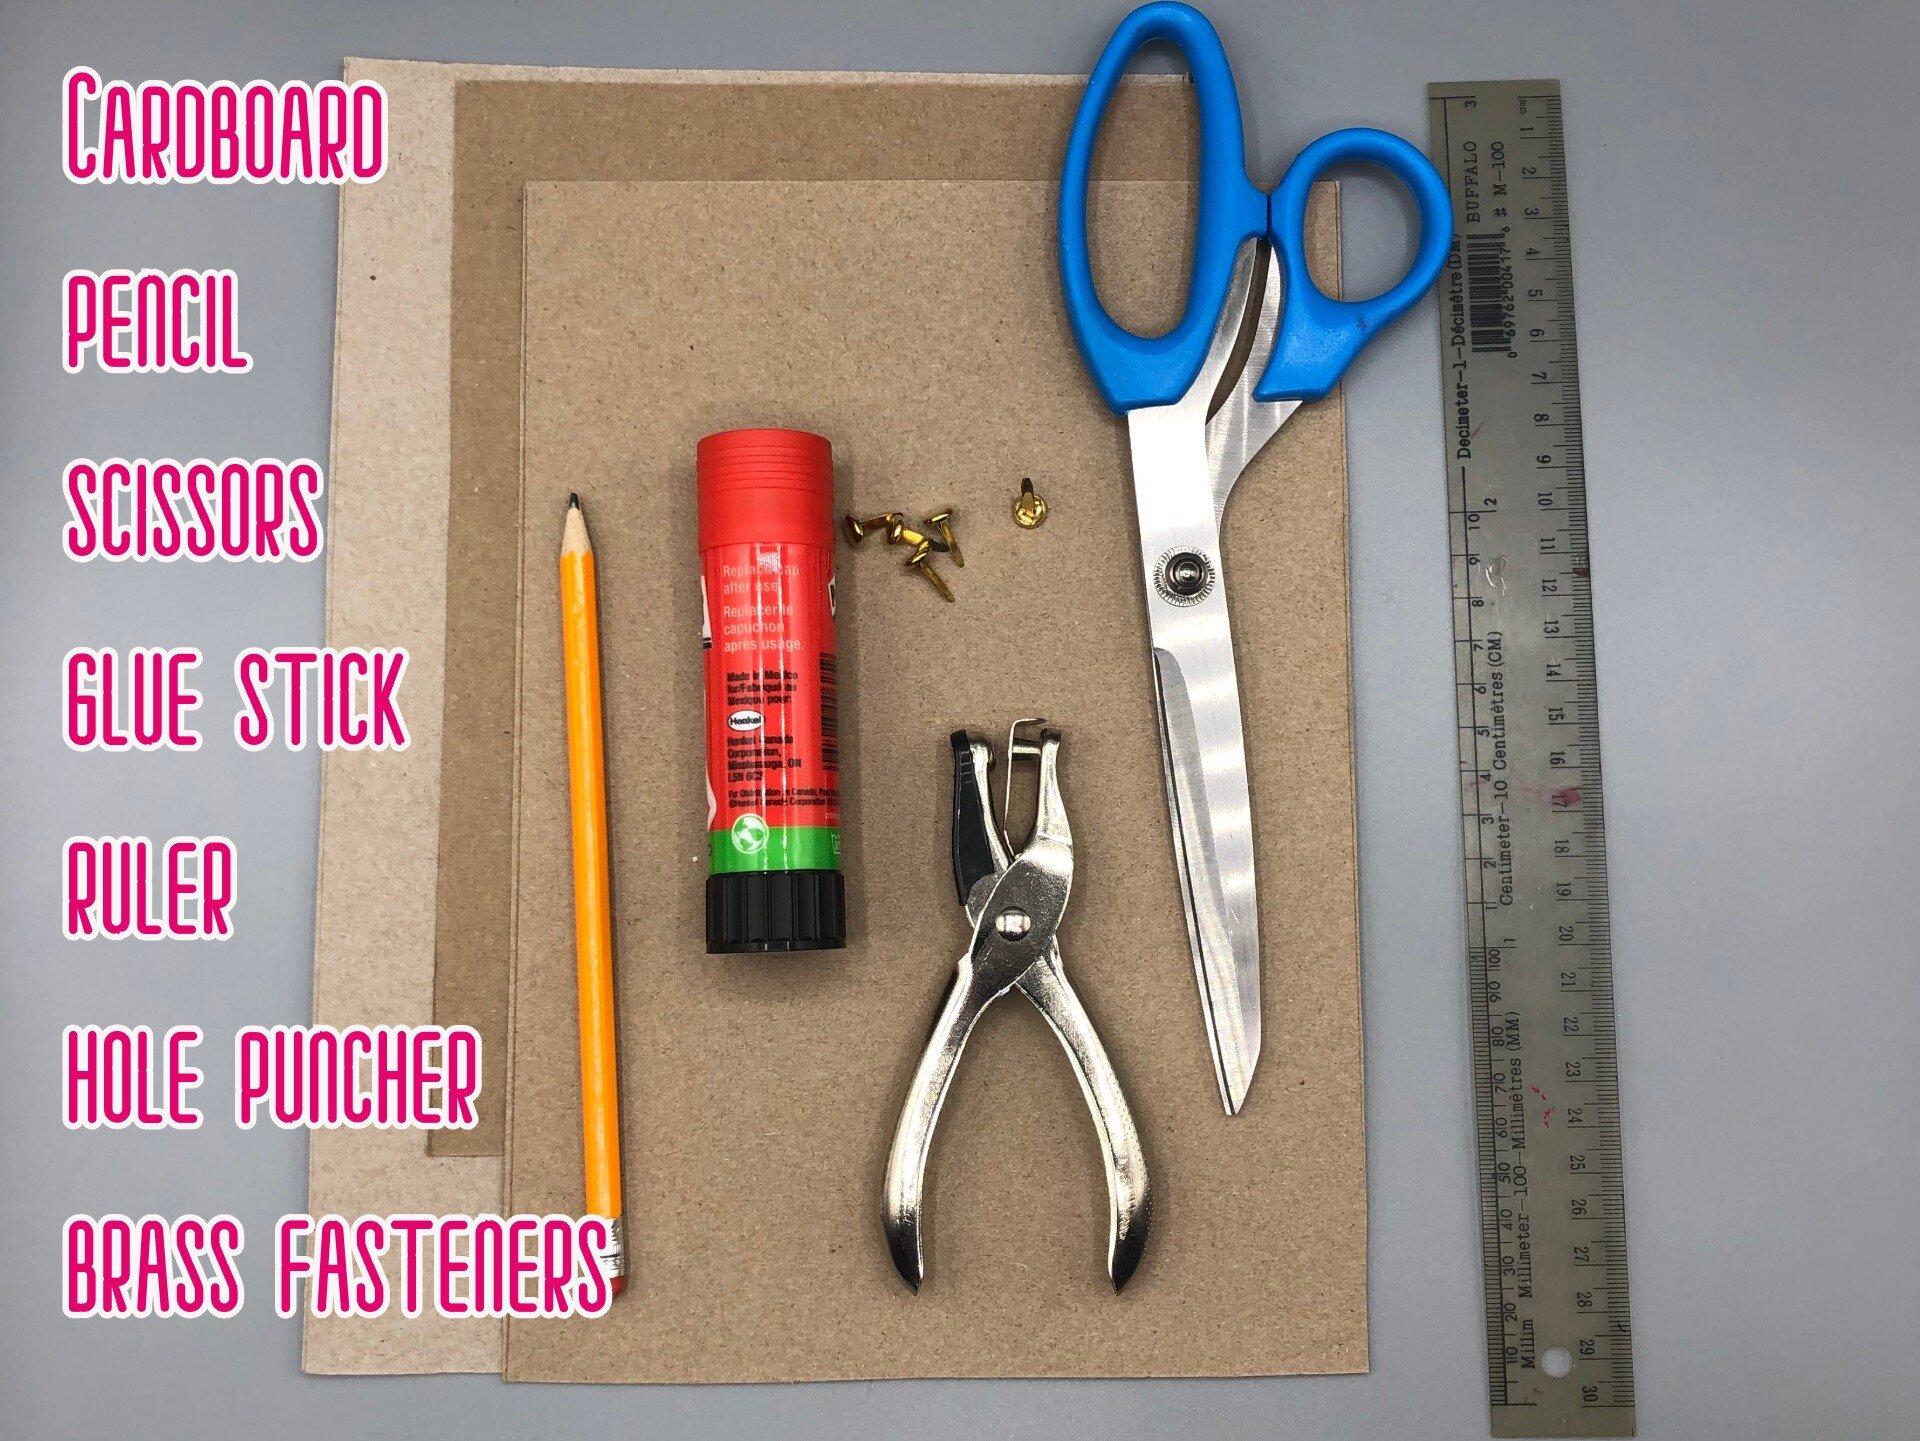
See? How cool is that?! You only need a few things:
2 or 3 cardboard sheets (I used empty cereal boxes)
A pencil
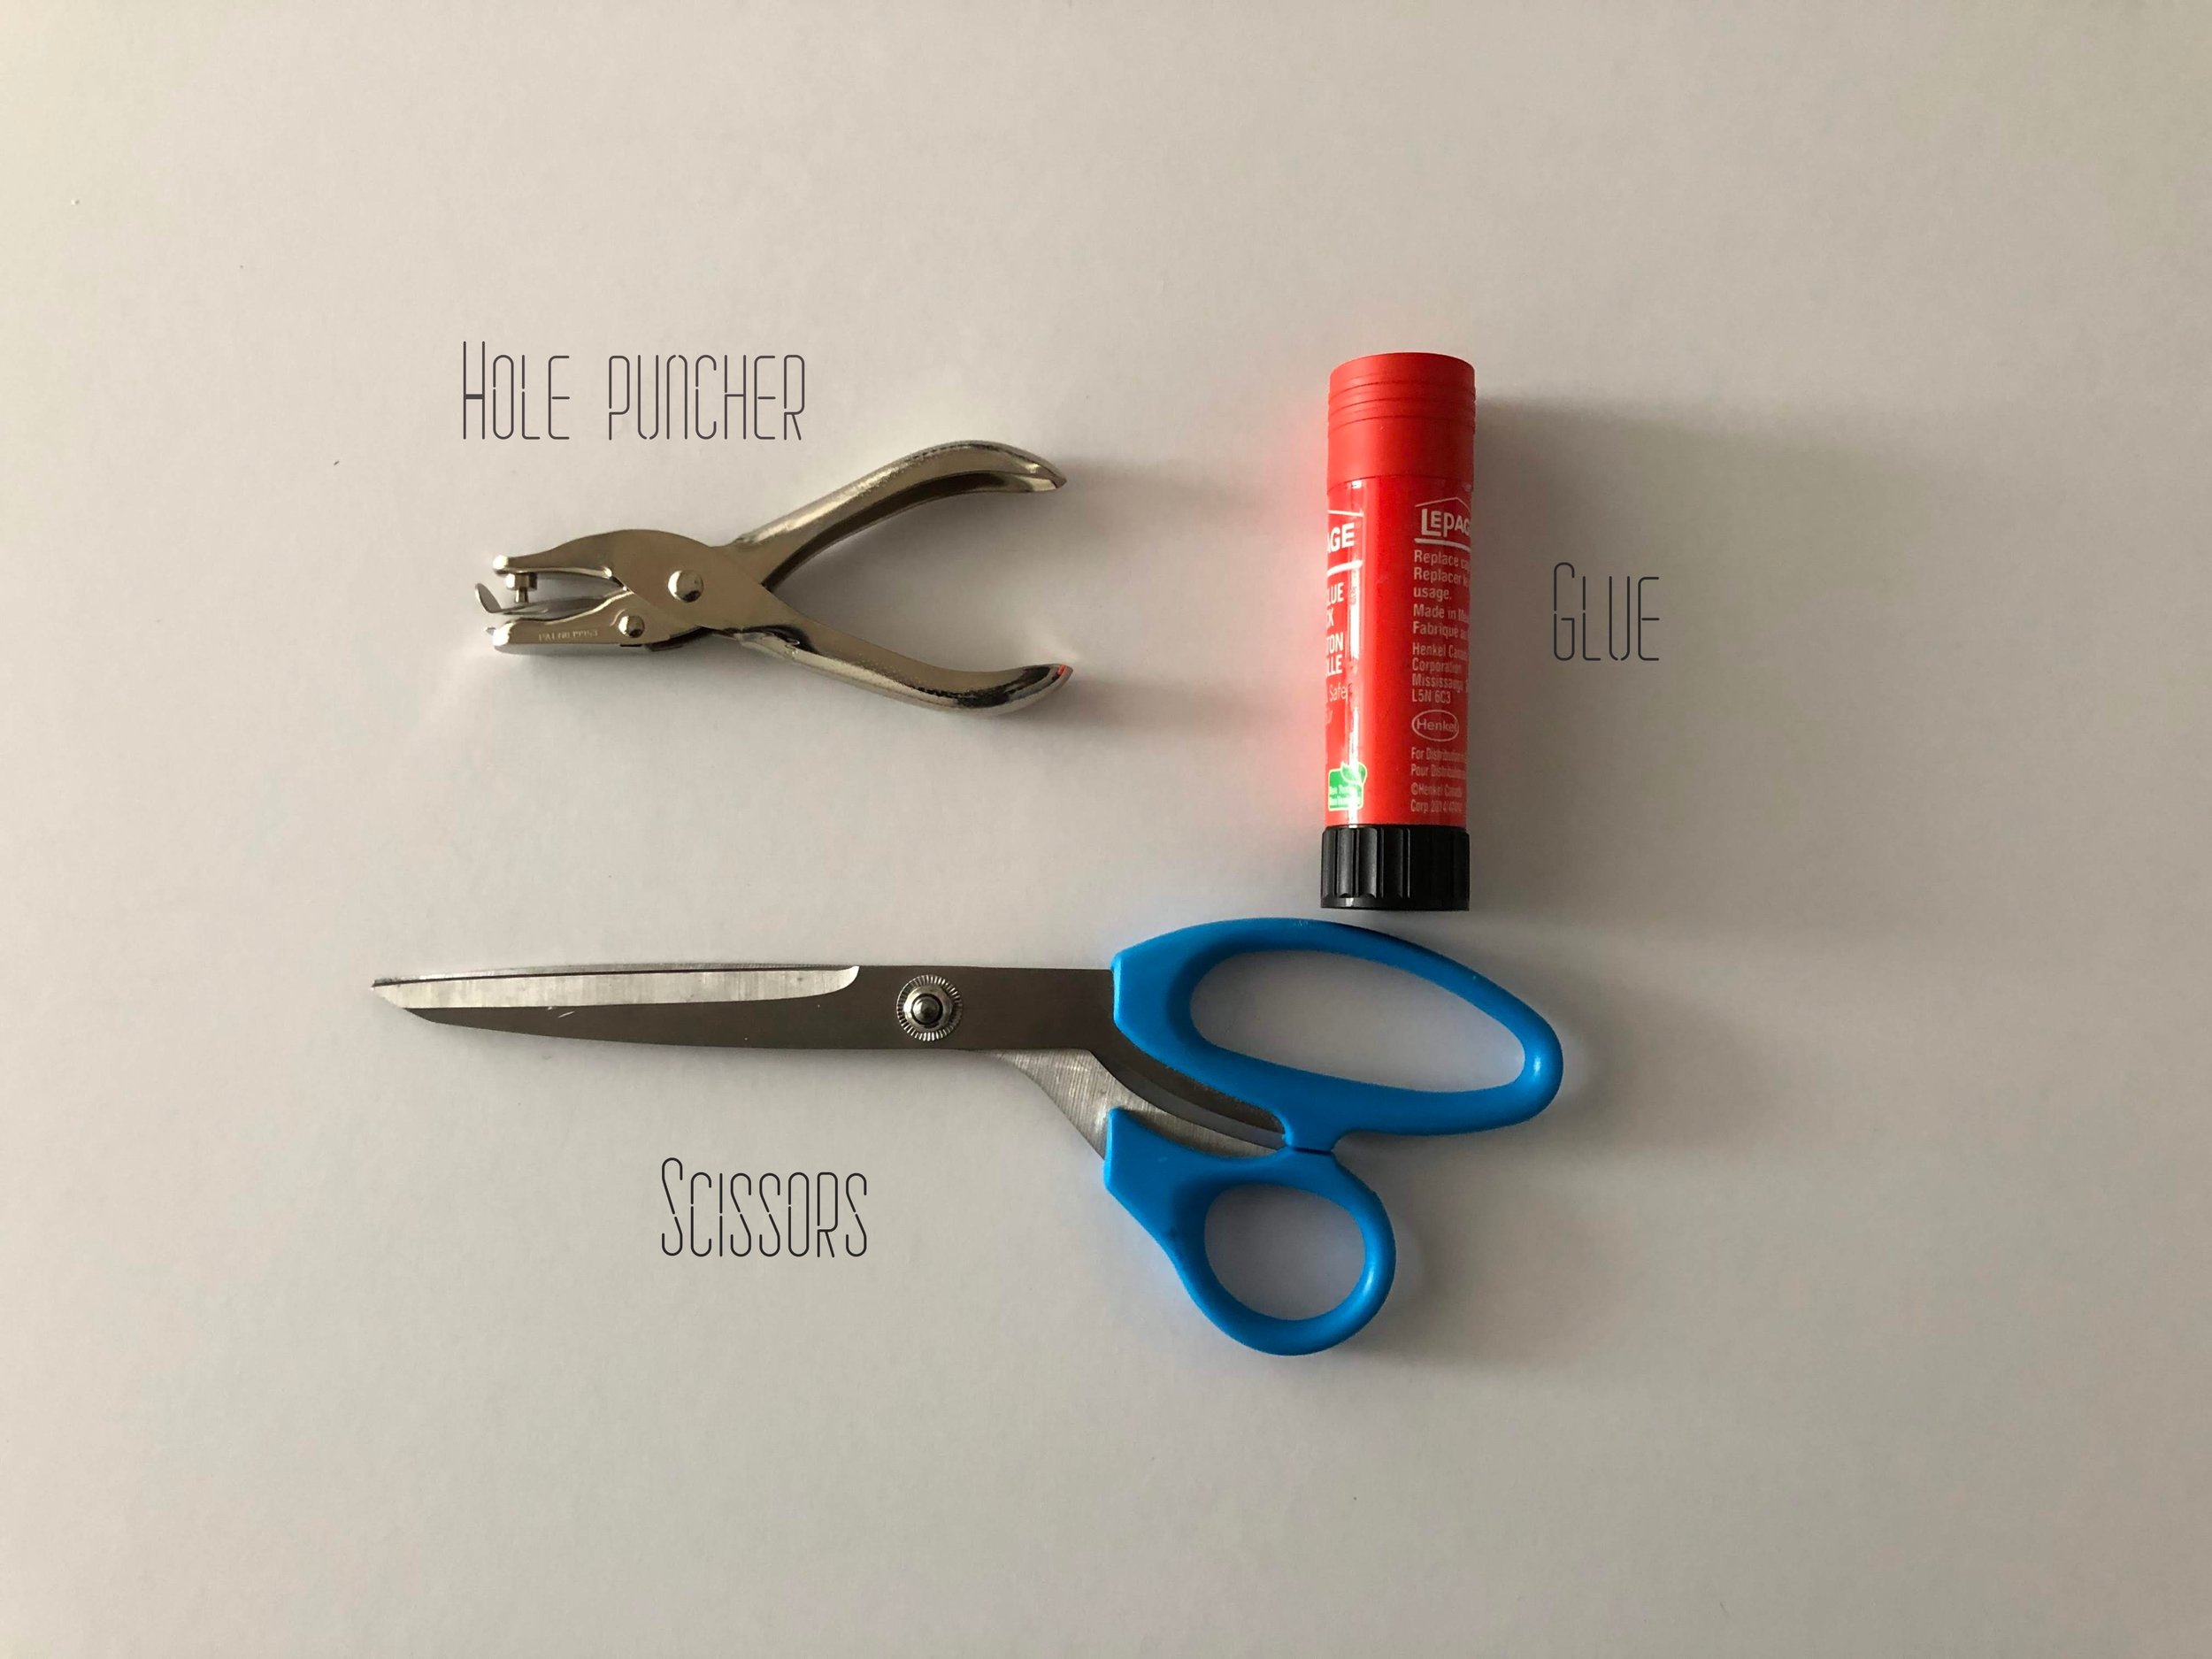
Scissors
A glue stick (you could also use scotch tape)
A ruler
A hole puncher
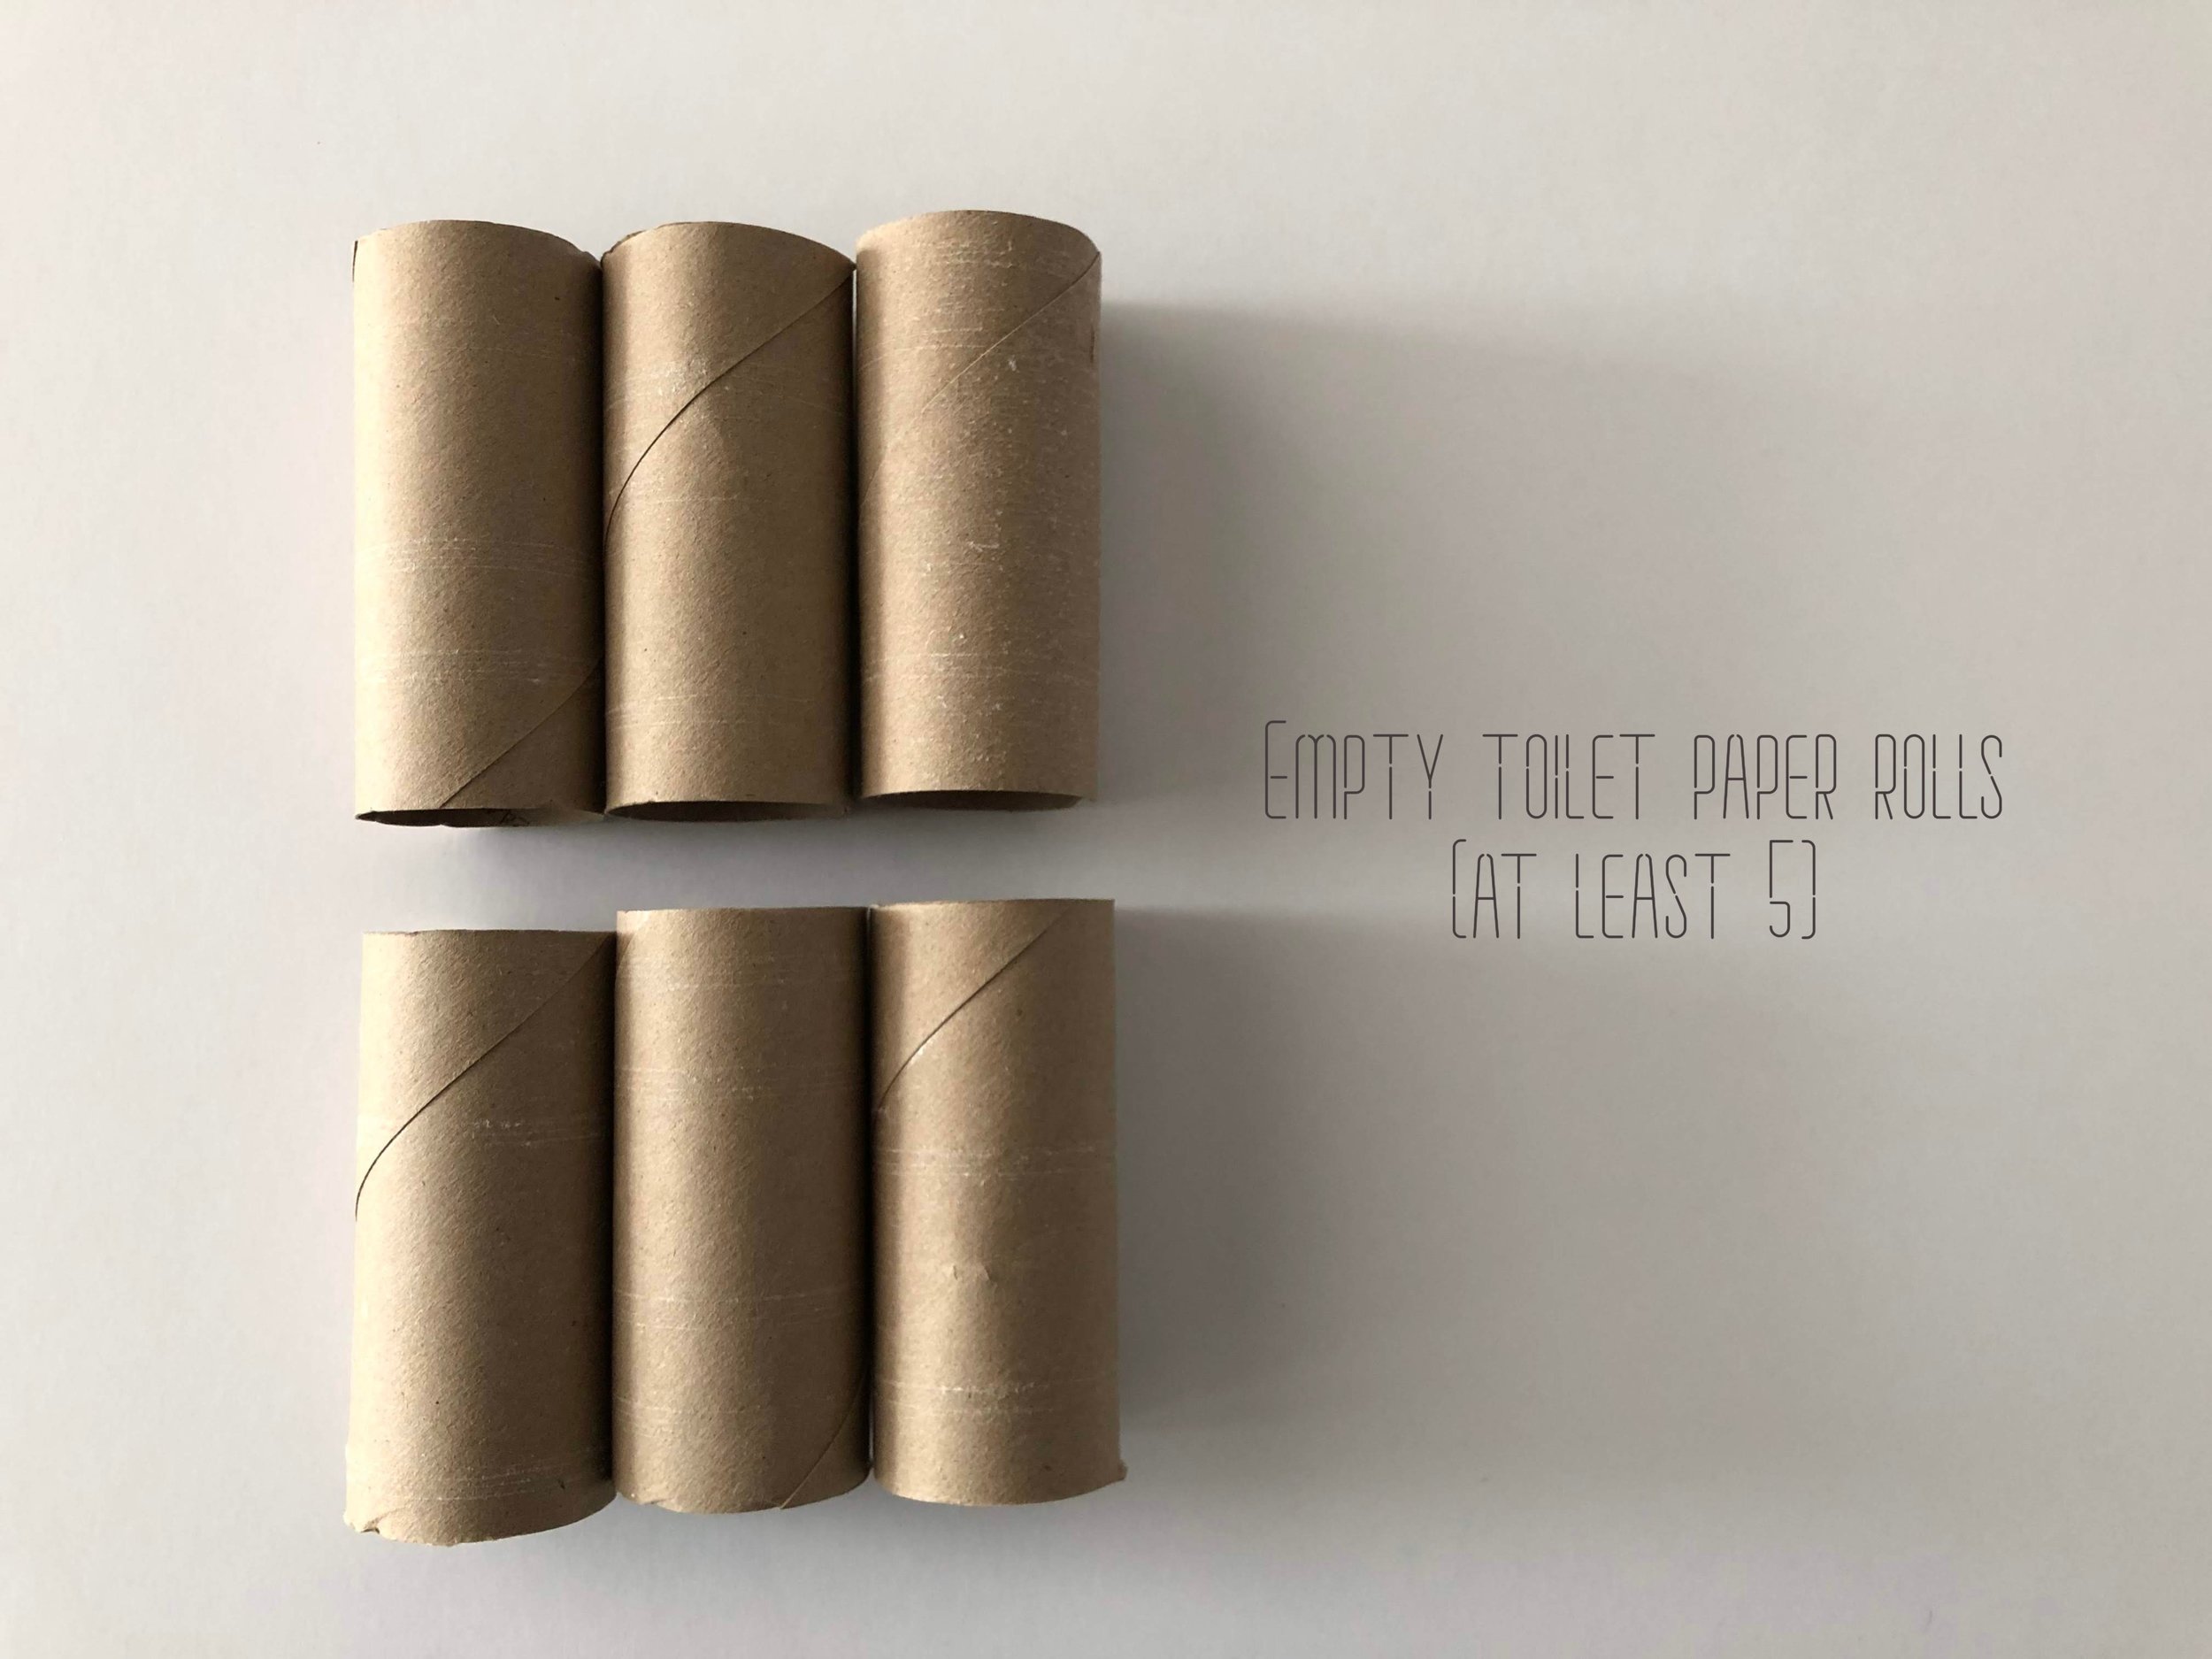
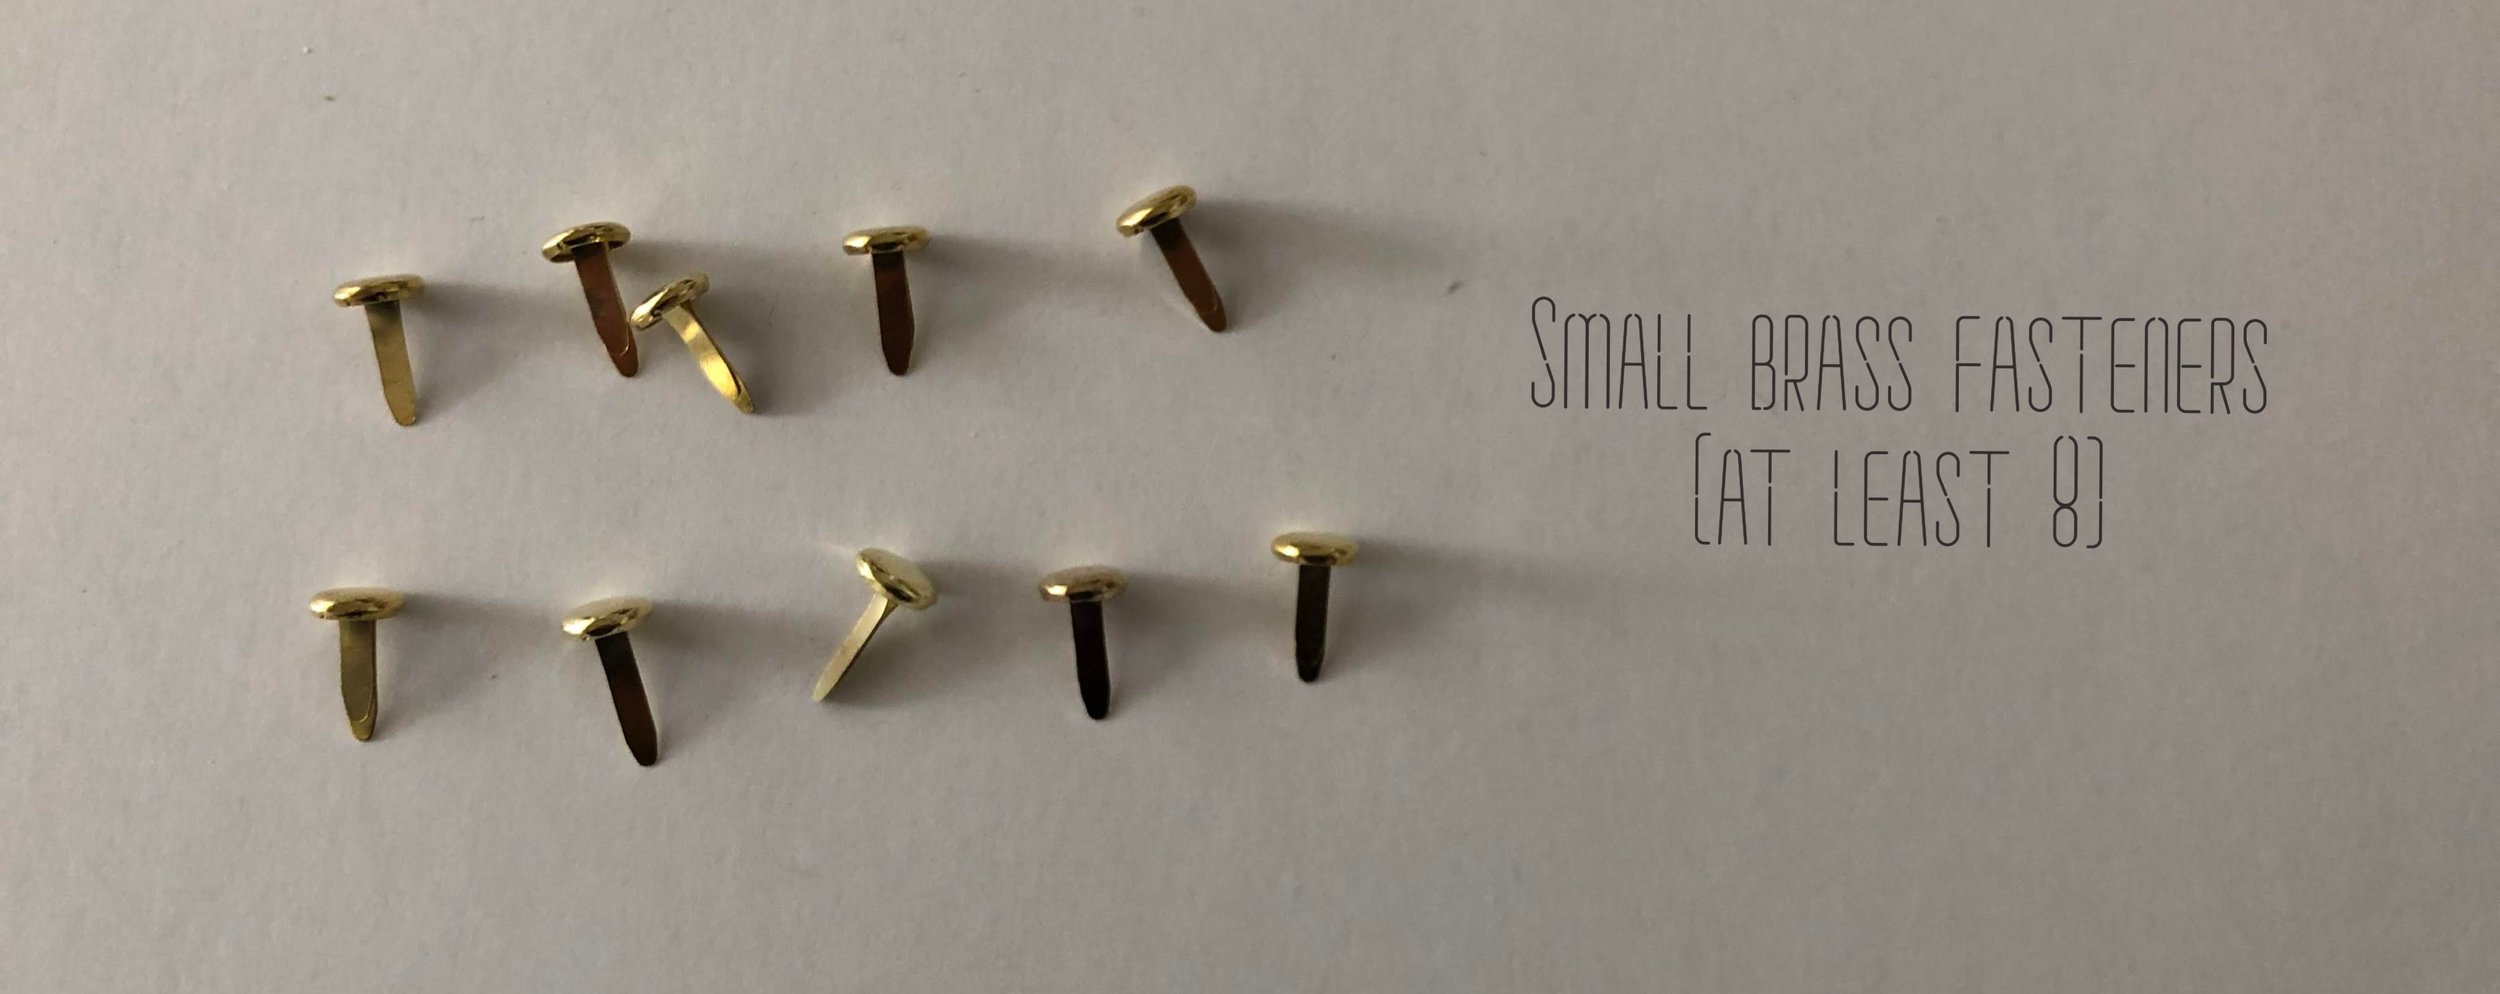
Brass fasteners (at least 7)
instructions

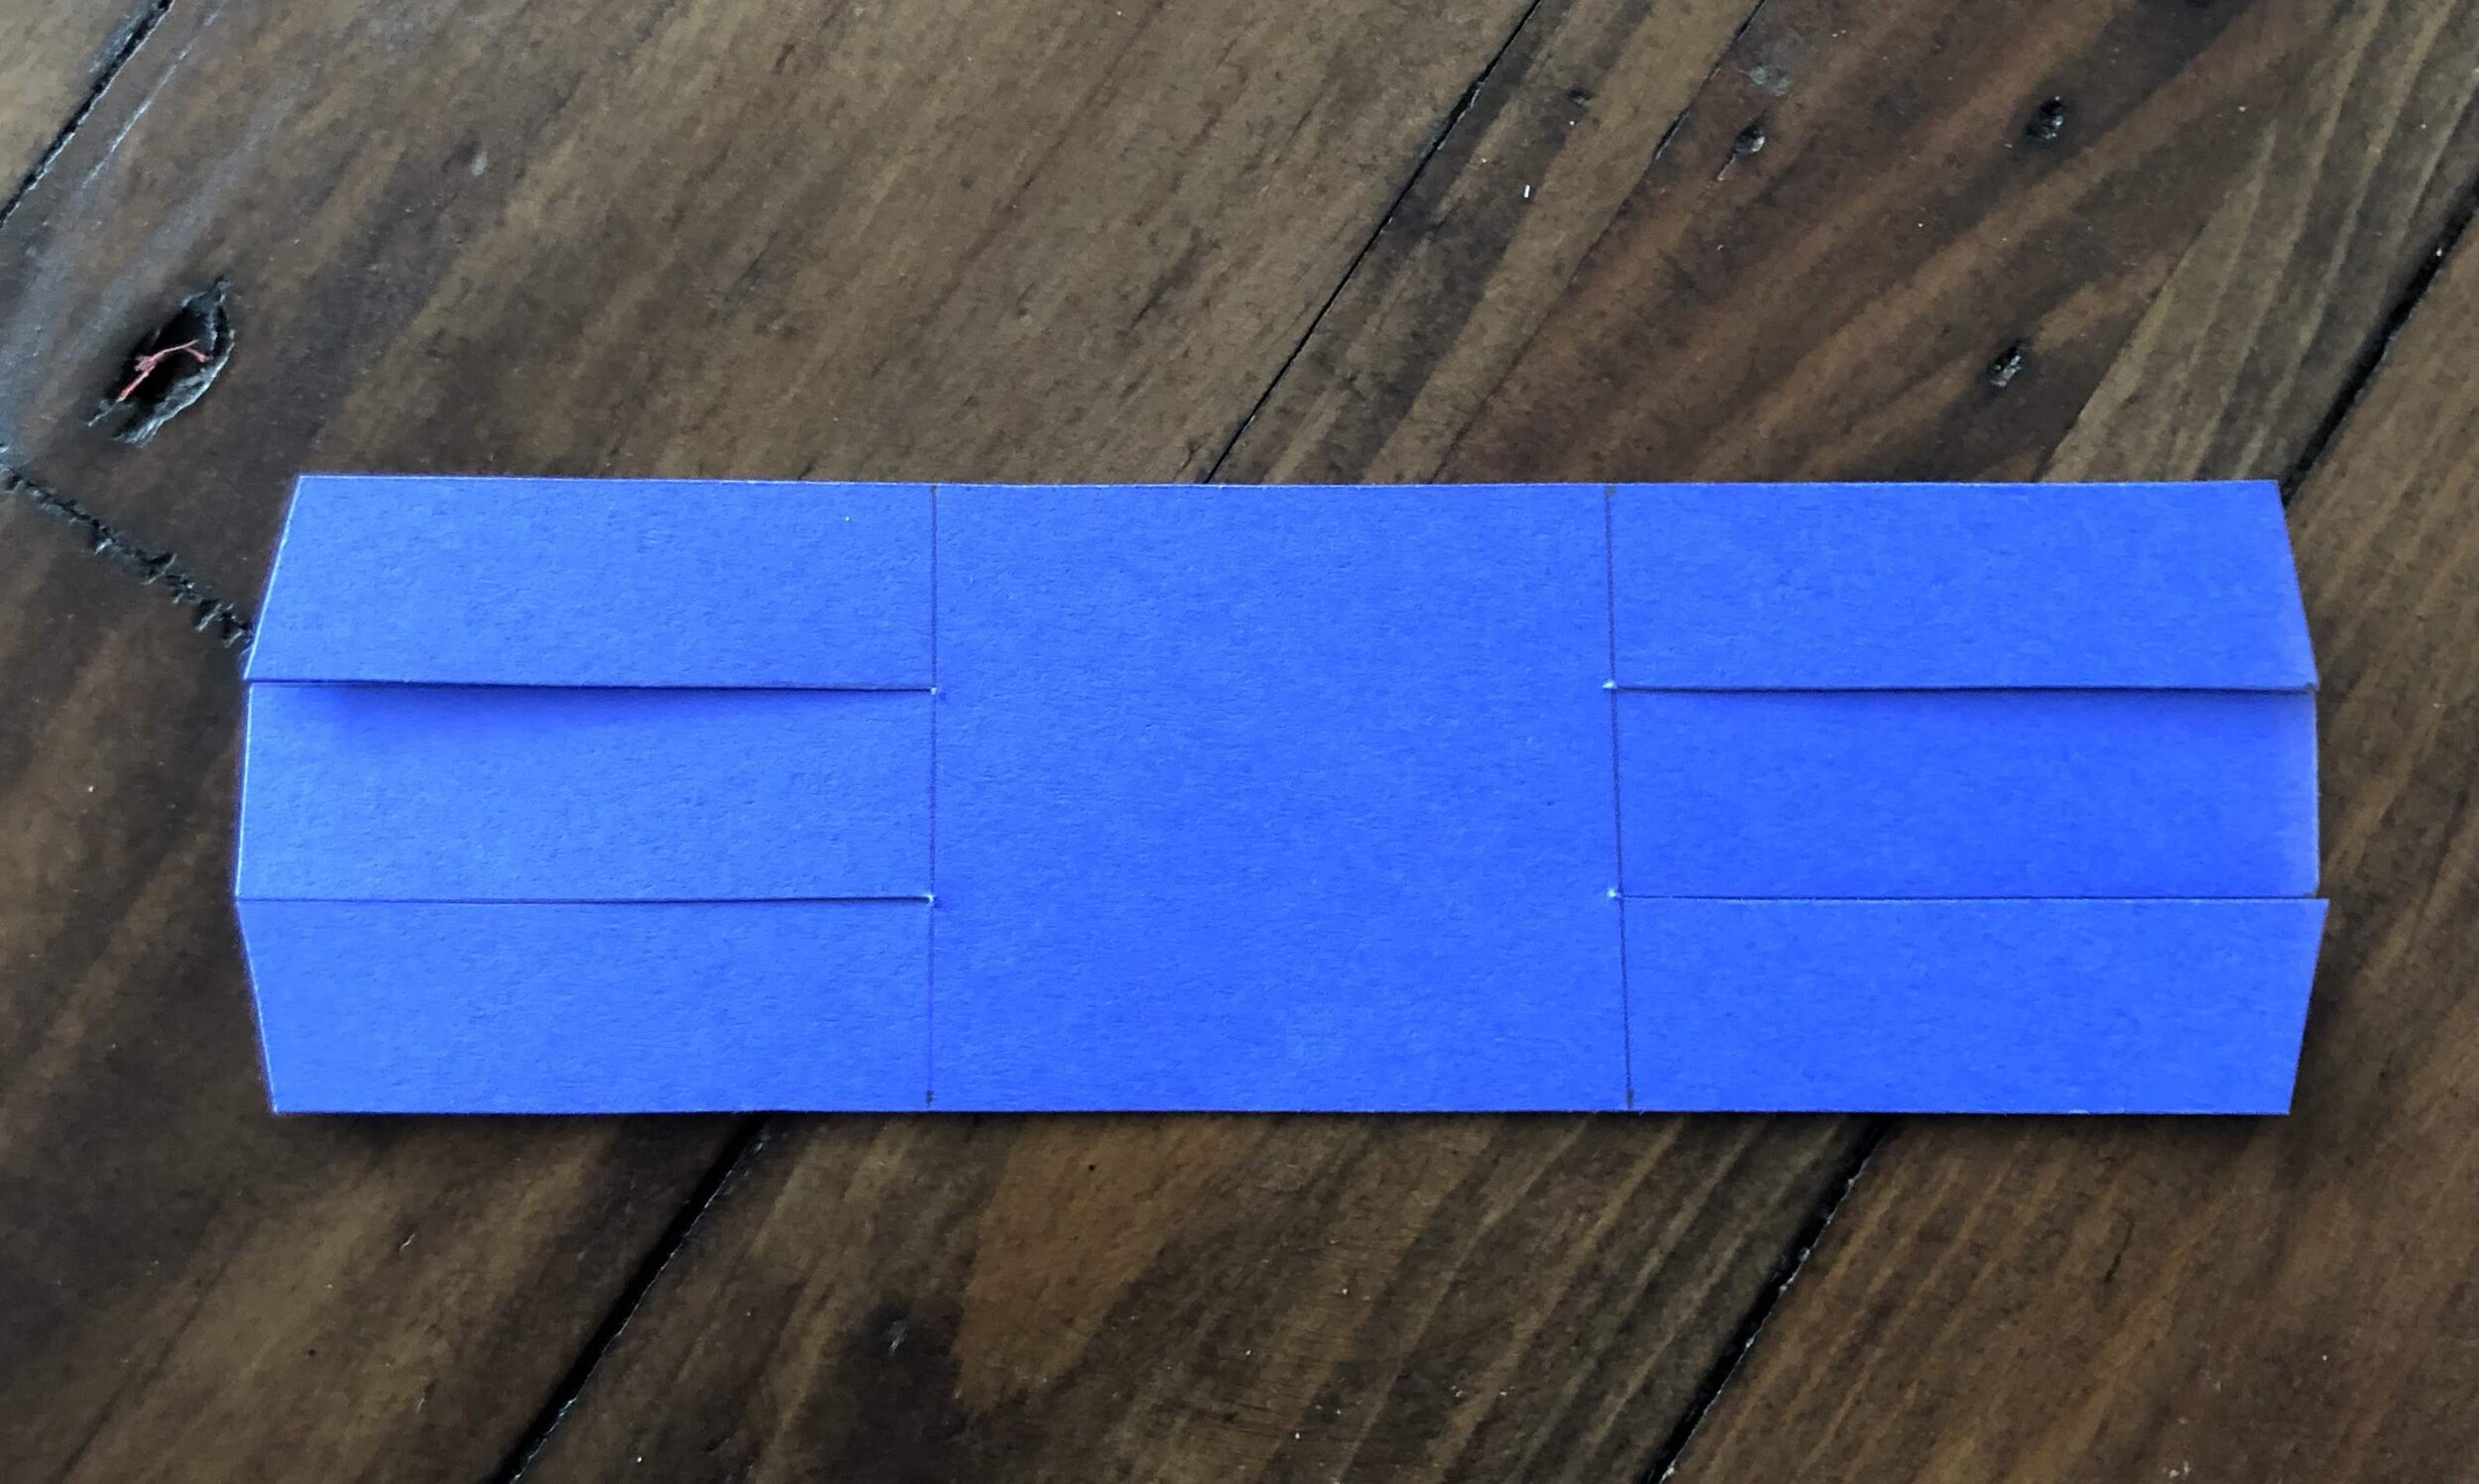
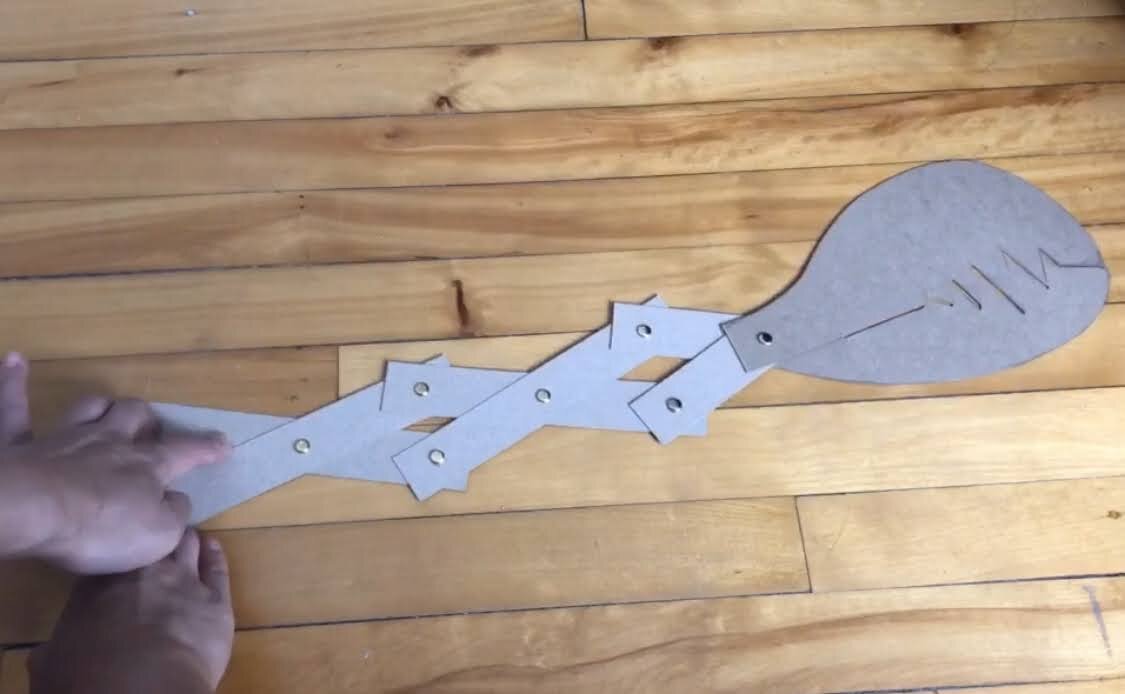
Take a cardboard sheet and, with the pencil and ruler, draw a series of at least 6 strips, all of the same length and width. Make sure the strips are long enough or else the monster won’t be able to move! Our strips measure 3 cm x 18 cm.

Cut along the lines to obtain the desired strips.
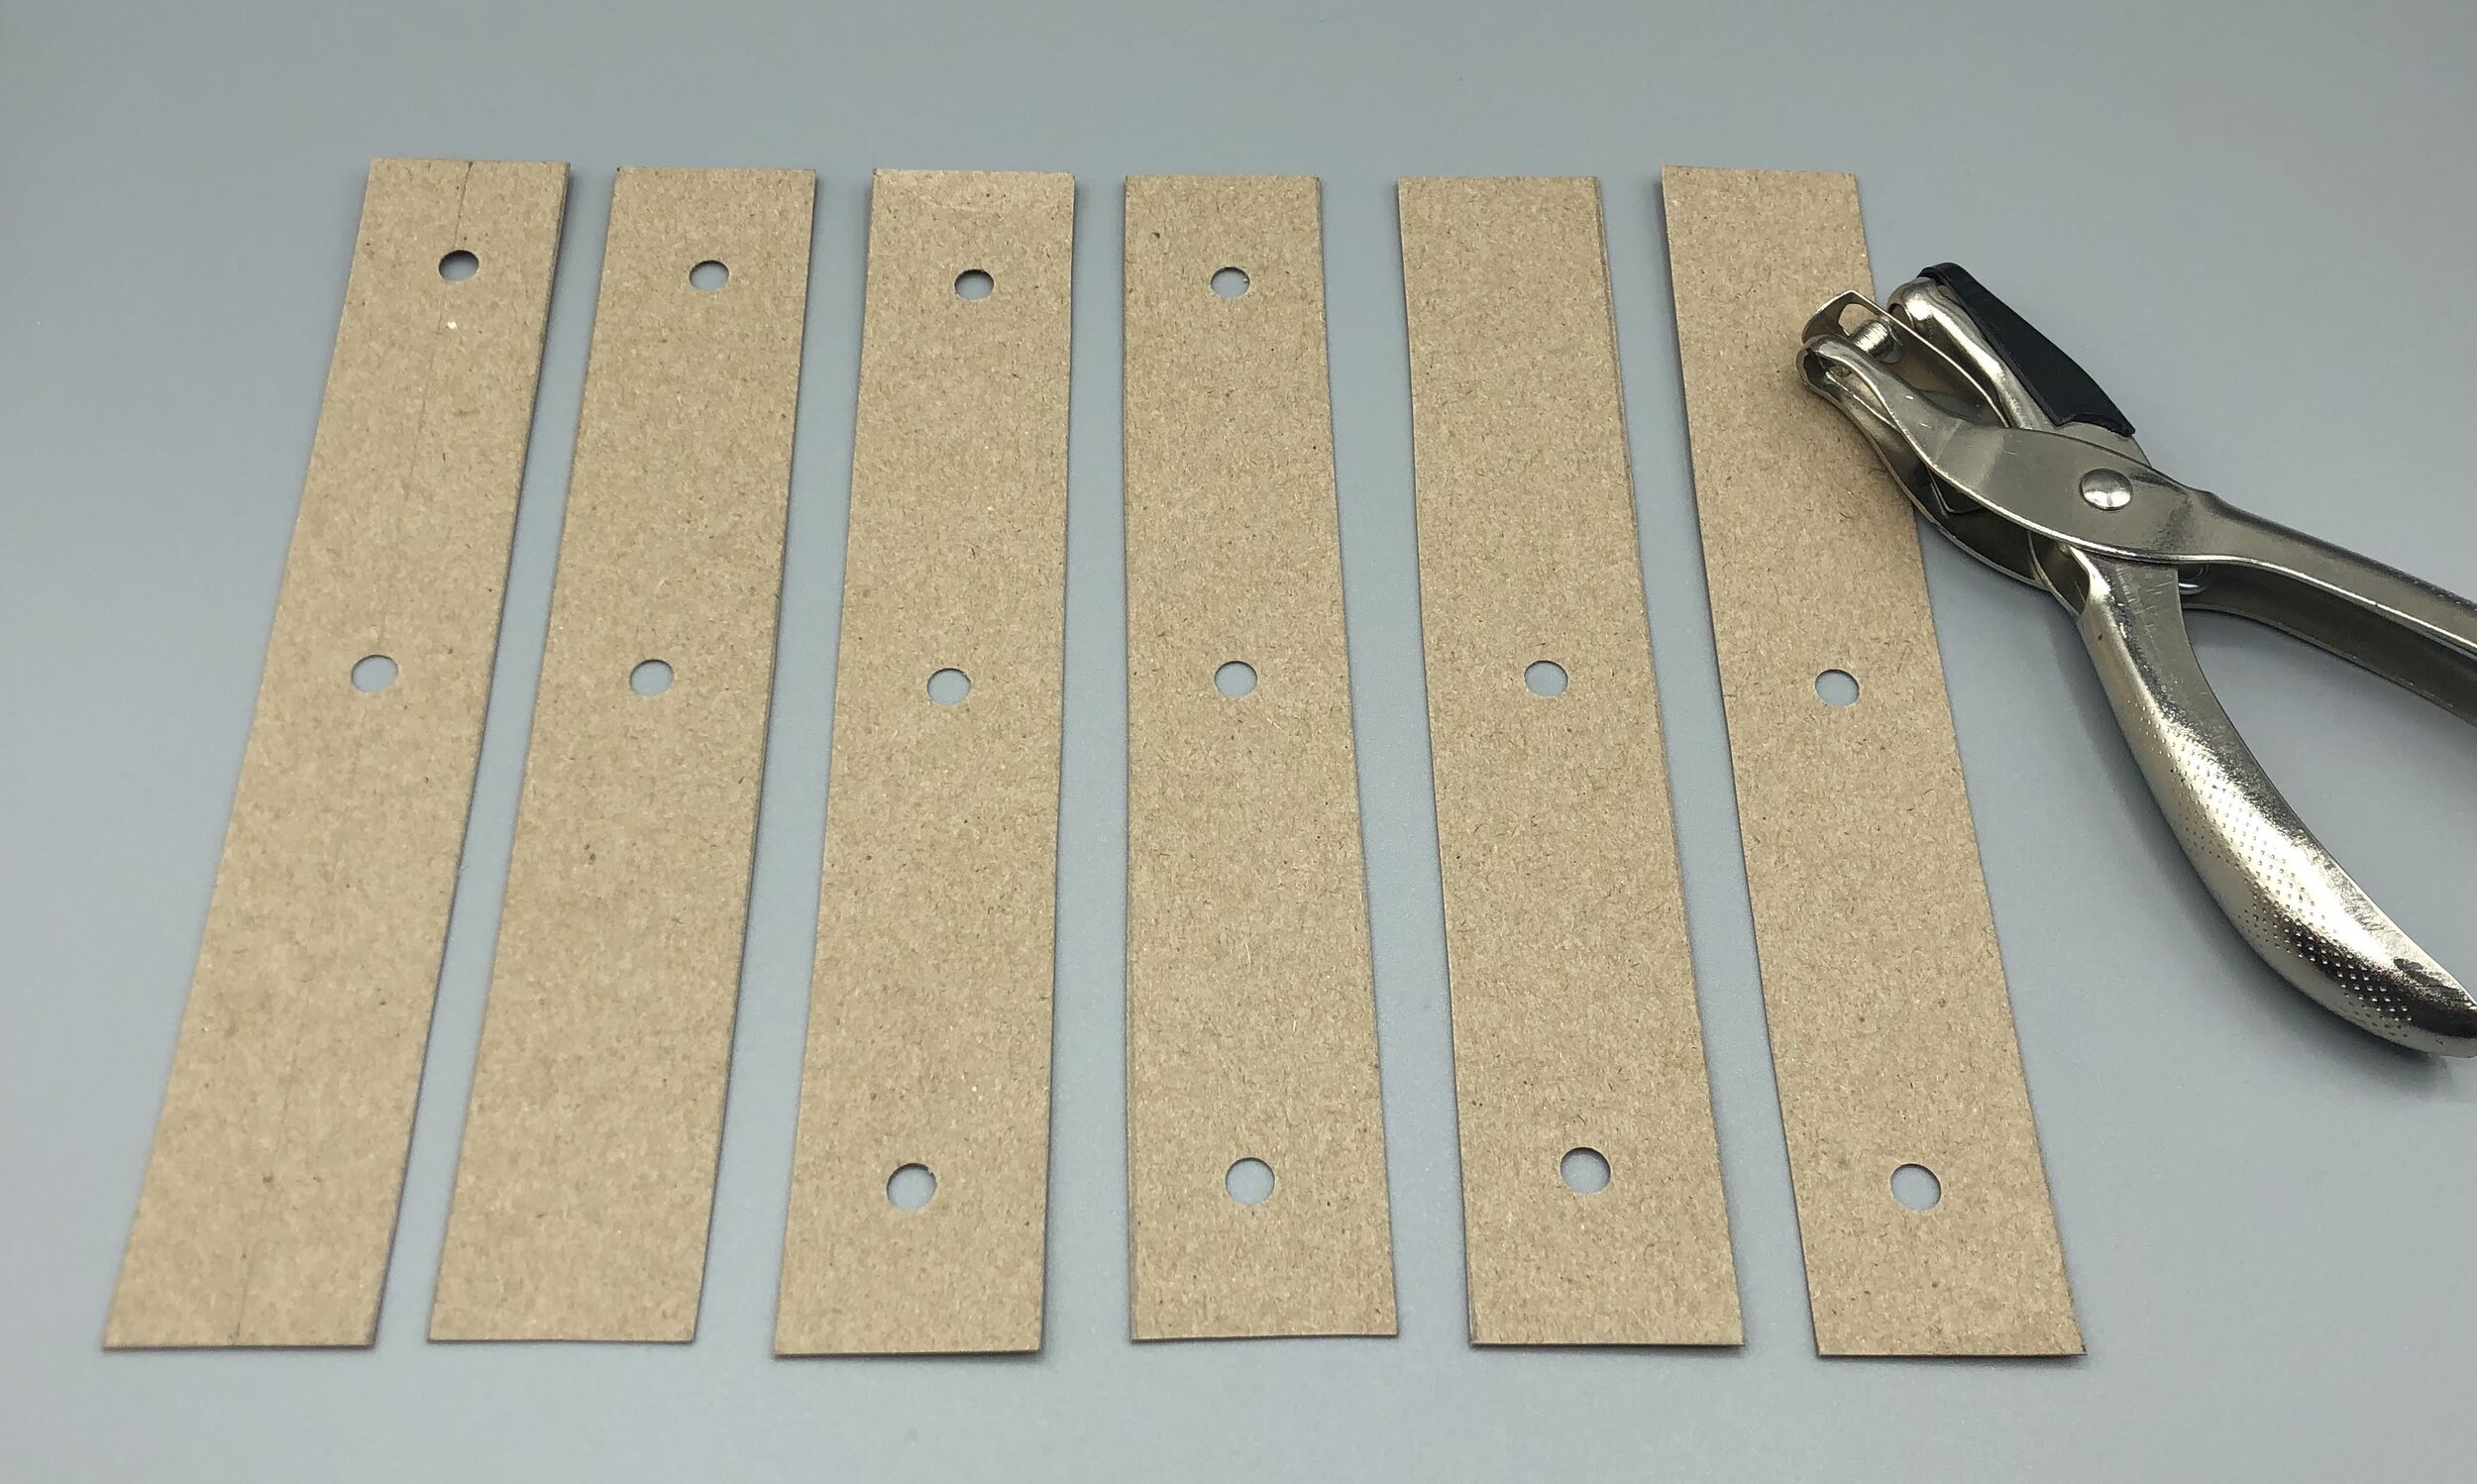
Punch holes in the strips as shown in the photo : the first and last two strips should have a hole in the middle and on one extremity. The middle strips should have a hole in the middle and on both extremities. As much as possible, make sure the holes are all punched at the same place from one strip to another. A trick is to punch hole on one strip and use it as a reference for all others, by placing it on top of the others. That way, you’ll exactly where to punch the holes

Put the strips aside for the moment and take another cardboard sheet as well as a pencil.
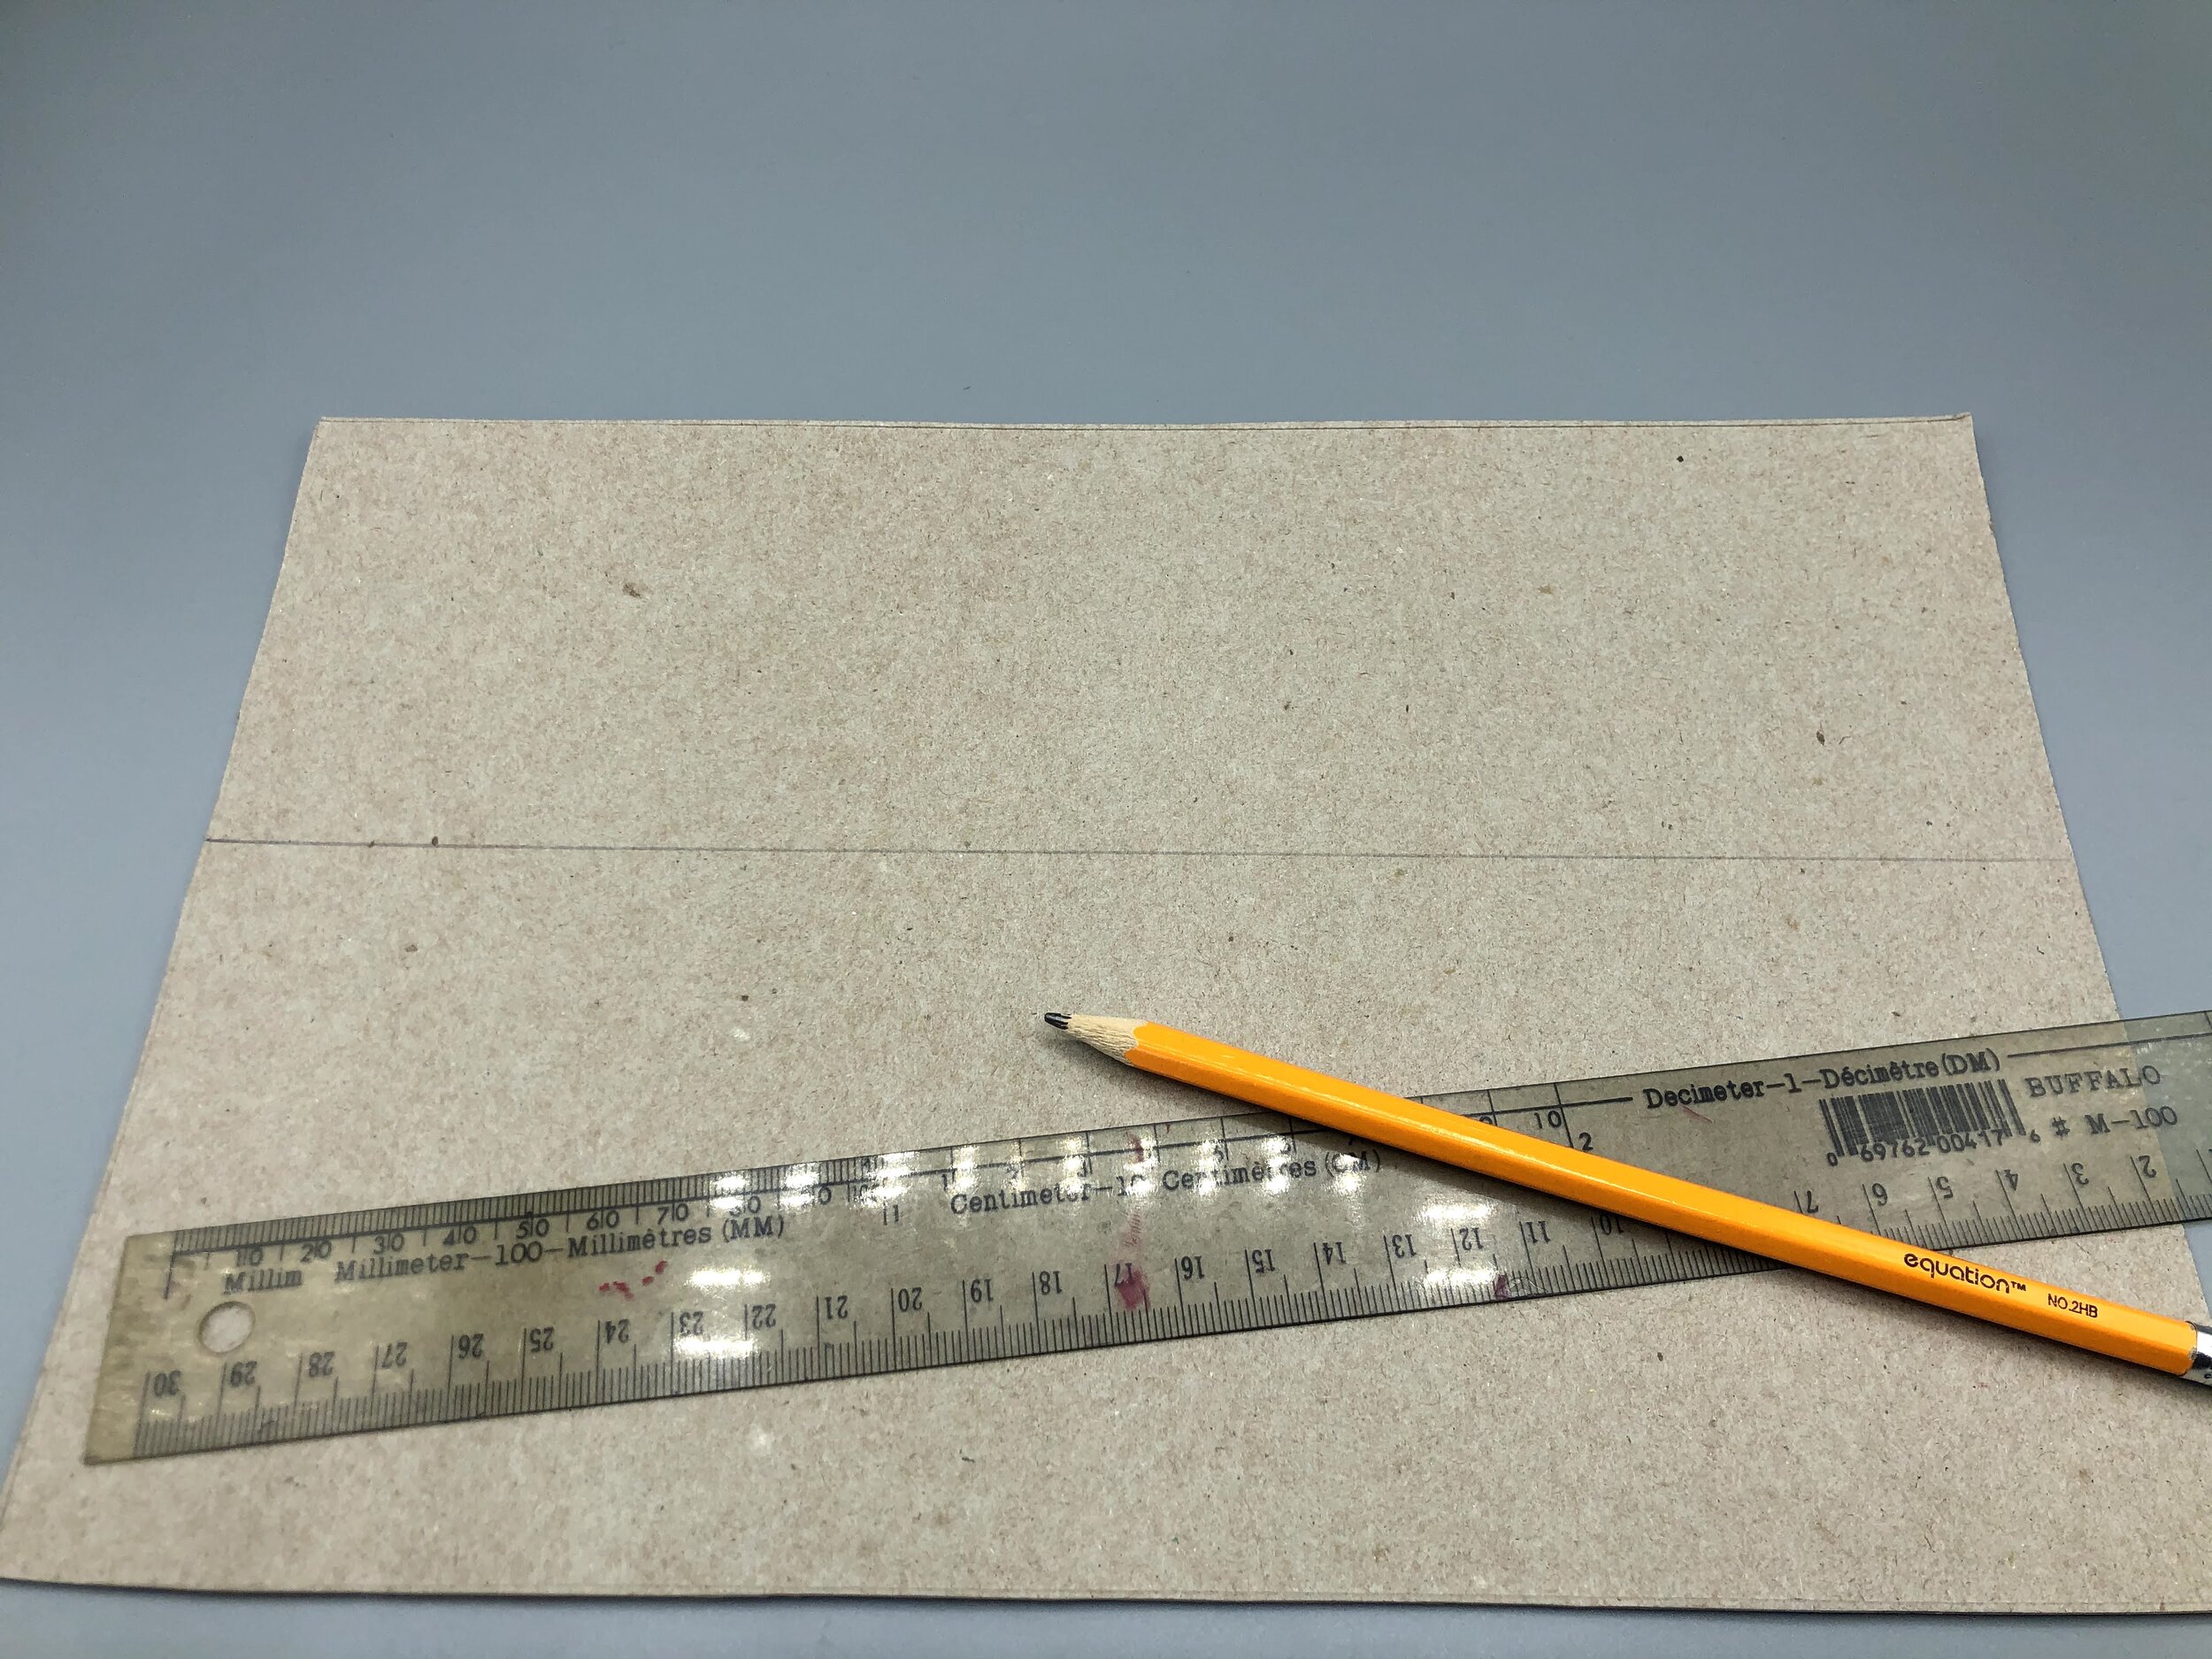
Draw a horizontal line along the middle of the sheet, length wise. The ruler is not really needed here.

Draw the top half of your monster’s head above the horizontal line. That line represents its jaw line. If it has fangs, draw a zigzag on either side the horizontal line.

Cut along the lines you just drew.

Place your monster’s upper head on a sheet of cardboard to draw its second bottom half. If there’s enough space left on your cardboard, use it, or else take another sheet.

Draw a line along the top side of the monster’s neck.

Draw a line along the bottom of the monster’s neck. This is because the upper part of the head and the bottom half of the head will share the same neck so both neck should be of the same size.

Now draw the bottom half of the monster’s jaw, making sure to draw along the upper half’s teeth.

You should obtain something like this. Notice the hole on the top middle part of the lower head. All that is left to do is connect the two lines together (the upper part of the neck with the inside of the jaw).

Cut along the lines to obtain the lower half of the monster’s head.

Now that you have your monster’s full head, you can give it eyes and nostrils if you wish. I didn’t feel the need to do more, so I left it blank.

Superimpose the upper head’s neck with that of the lower head. The teeth should lock perfectly.

And punch a hole in the middle of the neck. Now you are ready to assemble your monster.

Take the first two strips. They should both have a hole in the middle and one at the right extremity.

Form an X with the 2 strips so that one middle hole is on top of the other.

Insert a brass fastener in the middle hole and open its arms on either side of the hole.

Take 2 middle strips. They should each have 3 holes on them.
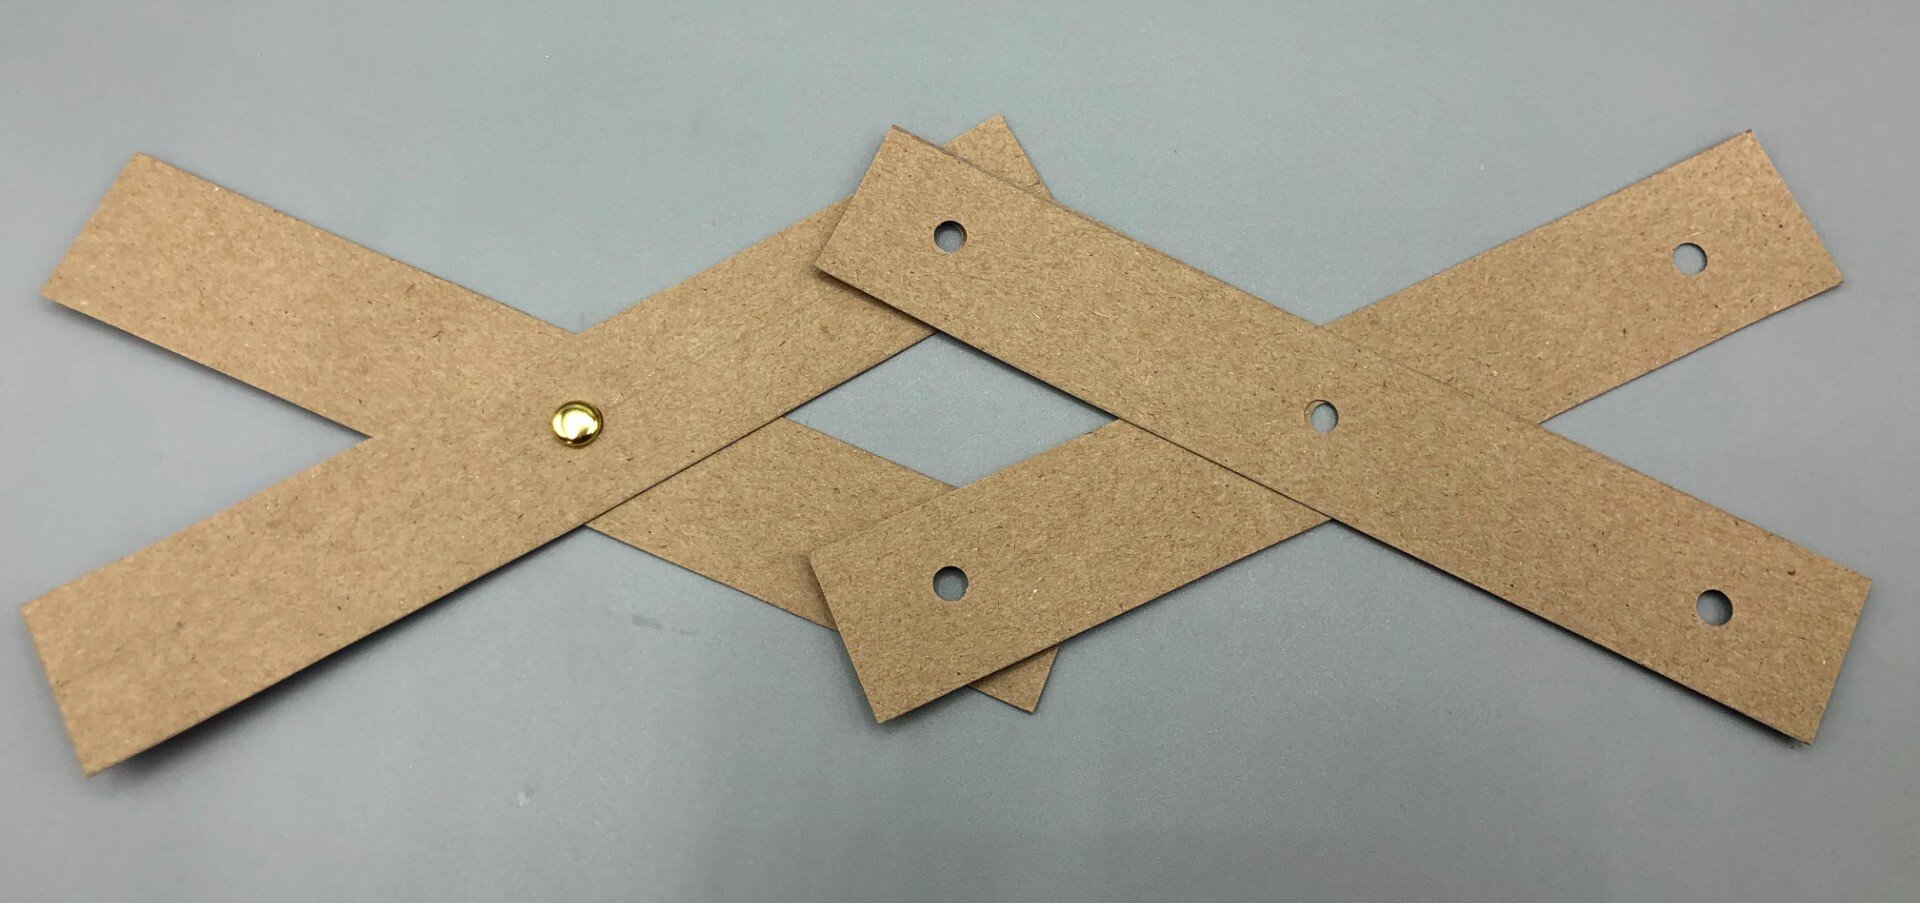
Cross the 2 middle strips so that their middle holes are superimposed. Now superimpose their left holes with those of the first 2 strips, as illustrated in the photo above.

Insert a brass fastener in the holes and open their arms.
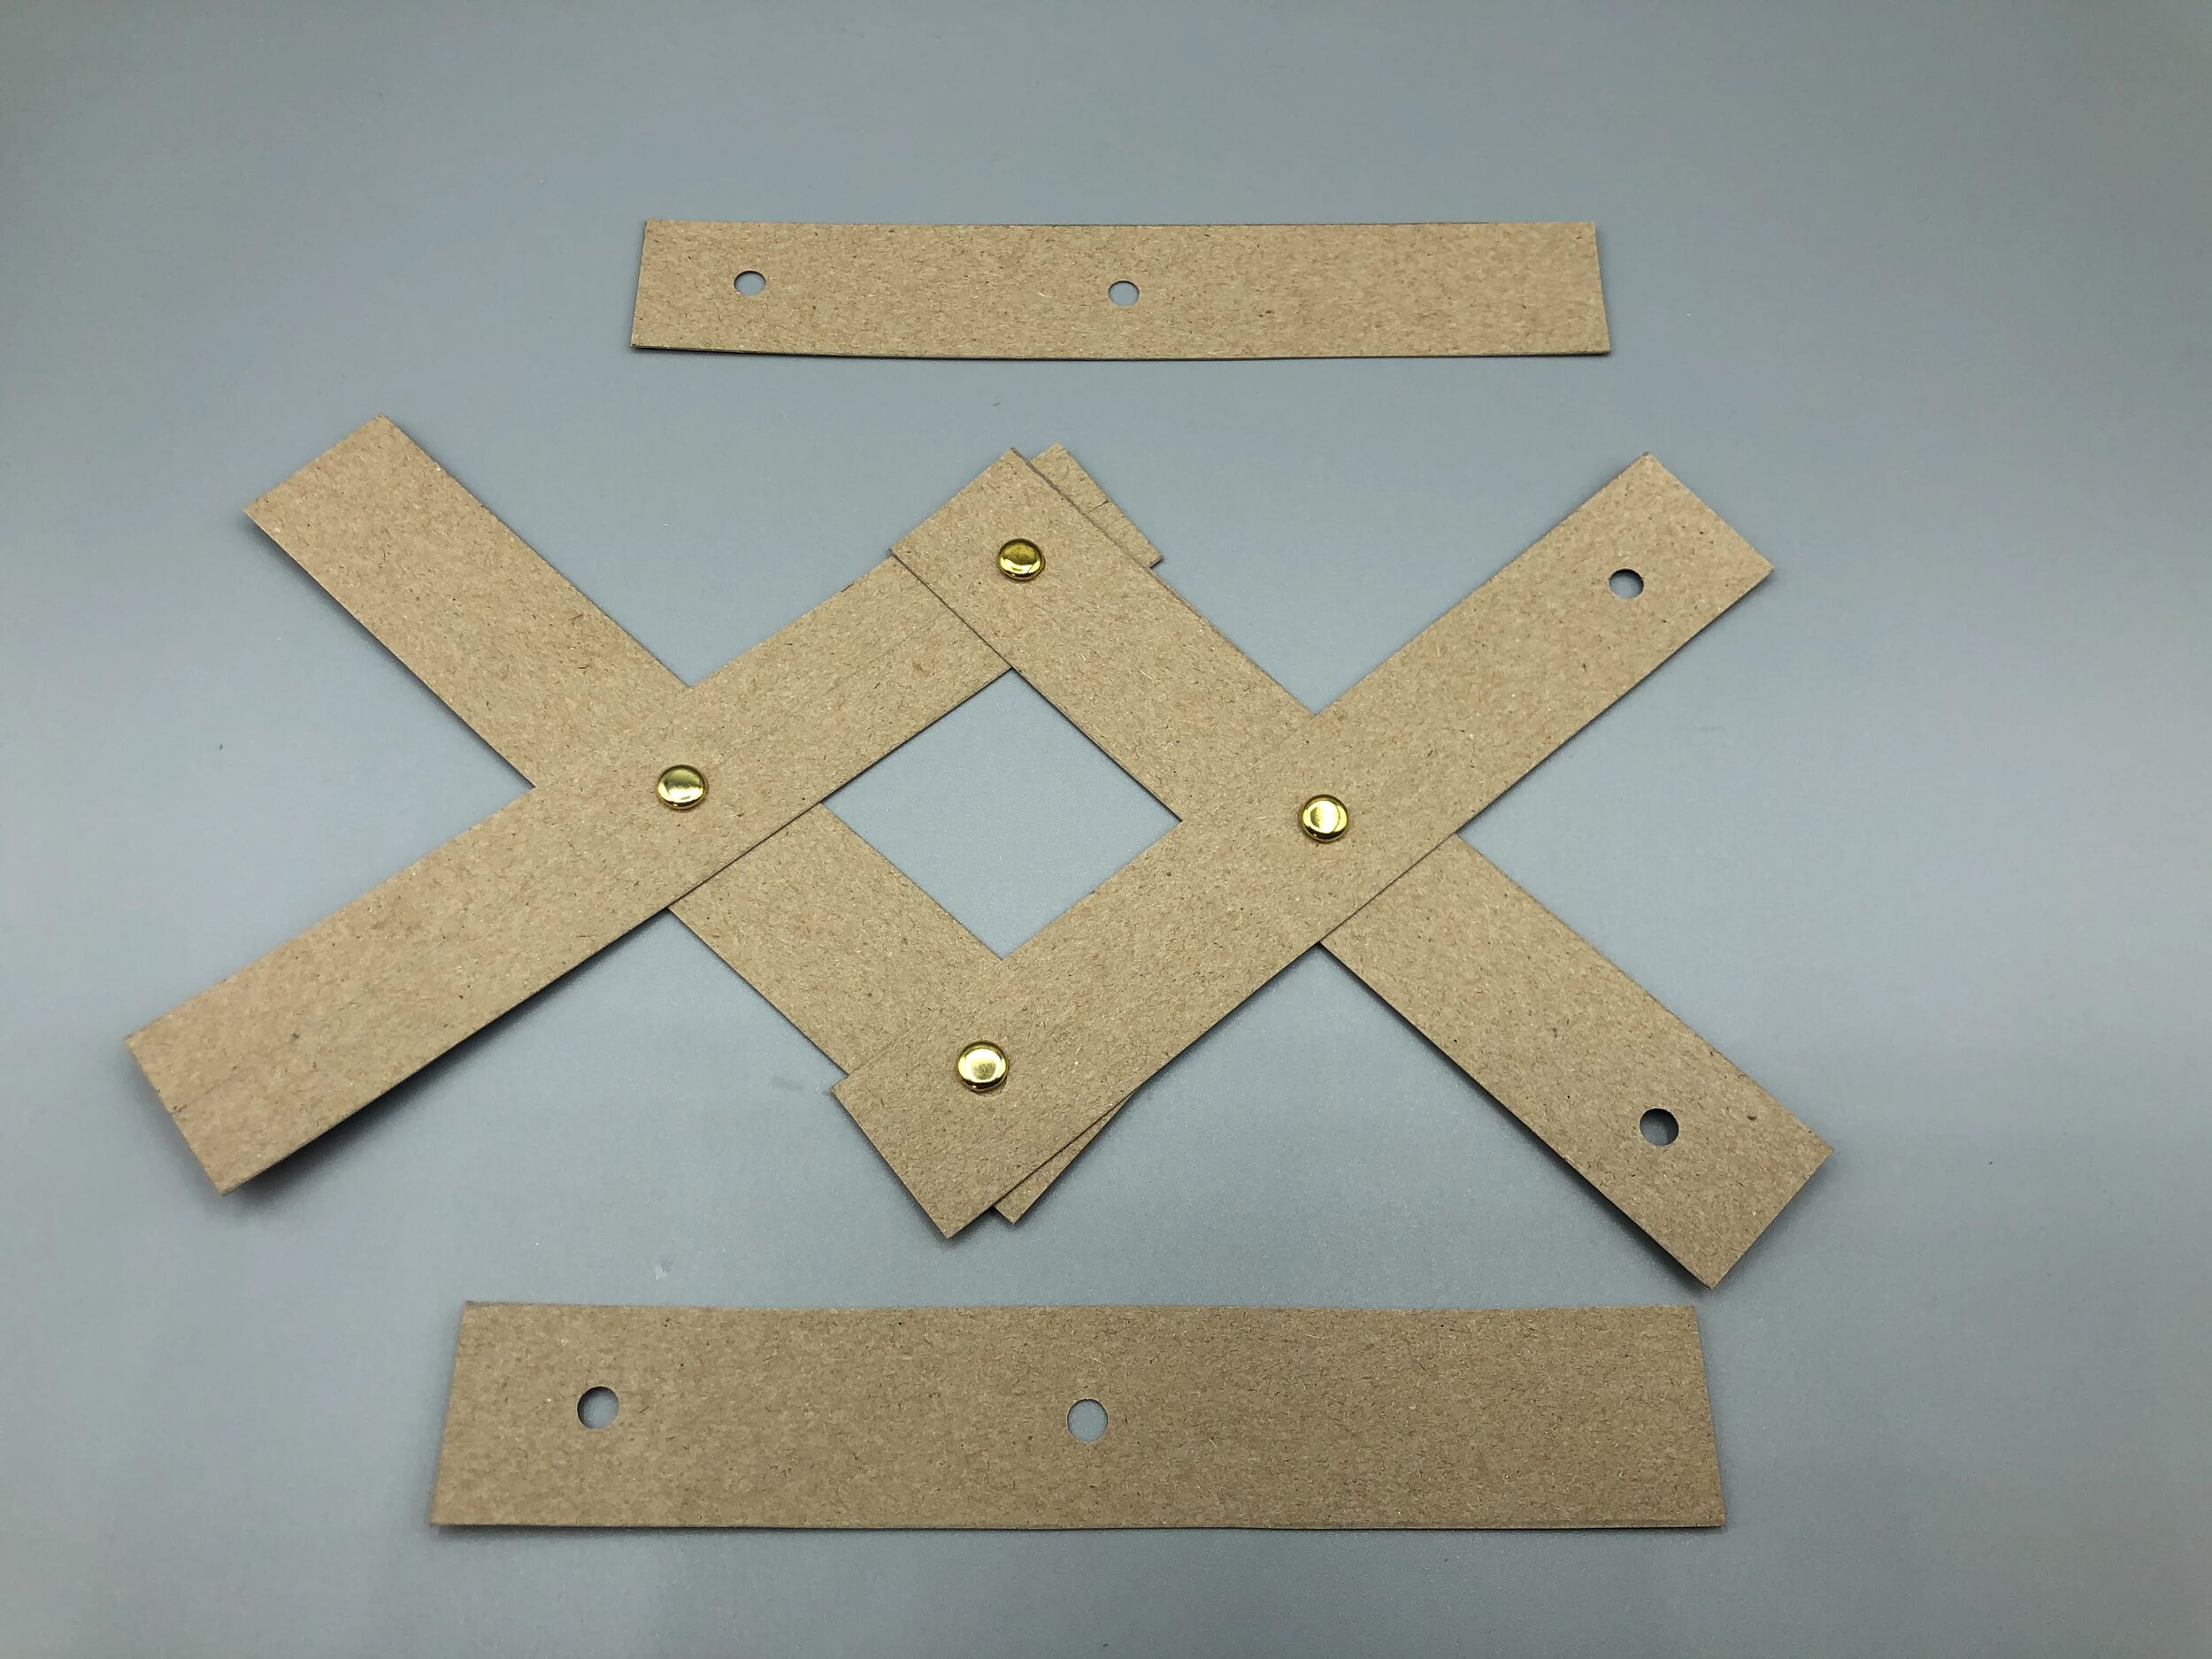
If you have more than 6 strips, continue as indicated above until you reach the final 2 strips. The final 2 strips should both have a hole in the middle as well as one on the left extremity.
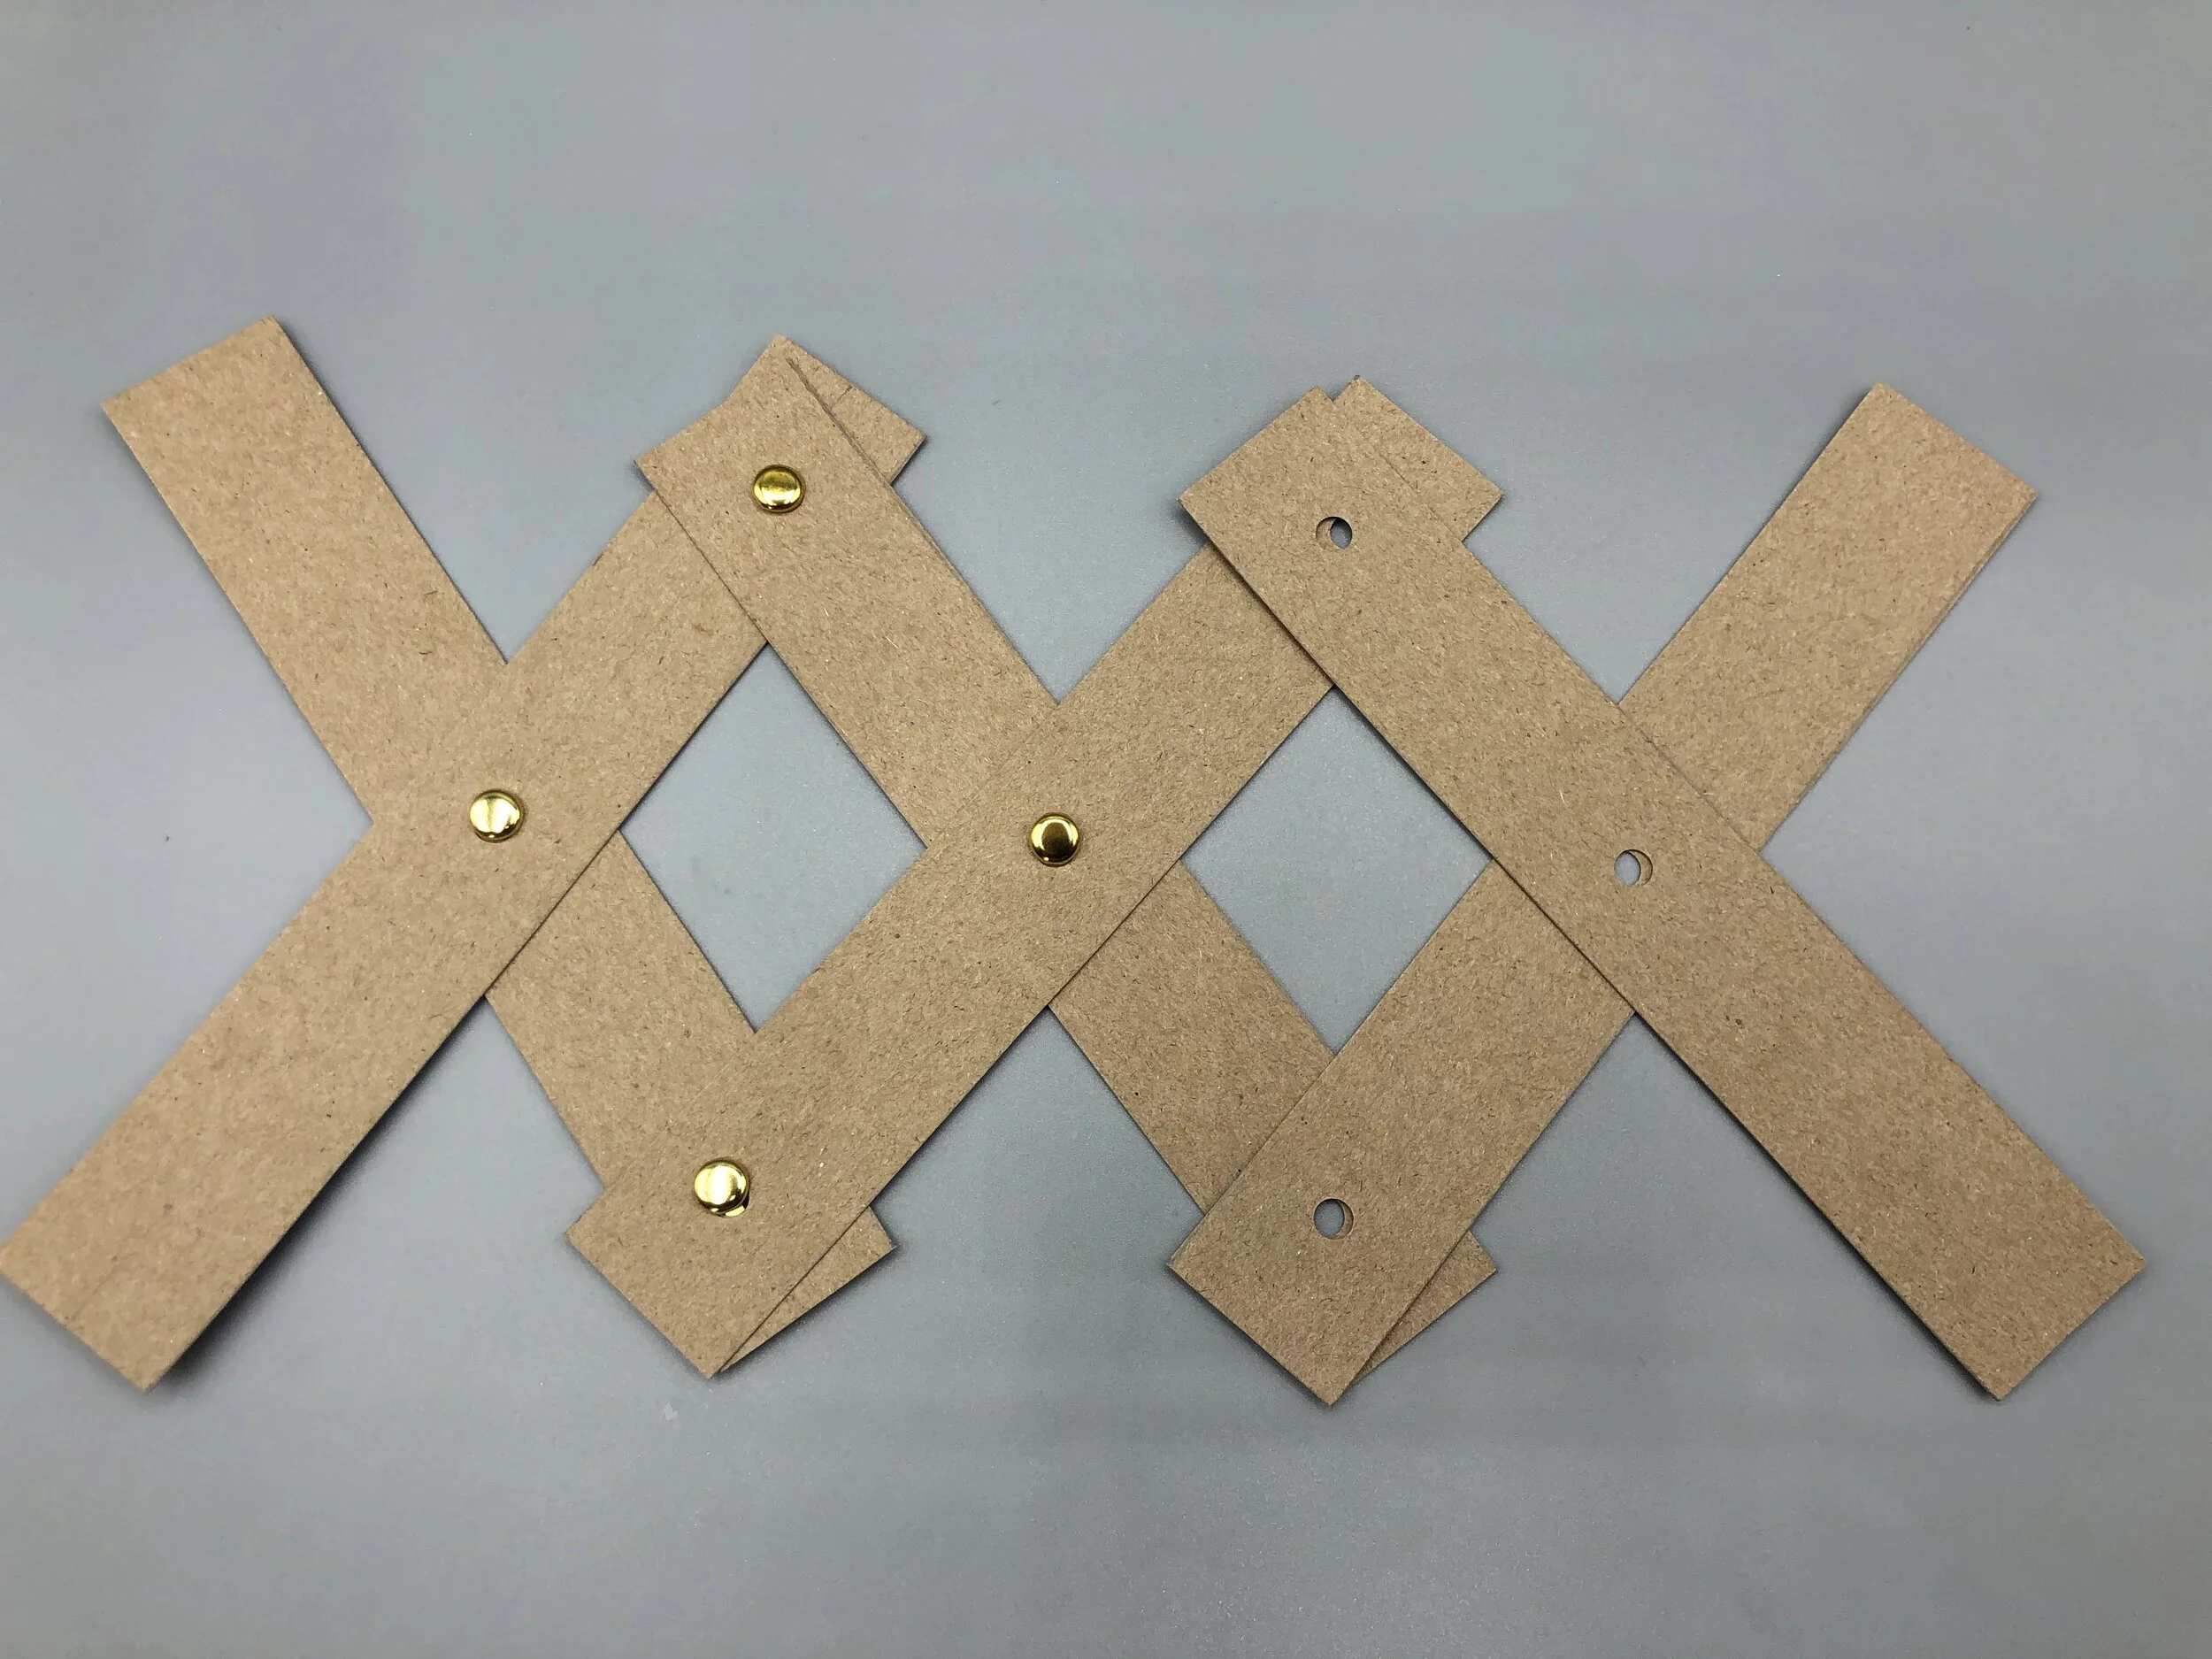
Cross the final 2 strips so that their middle holes are one on top of the other, and then superimpose their left holes with those the previous strips.
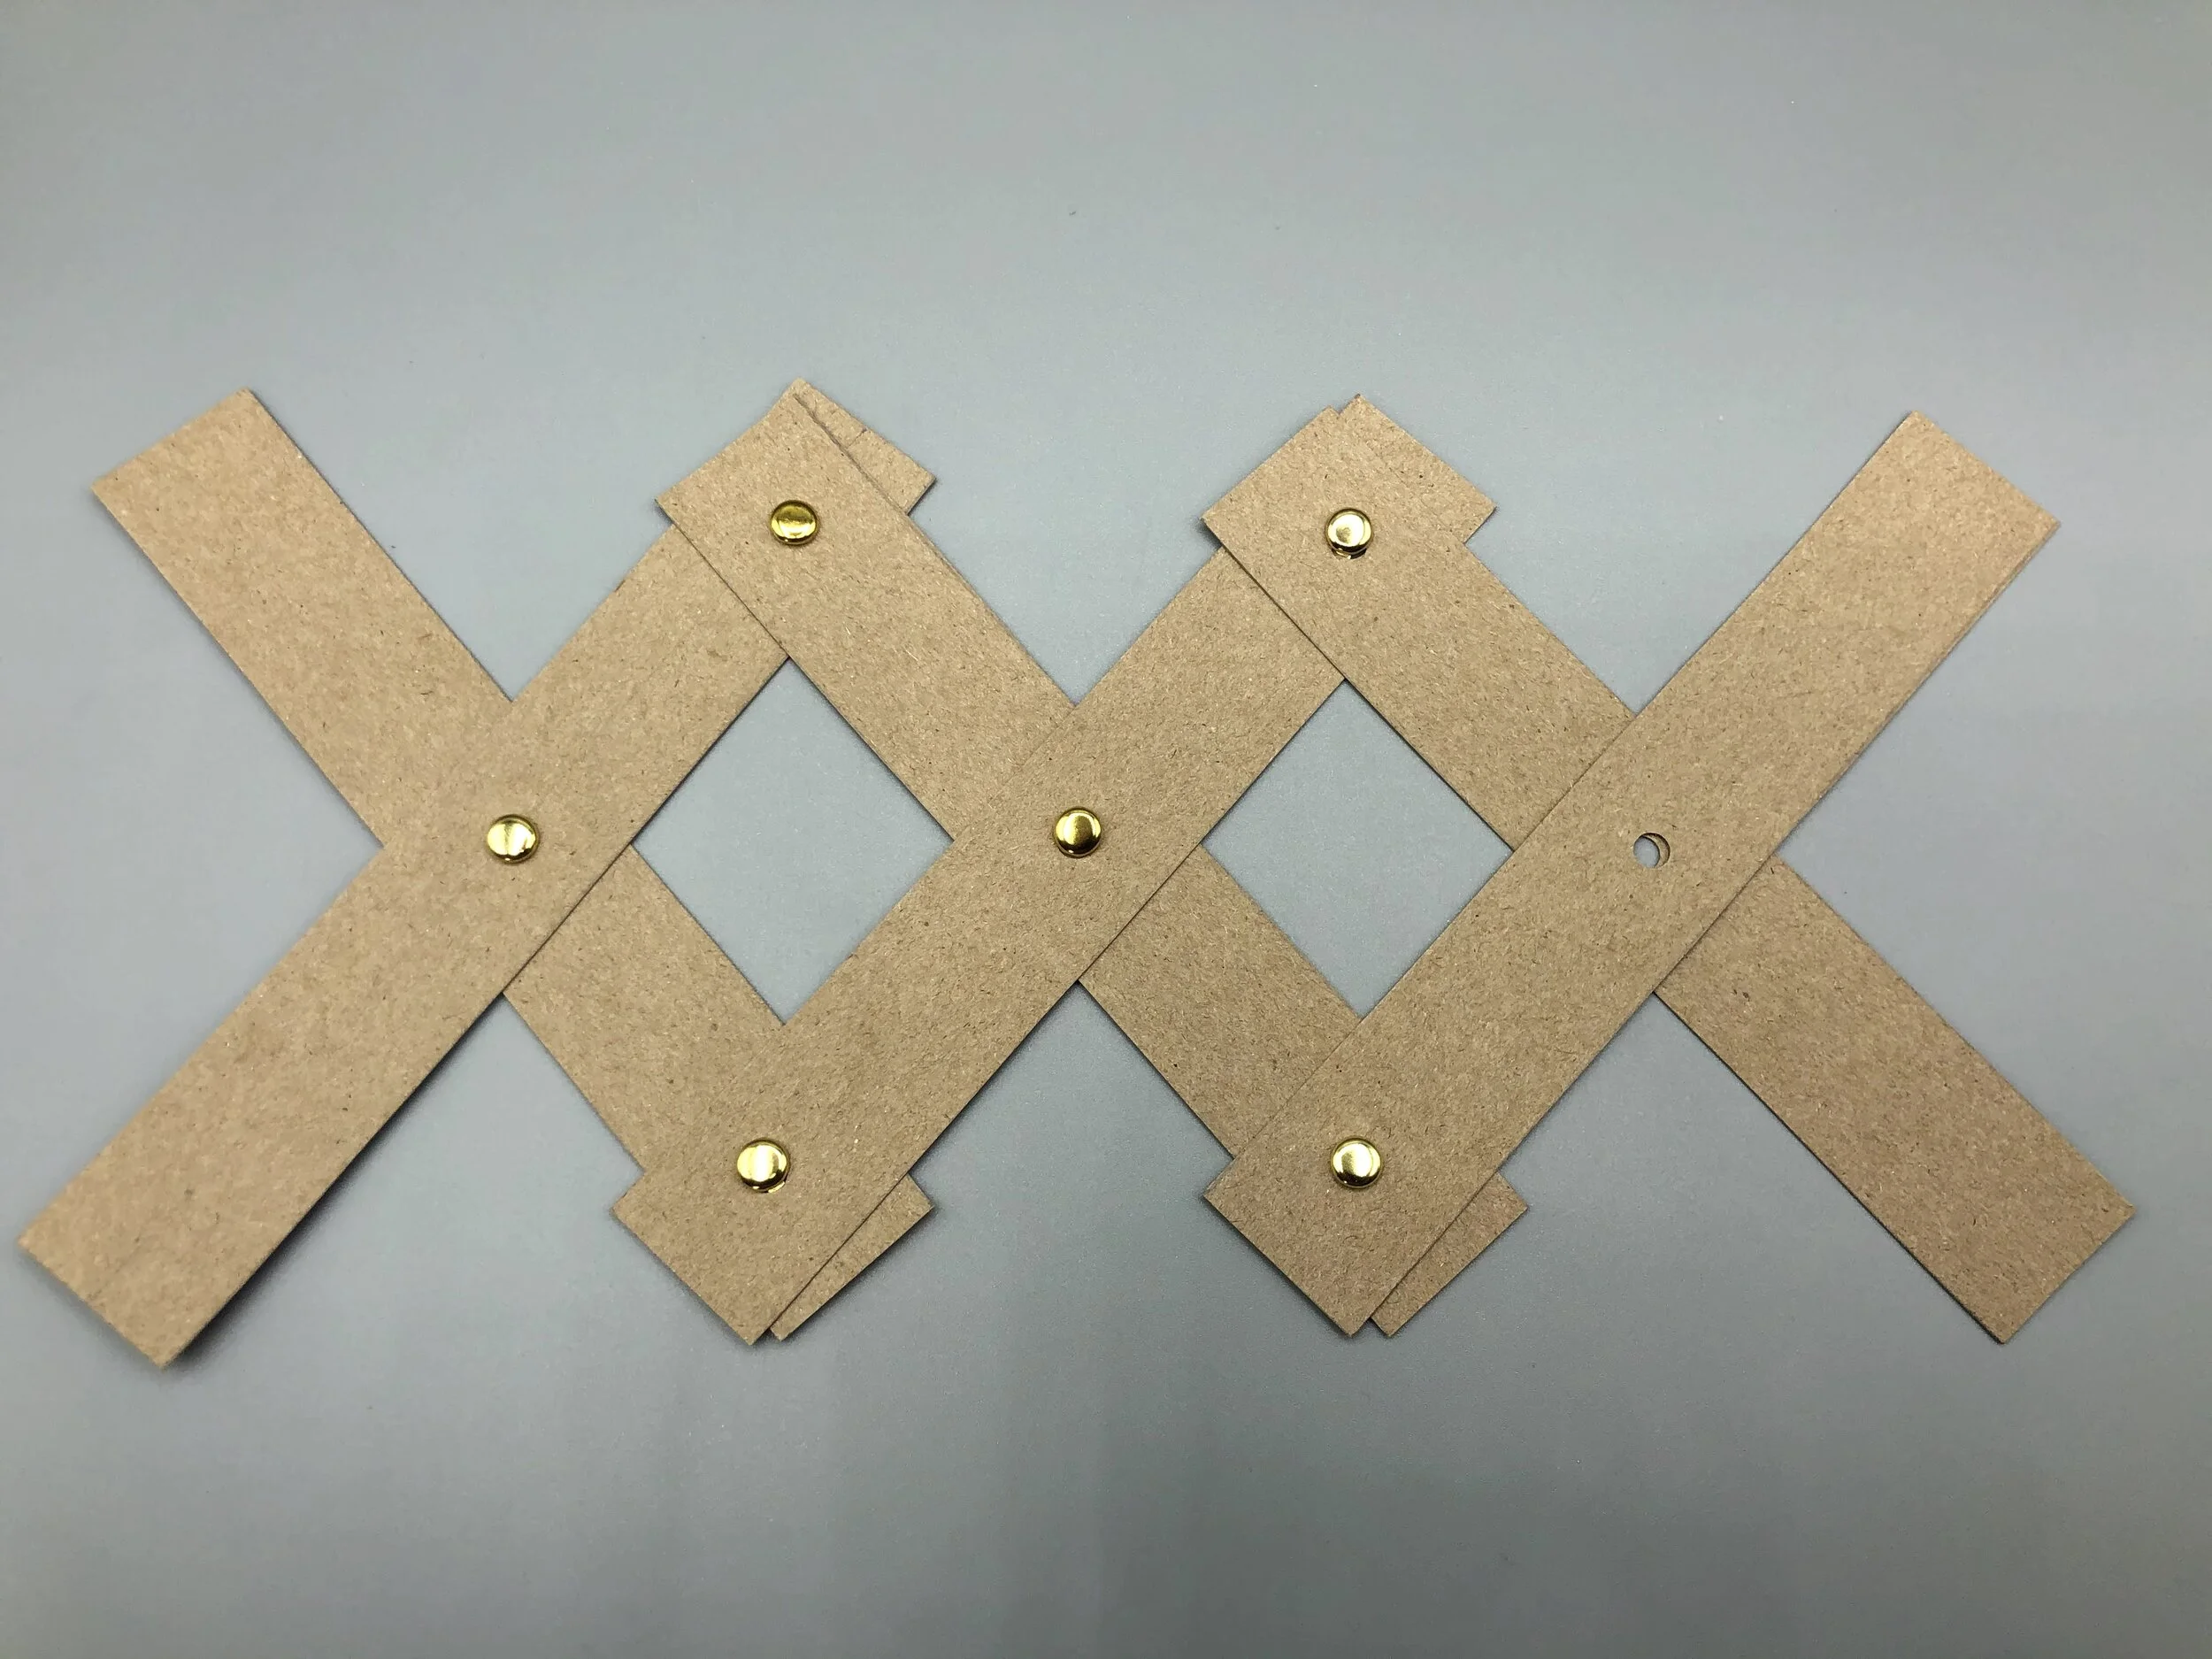
Insert 2 brass fasteners where the final 2 strips meet the rest of the craft. Do not insert one in the middle hole of the final 2 strips just yet.

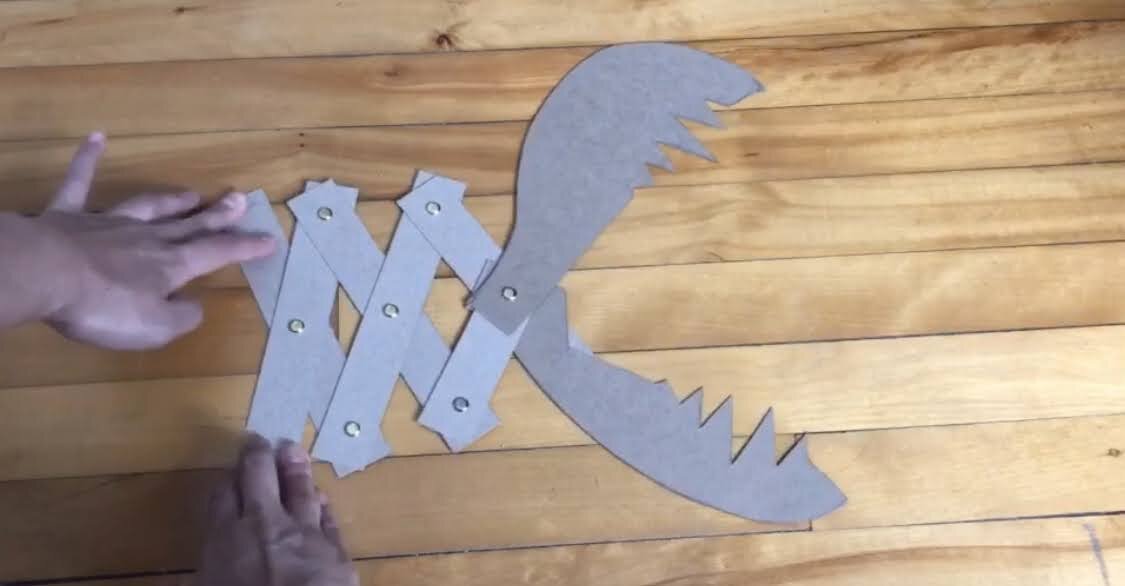
Take the upper half of your monster’s head, and superimpose the hole on its neck with the middle hole of the final 2 strips. Align the neck with the strip pointing upwards, and glue the strip to the upper head, as shown in the photo above.

Now do the same with lower half of the monster’s head, gluing the final strip pointing downwards to it.

Finally, insert a brass fastener in the remaining hole, and open its arms on either side of it.
And that’s it! Now have fun opening and closing your monster’s head!. You need both your hands to do so : each hand holds one strip on the left and see what happens when you pull them apart from or closer to each other!
For even more fun, play around with light and a white wall, creating shadows with your monster!
To see my cardboard monster in action, check out my in Instagram of Facebook account!
In the meantime, have fun!