Easy amaretti cookies

A few weeks ago, I woke up with a hankering for something sweet and nutty. Of course, I had nothing that would remotely fit my cravings in my pantry and though I normally enjoy baking, I really wasn’t in the mood for it that time. Work has been stressful and lately, all I want to do during my time off is nap. In the end, my gluttonous belly got the better of me and I skimmed kitchen cabinets, looking for something very easy and quick to bake, just to satisfy my needs and go back to bed.

I had bags and bags of ground almonds and as I was holding them in my hands, wondering why I bought so many of it, a light bulb lit up in my head. Almond cookies! More specifically, amaretti cookies. I love these. It’s like eating sweet, soft, chewy and moist balls of almond paste. There is a little Italian bakery not so far from my home, with an amazing display of various amaretti cookies of so many different flavors. For special occasions, I would often request to be given one of each of their cookies (as well as a few cannolis).

As it turned out, these cookies are super easy to make, so I made a small batch. They were all gone within 2 days.

IMG_2546.jpg

Easy amaretti cookies

Makes approx. 15-18 cookies

ingredients

  • 2.5 cups ground almonds

  • 3/4 cups granulated sugar

  • 1/8 tsp salt

  • 2 egg whites

  • 1/4 tsp freshly squeezed lemon juice

  • optional: no more than 1/2 tsp almond extract

  • powdered sugar

directions

  1. Preheat oven at 300. Stack 2 cookie sheets one on top of the other (this prevents the cookie bases from browning too much) and line with parchment paper.

  2. Fill a small bowl with powdered sugar. Set aside.

  3. In a bowl, mix together ground almonds, salt and sugar.

  4. In the bowl of an electric mixer fitted with the whisk attachment, whisk eggs whites with lemon juice until soft peaks form.

  5. Add egg whites to the almond mixture and knead with your hands, until you obtain a soft, sticky dough.

  6. If you’re using almond extract, this is where you add it. Knead it in the almond mixture, with the beaten egg whites.

  7. Roll cookie dough into 1 inch balls and roll them in the powdered sugar until covered.

  8. Place balls on the baking sheets, one inch apart from each other.

  9. Bake for 30 minutes, until the tops are cracked and the bases are slightly golden.

  10. Let rest on the baking sheets for 5 minutes before transferring on a wire racks, to cool completely.

IMG_2548 (1).jpg

Aren’t they beautiful? This is pretty much what a no-fail cookie recipe looks like. I normally use almond extract in almost all my cakes and cookies but somehow, in this case, I did not feel like it was that necessary, given the amount of almonds used. If you fear that the cookies will not taste enough, add a little bit of almond extract but be careful because too much of it will be overwhelming and unpleasant.

Variations

From now on, you could create whatever variation you like.

For pistachio, replace the ground almond with ground pistachio. This goes for any nut of your choice.

For chocolate, use 2 cups of ground almond and 1/2 of cocoa powder. In this case, I would use a little bit of almond extract, no more than 1/2 tsp so that it doesn’t overwhelm your taste buds.

For lemon, add 1 tbsp of freshly squeezed lemon juice (instead of 1/4 tsp) as well as the zest of 2 lemons.

For espresso, mix 3 tsp of good espresso powder in 1 tbsp of boiling water.

You get the idea.

Now, have fun and enjoy!


Simple butter cookies

Not going to lie. The summer heat as well as the return to work after confinement have been brutal, which explains why I’ve been somewhat apathetic lately, during my free time. I’ve said it again and again, I am not a summer person. And despite all my best effort, making plans, organizing activities, dressing lists of cakes to bake, I usually end up cancelling everything due to the weigh of the summer heat and scorching sun. So this explains why I’ve been MIA for the past few weeks. But, at some point, one must give oneself a good kick in the butt and get moving. Having no more shows to watch on TV is also a great motivator.

Having no AC makes it very difficult to bake during heatwaves. That’s why I’ve been more focused on making ice creams, but I started having a major craving for something rich, buttery, with a bite, that I couldn’t shake off. Nothing fancy. Just something quick and easy to make that doesn’t require me getting dressed to go to the market. My options were limited as I didn’t have any eggs or dairy in my pantry, and I was running low on granulated sugar. I did, however, have lots of butter and flour. Butter cookies were then the first idea that popped in my head and I went with it.

This is as simple as it can get: a 3-ingredient no hassle cookie recipe.

A lot of butter cookie recipe instruct you to roll out the dough and use a cookie cutter. Since I have a small kitchen with very limited counter space, I prefer to roll the dough into a sausage shape and cut it into slices. Though this technique is less messy, it does require more attention to detail as the slices should all be of the same size for the cookies to bake evenly. For this recipe, depending on your preferences, you pick either technique.

IMG_1766.jpg

Simple butter cookies

Makes between 12 and 16, depending on thickness.

ingredients

  • 1 cup butter, room temperature

  • 1/2 cup powdered sugar

  • 2 cups flour


directions

  1. In the bowl of an electric mixer fitted with the paddle attachment, mix sugar and butter at medium speed, until light and fluffy, 2 minutes.

  2. Sift in flour and continue mixing until the mixture forms a dough.

  3. Place the dough in a plastic wrap and roll it into a sausage shape.

  4. Refrigerate for at least an hour.

  5. Preheat oven at 350.

  6. Prepare a large baking sheet with parchment paper.

  7. Remove the dough from the refrigerator and remove the wrap.

  8. Place the sausage-shaped dough on a cutting board and cut into slices approximately 5 mm (1/4 inch) thick.

  9. Place slices on prepared baking sheets and bake for 16 minutes, or until the cookies are golden brown.

  10. Let cool on baking sheets a few minutes before transferring them to a cooling rack.

And that’s it! You now have at least a dozen super buttery, crumbly cookies to satisfy your cravings!

Of course, from now on, there are numerous variations that you could have fun with, like adding chocolate chips, nuts and/or dried fruits, dipping the cookies in chocolate or decorating them with royal icing. If you like coffee flavors, follow this exact recipe, but add a little bit of espresso (2 tbsp of espresso powder dissolved into 1 tsp of hot water) right after step 1. You can also enhance flavors by adding some vanilla or almond extract (1 tsp for vanilla, 1/2 tsp for almond extract).

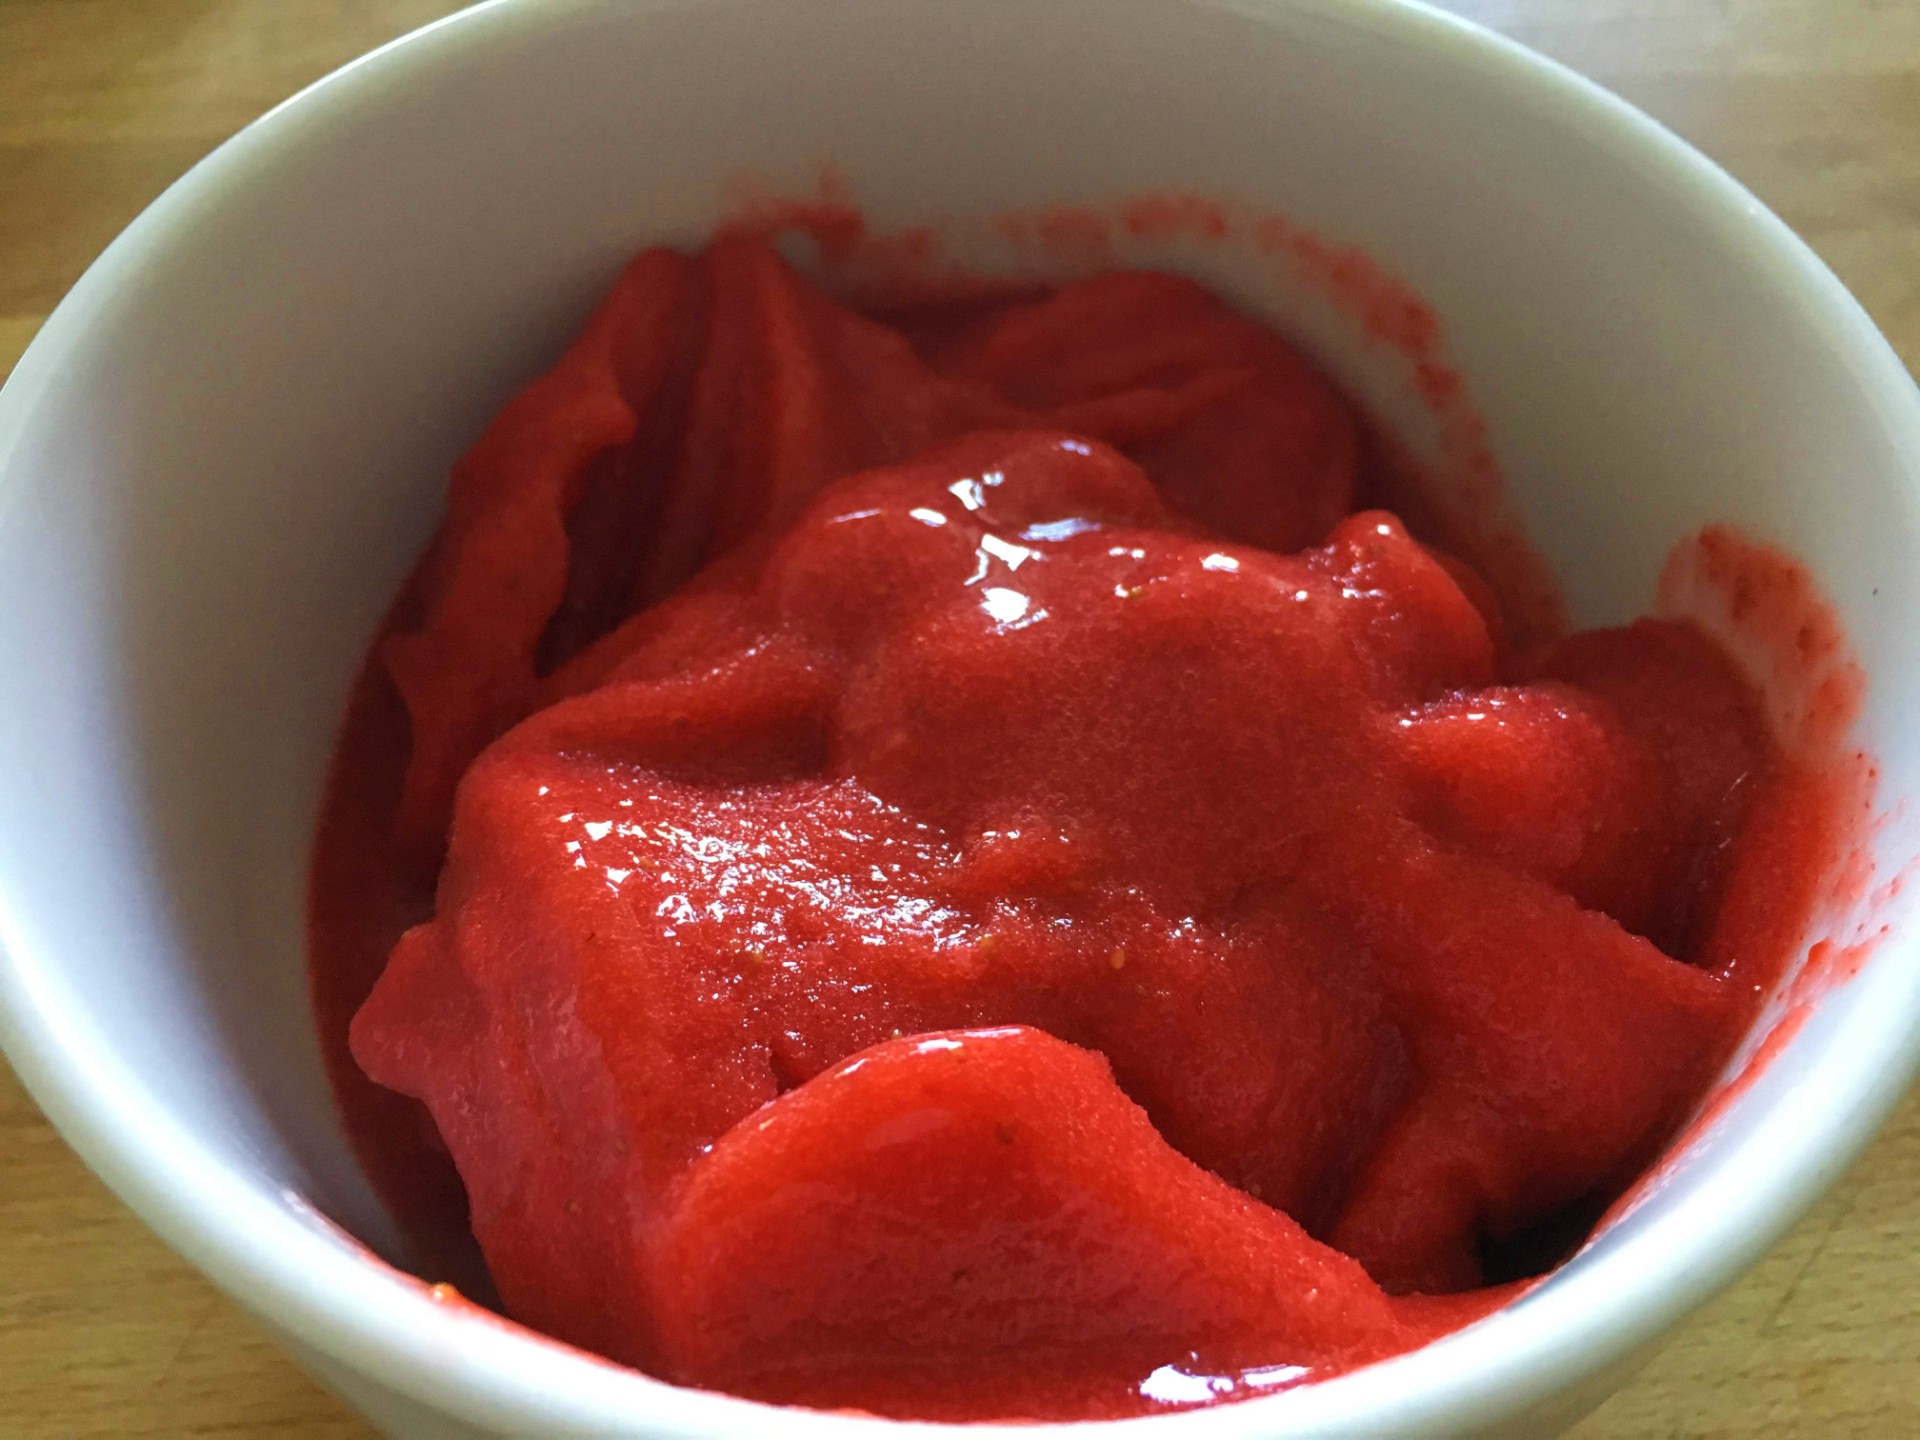
In my case, since I had some strawberry ice cream in my refrigerator, I decided to make some very decadent ice cream sandwiches! They were amazing. They hit all the right notes.

IMG_1762 (1).jpg

Enjoy!

Lemons and Poppy Seeds

So I woke up this morning craving something sweet and lemony. Of course, the first thought that crossed my mind was poppy seeds. Why? Because lemons and poppy seeds, for some reason, make one hell of a team. I honestly cannot explain why I love this pairing so much. Is it the added texture that the poppy provides, or its subtle nutty flavor? I don’t know and I don’t plan on dwelling too much on the matter. Bottom line is, these two ingredients work together and help elevate each other.

Fortunately, I had everything I needed in my pantry so no need to change and go out. What is great here is that this recipe is really simple and doesn’t require too many ingredients (or too much effort for that matter!). I chose to make mini cakes because I love everything bite-size, and because baking time is reduced to only 15 minutes!

So is it a muffin or a cake that I’m making? Personally, I find that the only difference between cake and muffin is the presence of icing or frosting, or their lack thereof. If there’s icing or frosting, it’s a cupcake or a cake, depending on the size of your dessert. No icing or frosting means that it’s a muffin so you can eat it for breakfast without feeling judged. In this case, I used a thick lemony glaze. My point here is that you could use this recipe to make muffins or cakes, which is why I omitted mentioning either one of them in the title.

IMG_5643.jpg

Lemon/ poppy seed cakes

Makes 24 mini cakes or 6 muffin size cakes

ingredients

  • 1 1/4 cups flour

  • 1 tsp baking powder

  • 1/4 tsp salt

  • 2/3 cup sugar

  • 1 egg

  • 1/2 cup vegetable oil

  • 1/3 cup whole milk

  • 1 tsp vanilla

  • 1 tbsp poppy seeds

  • Lemon zest (2 lemons)

  • 1/2 sour cream

glaze (optional)

  • 1 1/2 cup powdered sugar

  • 1 1/2 tbsp whole milk

  • 1 1/2 tbsp lemon juice

  • 1 tsp poppy seeds

directions

  1. Preheat oven at 375 degrees.

  2. Place liners in muffin tin.

  3. In the bowl of an electric mixer fitted with the paddle attachment, mix sugar, egg, milk, oil and vanilla until well combined, about 2 minutes.

  4. Add poppy seeds and lemon zest. Continue mixing for a minute.

  5. In a separate bowl, sift together flour, baking powder and salt.

  6. Incorporate flour mixture into wet ingredients and fold with a spatula until everything is well combined.

  7. Add the sour cream and stir until incorporated.

  8. Spoon the batter evenly in the muffin tin.

  9. Bake for 15 minutes for mini cake, and 22 minutes for muffin size cakes, or until a toothpick inserted in the center comes out clean.

  10. Let the cakes rest in the tin for 5 minutes before transferring them to a rack to cool completely.

  11. While the cakes cool, prepare the glaze (optional).

  12. Mix all 4 ingredients (powdered sugar, poppy seeds, milk and lemon juice) in a bowl. Mix well until the mixture is no longer lumpy. Add more powdered sugar or liquid (lemon juice or milk) for the desired consistency.

  13. Pour a dollop of lemon glaze on cooled cakes.

The cakes are super moist, with a crunchy top which is the best! The lemon zest came through and each bite is full of flavor, while the poppy provides some added crunch. And, because I made mini cakes, they are bite=size and can be eaten like pop corn!!!

Variations

Instead of the glaze, you could also insert some lemon custard into the cakes. I opted for a glaze because I was feeling lazy, but the custard is definitely my preferred option.

If you’re not a fan of poppy seeds, you could make the same recipe with ground almonds. I personally find that lemon cakes taste better when there’s a contrasting nutty flavor that’s added. So mix together 1 cup of flour with 5 tbsp of ground almonds, and add 1/4 almond extract in the wet ingredients.

Also, the cakes are also packed with flavor so technically, they don’t really need anything else to improve their taste. You could eat them as they are and be completely satisfied. The up-side here is that if you choose to exclude any form of icing, frosting or custard, you could eat the cakes straight out of the oven!

Enjoy!


Strawberry/ coconut pops

This summer is about to get really hot, humid and sticky. Actually, it already has but my guess is that it’s about to get worse. I’m a dessert person and it is inconceivable for me not to eat something sweet after a meal. That being said, I do not have air conditioning in my kitchen and the very idea of turning my oven on in this crushing heat is giving me hives.

This summer, I will probably just focus on no-bake desserts and ice creams. I know that this section of the blog is called “Baking” and I probably should have called it “Desserts” for more coherence but I didn’t. I created the blog in the dead of winter, at a time when all I could think about was delicious, hot, freshly baked little cakes. I probably should change the name but chances are that I won’t.

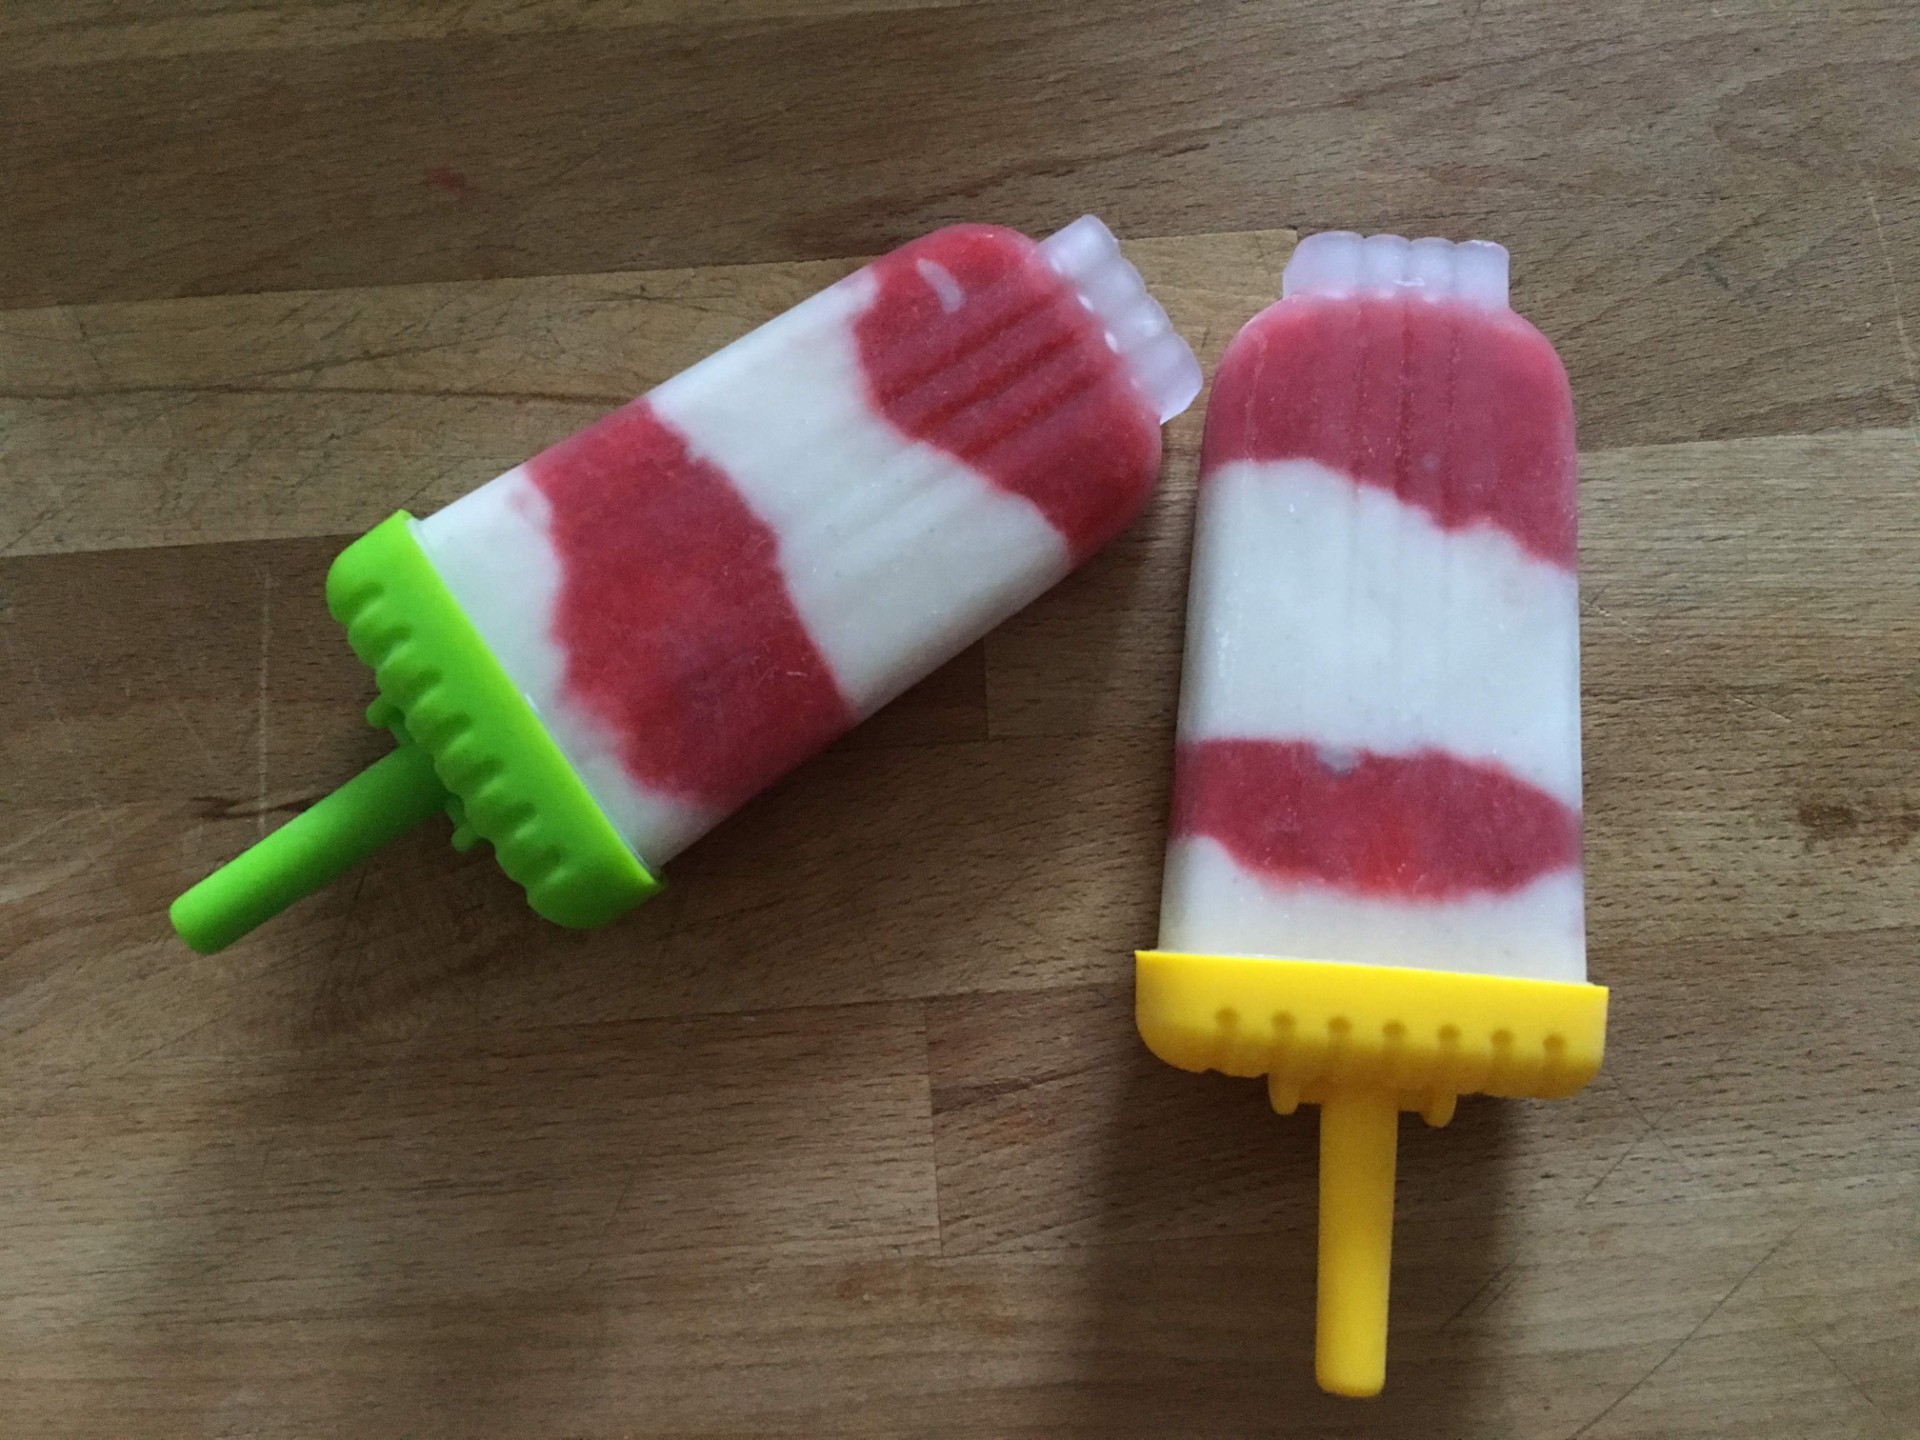
Anyways, on hot summer days like this one, I really like to lazily sit around in the shade while enjoying a cold fruity pop. Since it’s strawberry season, I made a batch of fun and refreshing strawberry/ coconut pops! What’s great about them, aside from being cold and tasty, is that they are super easy to make. The hard part is waiting for them to freeze before being able to enjoy them…

IMG_8553.jpg

Strawberry / coconut pops

Makes about 10 pops

ingredients

  • 1 can coconut milk

  • 1 tsp vanilla bean paste

  • 2 tbsp + 1/4 cup honey

  • 1.5 cups fresh or frozen strawberries

directions

  1. Mix together the coconut milk, vanilla bean paste and 2 tbsp honey. Set aside.

  2. Put strawberries and 1/4 cup honey in a blender and blend until pureed. Add more honey and mix if not sweet enough.

  3. Pour some coconut mix into the popsicle molds. Place in the freezer for a few minutes, and pour some of the strawberry mixture on top. Continue alternating coconut and strawberry mixtures until reaching the top of the molds, freezing a little bit after each pour for a detailed layering. Then, insert popsicle sticks and freeze for a few hours, until firm.

  4. If you are not that into the layered look or if you prefer not to separate the coconut from the strawberry flavor, you could simply combine the 2 mixtures beforehand and then pour the whole thing into the molds. Freeze for a few hours until firm.

And that’s it! How easy was that? I opted for the layered pops which provided a soft, creamy, coconutty ice cream, alternating with the vibrant, fresh and juicy strawberry flavor, but I must admit that combining the two mixtures offers a fuller, more complete gustatory experience. The coconut milk, by it self, could get a bit overwhelming after a while. Blending the two mixtures together before freezing creates more balanced pops. It all depends on your taste, really.

For the molds, if you are wondering, I used these amazing reusable molds that come with a tray and their own case. Makes it way easier to pour, freeze and store, but most importantly, they help me keep my workstation clean (I tend to be a bit messy and clumsy…)! These molds are quite affordable so I bought 2 sets of 6.

I used strawberries here because they’re in season but you could pretty much go for any fruit. Pick your favorite (any berries, peach, mango, you name it!), puree it and freeze it. The coconut milk adds creaminess but if you do not like it, use vanilla cream or no cream at all!

Add little chunks of fruits inside as well for some texture! The possibilities are pretty much endless.

Enjoy and stay cool!